不点蓝字,我们哪来故事?

最近在工作中用到ElasticSearch(以下简称ES),在自己电脑上搞了一个ES的本地服务玩玩,记录一下。
ElasticSearch安装
官方地址:https://www.elastic.co/cn/elasticsearch/
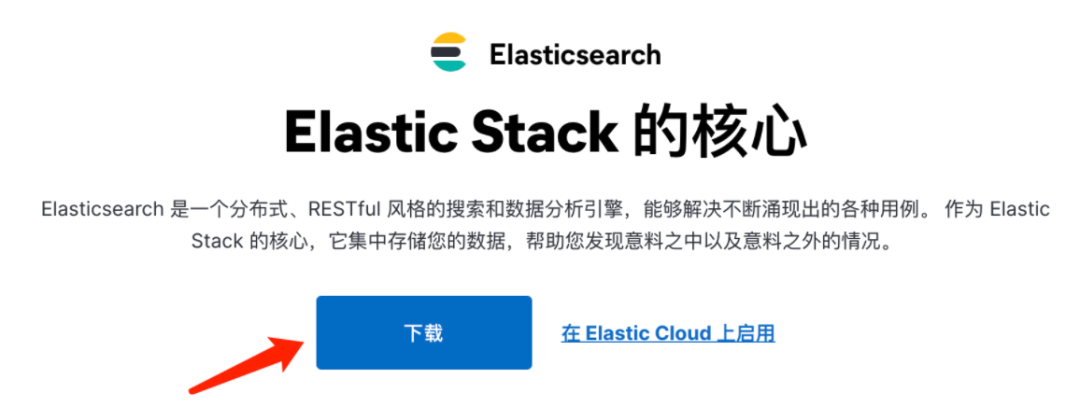
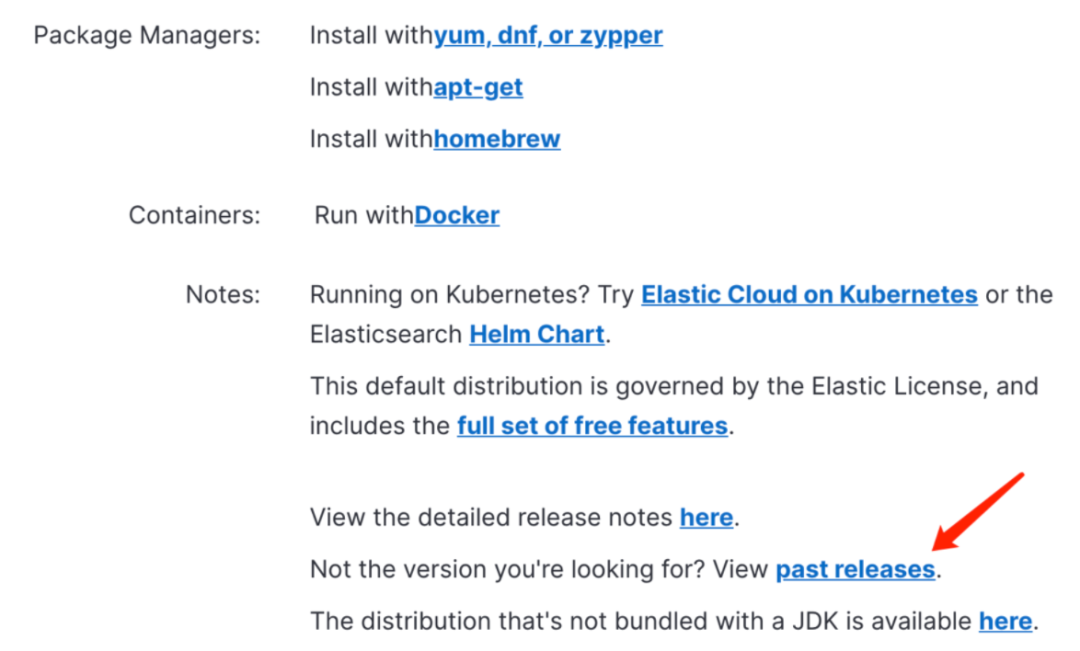
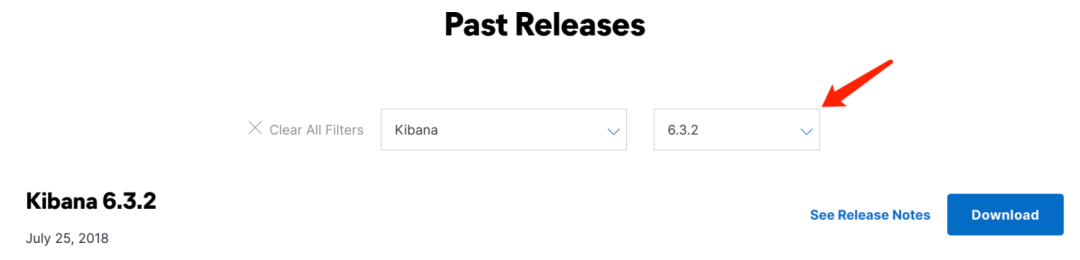
默认会下载最新的版本,如果想选择版本,往下拉,点击past relrases。
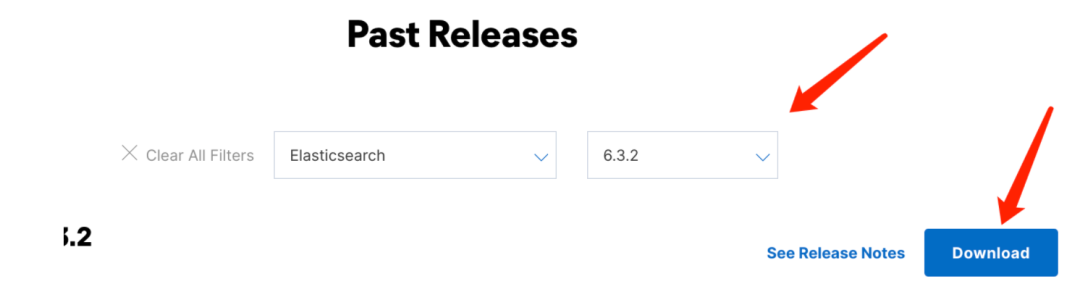
选择你自己想要的版本,这里由于公司项目使用的是6.3.2,所以我下载了这个版本。
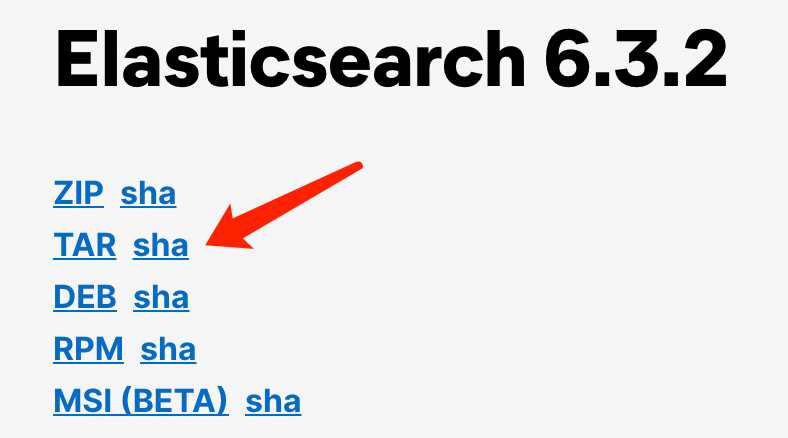
根据你的操作系统选择对应的下载文件,这里我是Mac所以选择TAR。
下载完成后,解压,然后用终端进入elasticsearch-6.3.2文件夹,这个文件夹底下有个bin目录,可以通过
sh elasticsearch
启动ES服务。
启动可能出现的异常:
1.启动前可以检查下Java的环境变量是否有问题。
可以通过命令:open -e elasticsearch打开elasticsearch这个二进制文件,新增以下内容:
#配置自己的jdk8
export JAVA_HOME=/Library/Java/JavaVirtualMachines/jdk1.8.0_211.jdk/Contents/Home
export PATH=$JAVA_HOME/bin:$PATH:.
...
...
...
# 添加jdk判断
if [ -x "$JAVA_HOME/bin/java" ]; then
     JAVA="/Library/Java/JavaVirtualMachines/jdk1.8.0_211.jdk/Contents/Home/bin/java"
else
     JAVA=`which java`
fi这里需要注意你下载的ES版本,支持的JDK版本是多少。
然后保存,再启动
2.org.elasticsearch.ElasticsearchException: Failed to create native process factories for Machine Learning...
如果出现此异常,则说明我们需要禁用ES的机器学习功能,此功能使用SSE4.2指令,因此仅适用于CPU 支持 SSE4.2的机器。
在elasticsearch-6.3.2/config目录下,编辑elasticsearch.yml文件:
# 禁用机器学习功能
xpack.ml.enabled: false
然后保存,再启动。
启动完成后,在浏览器输入:http://localhost:9200/
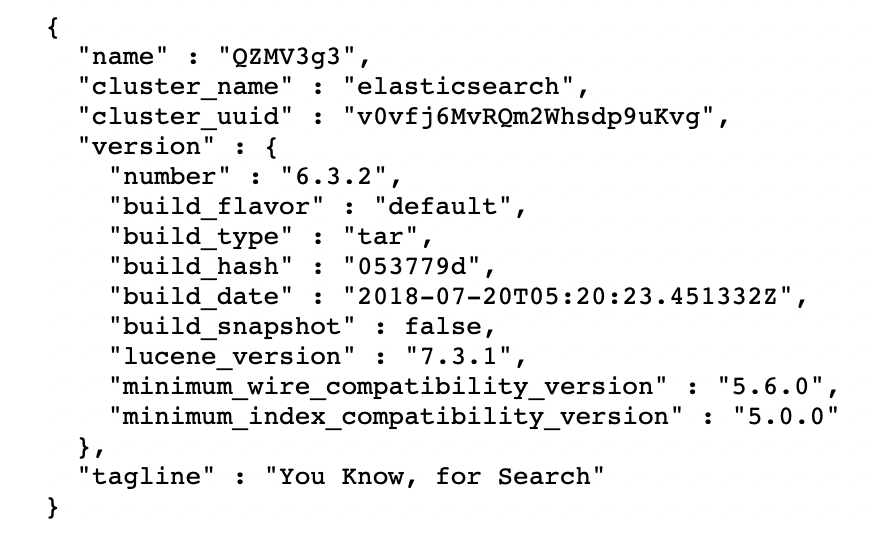
返回相关信息则说明安装成功。
Kibana安装
为了更好的操作ES,我们还需要安装一个ES的可视化工具Kibana。
官方下载地址:https://www.elastic.co/cn/downloads/past-releases#kibana
选择和ES对应的版本。
下载完成后解压,进入解压目录:
nohup bin/kibana &
在浏览器输入:http://localhost:5601
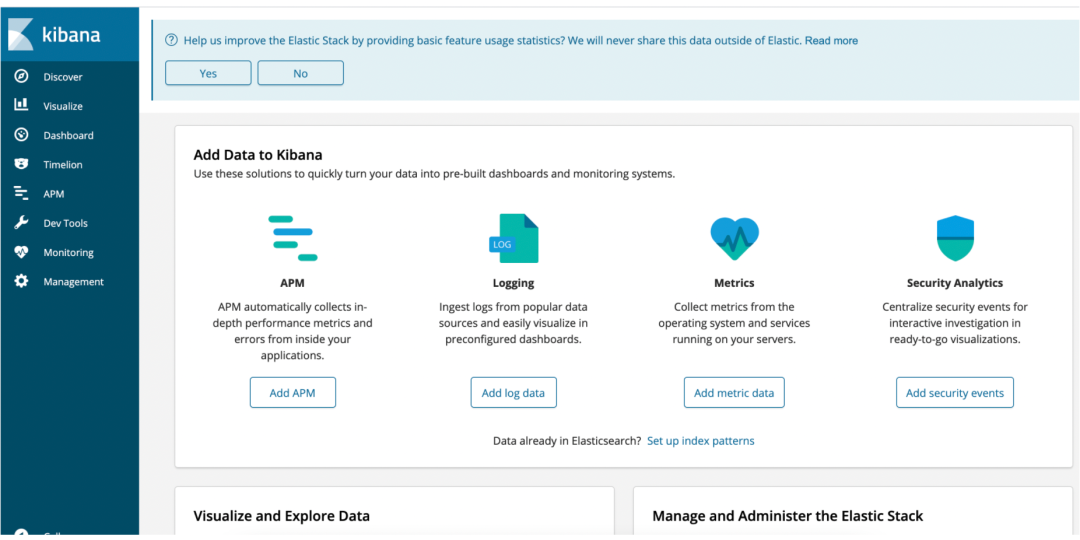
出现该界面说明安装成功。再打开Dev tool ,我们就可以开始工作了。
Spring Boot 集成 ElasticSearch
1.创建一个Spring Boot工程
我这里使用的 Spring Boot 版本是2.2.10.RELEASE,要注意Spring Boot版本与ElasticSearch依赖版本的匹配,否则可能会出现各种诡异的问题。
2.pom.xml 文件添加依赖
<properties><elasticsearch.version>6.3.2</elasticsearch.version></properties><dependency><groupId>org.springframework.boot</groupId><artifactId>spring-boot-starter-data-elasticsearch</artifactId></dependency>
3.在application.yml文件中添加配置项
# ES配置elasticsearch:clusterNodes:- localhost:9200# 本地的账号密码可以为空username:password:
4.添加配置的映射类 ElasticsearchProps.java
你也可以直接读取配置,但是就规范来说,最好还是弄一个配置的映射类,这样以后就算各种各样的配置很多,也很便于管理。
/*** ES配置** @author age*/@Data@Component@ConfigurationProperties(prefix = "elasticsearch")public class ElasticsearchProps {/** ES集群节点列表 */private List<String> clusterNodes;/** 用户名 */private String username;/** 密码 */private String password;/** 连接超时时间 */private Long connectTimeout;/** socket超时时间 */private Long socketTimeout;}
5.添加 ElasticSearch 配置类 ElasticsearchConfig.java
/*** @author age*/@Configurationpublic class ElasticsearchConfig {@Resourceprivate ElasticsearchProps esProps;@Beanpublic RestHighLevelClient client() {// 创建ClientClientConfiguration.MaybeSecureClientConfigurationBuilder builder = ClientConfiguration.builder().connectedTo(esProps.getClusterNodes().toArray(new String[0]));// 连接超时时间builder.withConnectTimeout(Duration.ofSeconds(Optional.ofNullable(esProps.getConnectTimeout()).orElse(30L)));// Socket超时时间builder.withSocketTimeout(Duration.ofSeconds(Optional.ofNullable(esProps.getSocketTimeout()).orElse(30L)));// 用户名密码if (!StringUtils.isEmpty(esProps.getUsername()) && !StringUtils.isEmpty(esProps.getPassword())) {builder.withBasicAuth(esProps.getUsername(), esProps.getPassword());}return RestClients.create(builder.build()).rest();}}
6.编写ES操作的工具类
到目前为止,我们的 Spring Boot 集成 ES 的工作就做完了,我们可以来调用ES的API啦。
我们可以把这些ES的操作统一封装到一个工具类 ElasticsearchUtils.java 里,以便调用。
/*** ElasticSearch 操作工具类** @author age*/@Slf4j@Componentpublic class ElasticsearchUtils {@Resourceprivate RestHighLevelClient highLevelClient;/*** 校验索引是否存在** @param indexName 索引名称* @return 成功状态*/public boolean existsIndex(String indexName) {Assert.notNull(indexName, "indexName of existsIndex mustn't be null");GetIndexRequest request = new GetIndexRequest();request.indices(indexName);boolean response;try {response = highLevelClient.indices().exists(request);} catch (Exception e) {log.error("An error occurred in the existsIndex:", e);throw new RuntimeException("An error occurred in the existsIndex");}return response;}/*** 创建索引** @param indexName 索引名称* @param type 索引类型* @param settings 索引配置* @param contentBuilder 映射内容信息* @return 成功状态*/public boolean createIndex(String indexName, String type, Settings.Builder settings, XContentBuilder contentBuilder) {Assert.notNull(indexName, "IndexName of createIndex mustn't be null");Assert.notNull(contentBuilder, "ContentBuilder of createIndex mustn't be null");CreateIndexRequest request = new CreateIndexRequest(indexName);if (settings != null) {request.settings(settings);}request.mapping(type, contentBuilder);CreateIndexResponse response;try {response = highLevelClient.indices().create(request);} catch (Exception e) {log.error("An error occurred in the createIndex:", e);throw new RuntimeException("An error occurred in createIndex");}return response.isAcknowledged();}/*** 删除索引** @param indexName 索引名称* @return 成功状态*/public boolean deleteIndex(String... indexName) {Assert.notNull(indexName, "indexName of deleteIndex mustn't be null");DeleteIndexRequest request = new DeleteIndexRequest(indexName);AcknowledgedResponse response;try {response = highLevelClient.indices().delete(request);} catch (Exception e) {log.error("An error occurred in the deleteIndex:", e);throw new RuntimeException("An error occurred in the deleteIndex");}return response.isAcknowledged();}/*** 查询数据** @param indexName 索引名称* @param sourceBuilder 查询条件* @return 结果*/public SearchResponse search(String indexName, SearchSourceBuilder sourceBuilder) {Assert.notNull(indexName, "indexName of search mustn't be null");SearchRequest request = new SearchRequest();request.indices(indexName);if (sourceBuilder != null) {request.source(sourceBuilder);}SearchResponse response;try {response = highLevelClient.search(request);} catch (Exception e) {log.error("An error occurred in search:", e);throw new RuntimeException("An error occurred in search");}return response;}/*** 批量请求** @param bulkRequest 请求参数* @return 成功状态*/public boolean batchRequest(BulkRequest bulkRequest) {Assert.notNull(bulkRequest, "BulkRequest of batchRequest mustn't be null");BulkResponse response;try {// 发起批量请求response = highLevelClient.bulk(bulkRequest);} catch (Exception e) {log.error("An error occurred in bulkRequest:", e);throw new RuntimeException("An error occurred in bulkRequest");}// 保存结果校验if (response.hasFailures()) {for (BulkItemResponse bulkItem : response) {if (bulkItem.isFailed()) {log.error("BulkItemResponse getFailureMessage:{}", bulkItem.getFailureMessage());}}throw new RuntimeException("An error occurred in response hasFailures");}return true;}}
添加一些常用的操作。
7.编写业务逻辑
首先定义一个要保存到ES中的数据的实体类
/*** @author age*/@Datapublic class SearchBean implements Serializable {/** 用户id */private Long userId;/** 用户名 */private String userName;/** 账号 */private String account;}
创建一个接口 SearchService
/*** @author age*/public interface SearchService {/*** 往ES添加数据* @param indexName 索引名称* @param list 内容*/void insert(String indexName, List<SearchBean> list);/*** 搜索数据** @param indexName 索引名称* @param userId 查询条件* @return 返回结果*/List<SearchBean> search(String indexName, long userId);}
创建接口实现类 SearchServiceImpl
/*** @author age*/@Servicepublic class SearchServiceImpl implements SearchService {@Resourceprivate ElasticsearchUtils elasticsearchUtils;@Overridepublic void insert(String indexName, List<SearchBean> list) {// 创建索引boolean createFlag = createIndex(indexName);if (!createFlag) {throw new RuntimeException("Create index failed");}List<SearchBean> mergeList = Stream.of(list).flatMap(Collection::stream).collect(Collectors.toList());// 写入数据到ESbatchSaveSearchModules(indexName, mergeList);}@Overridepublic List<SearchBean> search(String indexName, long userId) {// 构建查询条件SearchSourceBuilder sourceBuilder = new SearchSourceBuilder();BoolQueryBuilder builder = QueryBuilders.boolQuery();sourceBuilder.query(builder.must(QueryBuilders.matchQuery("userId", userId)));// 查询SearchResponse response = elasticsearchUtils.search(indexName, sourceBuilder);// 处理返回结果List<SearchBean> records = Arrays.stream(response.getHits().getHits()).map(hit -> {SearchBean bean = JSON.parseObject(hit.getSourceAsString(), SearchBean.class);return bean;}).collect(Collectors.toList());return records;}/*** 创建索引** @return 创建索引是否成功*/private boolean createIndex(String indexName) {if (elasticsearchUtils.existsIndex(indexName)) {// 索引存在,那么删除索引重新创建elasticsearchUtils.deleteIndex(indexName);}Settings.Builder settings = Settings.builder().put("index.number_of_shards", 5).put("index.number_of_replicas", 1);XContentBuilder builderMapping = searchModuleMapping();return elasticsearchUtils.createIndex(indexName, "test-search", settings, builderMapping);}/*** 构建搜索模块映射字段信息*/private XContentBuilder searchModuleMapping() {try {XContentBuilder builder = XContentFactory.jsonBuilder();builder.startObject();{builder.startObject("properties");{builder.startObject("userId").field("type", "long").endObject();builder.startObject("userName").field("type", "text").endObject();builder.startObject("account").field("type", "text").endObject();}builder.endObject();}builder.endObject();return builder;} catch (Exception e) {throw new RuntimeException("An error occurred in searchModuleMapping");}}/*** 批量保存搜索模块数据** @param indexName 索引名称* @param list 搜索内容* @return 保存结果*/private boolean batchSaveSearchModules(String indexName, List<SearchBean> list) {if (list.isEmpty()) {return true;}// 实体转为Bulk请求BulkRequest bulkRequest = new BulkRequest();for (SearchBean bean : list) {IndexRequest indexRequest = new IndexRequest(indexName, "test-search").source(JSON.toJSONString(bean), XContentType.JSON);bulkRequest.add(indexRequest);}return elasticsearchUtils.batchRequest(bulkRequest);}}
代码中注释的都比较详细,我就不再解读了。
8.测试
现在我们编写测试类 SearchServiceTest.java 来测试一下
插入数据:
@Resourceprivate SearchService searchService;@Testvoid insert() {List<SearchBean> list = new ArrayList<>();SearchBean bean = new SearchBean();bean.setUserId(1L);bean.setUserName("age");bean.setAccount("2134123412342134");list.add(bean);searchService.insert("test", list);log.info("操作成功");}
执行一下

我们到Kibana中看一下
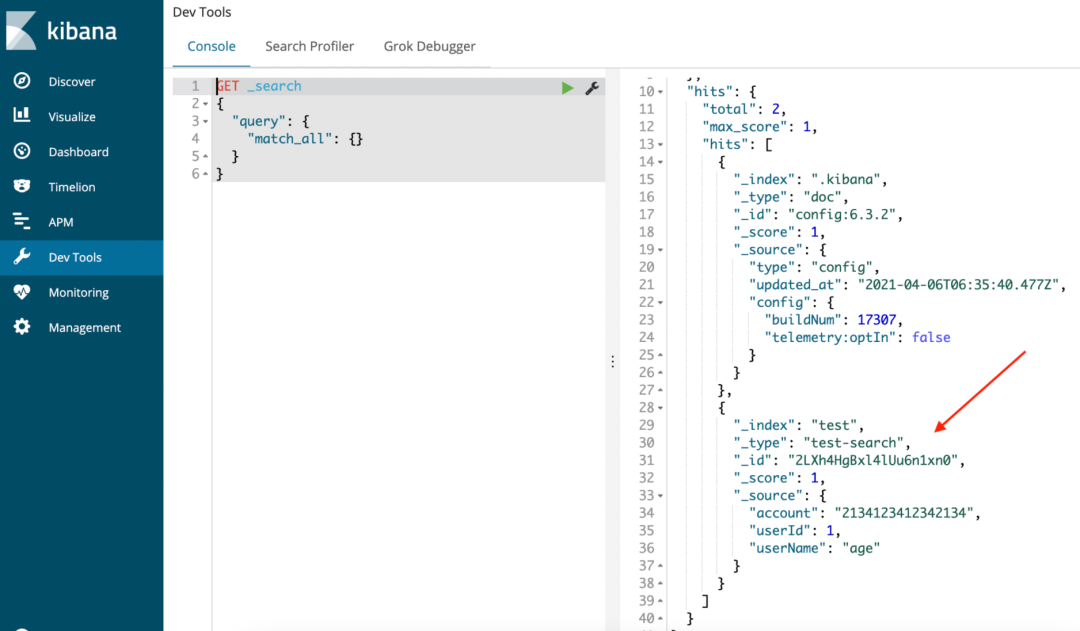
发现数据已经写进ES中了。
查询数据:
现在我们再尝试一下是否能把数据查出来
@Testvoid search() {List<SearchBean> list = searchService.search("test", 1L);list.forEach(System.out::println);}
执行一下

可以看到数据已经能顺利查询出来了。
到此,我们的 Spring Boot集成 ElasticSearch 就成功了。关于各种API的使用,大家可以参考ES的官方文档,这里我就不细写了。


Hi
感谢你的到来
我不想错过你
编程那些烦心事