


作者:IT邦德 中国DBA联盟(ACDU)成员,目前从事DBA及程序编程(Web\java\Python)工作,主要服务于生产制造 现拥有 Oracle 11g OCP/OCM、Mysql、Oceanbase(OBCA)认证 分布式TBase\TDSQL数据库、国产达梦数据库以及红帽子认证 从业8年DBA工作,在数据库领域有丰富的经验 B站主播Oracle、Mysql、PG实战课程,请搜索:jeames007 微信:jem_db QQ交流群:168797397 更多内容请关注B站(搜索jeames007)复制
Oracle11.2.0.4安装包 链接:https://pan.baidu.com/s/150m7KKZGYwBWrWxuo9ndcw 提取码:r93o复制
1 软、硬件需求检查
1.1 查看内存、swap 空间
[root@rhel64 ~]# cat /etc/redhat-release #查看物理内存 [root@rhel64 ~]# free -m复制

#查看操作系统共享内存,oracle 数据库使用内存要小于此值 [root@rhel64 ~]# df -h /dev/shm/复制

调整方法:修改/etc/fstab [root@rhel64 ~]# vi /etc/fstab 修改对应/dev/shm 项 defaults,size=2500M [root@rhel64 ~]# cat /etc/fstab | grep shm #重新挂载 [root@rhel64 ~]# mount -o remount /dev/shm复制

1.2 查看系统架构
[root@rhel64 ~]# uname -m
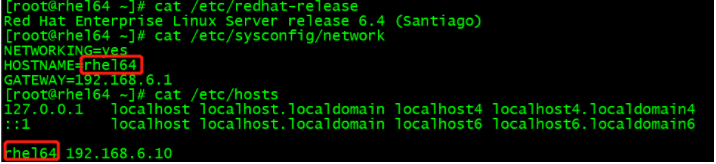
[root@rhel64 ~]# cat /etc/redhat-release

1.3 查看本地主机名解析
[root@rhel64 ~]# cat /etc/sysconfig/network
[root@rhel64 ~]# cat /etc/hosts
/etc/hosts 中主机名要与/etc/sysconfig/network 中相同
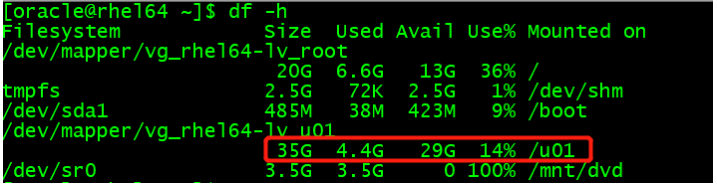
1.4 磁盘空间检查
/tmp 空间 >1G,/tmp 公用的临时文件存储位置
[root@rhel64 ~]# df -h /tmp/

软件安装目录空间 >2G [root@rhel64 ~]# df -h /u01/复制

1.5 内核需求检查
查看操作系统版本 [root@rhel64 ~]# cat /proc/version [root@rhel64 ~]# lsb_release -id复制

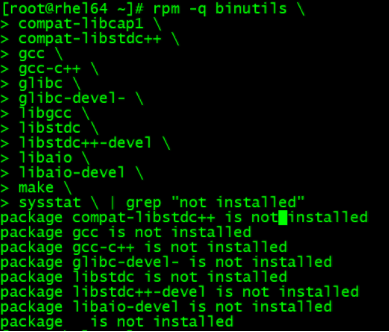
1.6 软件包检查
rpm -q binutils \ compat-libcap1 \ compat-libstdc++ \ gcc \ gcc-c++ \ glibc \ glibc-devel- \ libgcc \ libstdc \ libstdc++-devel \ libaio \ libaio-devel \ make \ sysstat \ | grep "not installed"复制
yum 软件本地仓库 [root@rhel64 ~]# mount /dev/sr0 /mnt/dvd [root@rhel64 ~]# df -Th [root@rhel64 ~]# cat /etc/yum.repos.d/rhel-source.repo [root@rhel64 ~]# yum install gcc* binutils* compat* glibc* ksh* libgcc* libstdc* libaio* make* sysstat* unixODBC* -y复制
1.7 修改资源限制
[root@rhel64 ~]# cp /etc/security/limits.conf /etc/security/limits.conf.bak [root@rhel64 ~]# vi /etc/security/limits.conf oracle soft nproc 2047 oracle hard nproc 16384 oracle soft nofile 1024 oracle hard nofile 65536 oracle soft stack 10240 [root@rhel64 ~]# tail -8 /etc/security/limits.conf复制

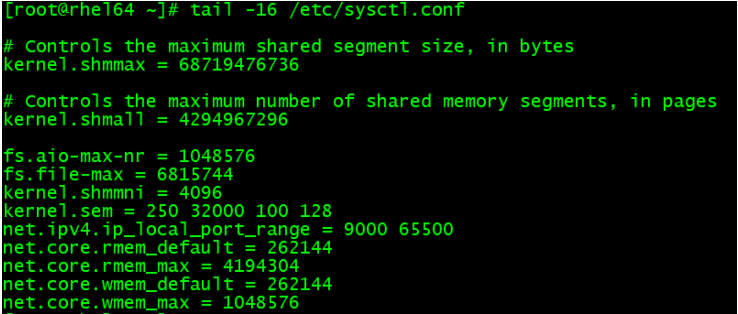
1.8 修改内核参数
[root@rhel64 ~]# cp /etc/sysctl.conf /etc/sysctl.conf.bak [root@rhel64 ~]# vi /etc/sysctl.conf fs.aio-max-nr = 1048576 fs.file-max = 6815744 kernel.shmmni = 4096 kernel.sem = 250 32000 100 128 net.ipv4.ip_local_port_range = 9000 65500 net.core.rmem_default = 262144 net.core.rmem_max = 4194304 net.core.wmem_default = 262144 net.core.wmem_max = 1048576复制
重启,验证 [root@rhel64 ~]# reboot复制
2 软件安装环境准备
2.1 创建用户和组
创建组 [root@rhel64 ~]# groupadd oinstall [root@rhel64 ~]# groupadd dba [root@rhel64 ~]# groupadd oper 删除组命令:groupdel 组名 注意:用户组里面有用户,必须先把用户移动或删除了,才能删除组 创建用户 设置密码 oracle:oracle [root@rhel64 ~]# useradd -g oinstall -G dba,oper oracle [root@rhel64 ~]# passwd oracle 删除用户命令:userdel 用户名 SecureCRT 创建连接 使用 oracle 用户登录测试 [oracle@rhel64 ~]$ id uid=500(oracle) gid=500(oinstall) groups=500(oinstall),501(dba),502(oper)复制
2.2 创建目录
[root@rhel64 ~]# mkdir -p /u01/app/oracle [root@rhel64 ~]# chown -R oracle:oinstall /u01 [root@rhel64 ~]# chmod -R 775 /u01/app/oracle复制

chmod是Linux下设置文件权限的命令,后面的数字表示不同用户或用户组的权限。 一般是三个数字: 第一个数字表示文件所有者的权限 第二个数字表示与文件所有者同属一个用户组的其他用户的权限 第三个数字表示其它用户组的权限。 权限分为三种:读(r=4),写(w=2),执行(x=1) 。 综合起来还有可读可执行(rx=5=4+1)、可读可写(rw=6=4+2)、可读可写可执行(rwx=7=4+2+1) 所以,chmod 755 设置用户的权限为: 1.文件所有者可读可写可执行 --7 2.与文件所有者同属一个用户组的其他用户可读可执行 --5 3.其它用户组可读可执行 --5复制
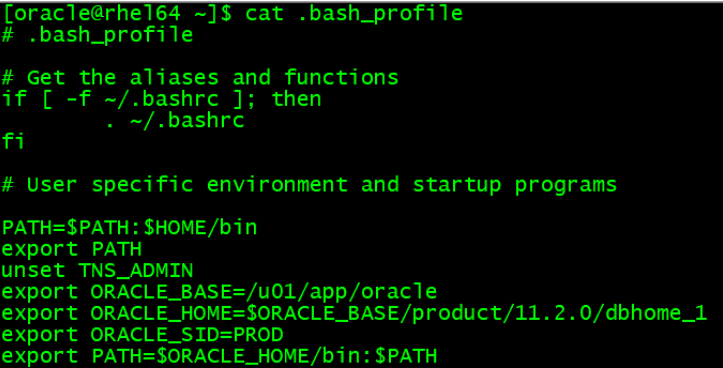
2.3 设置环境变量
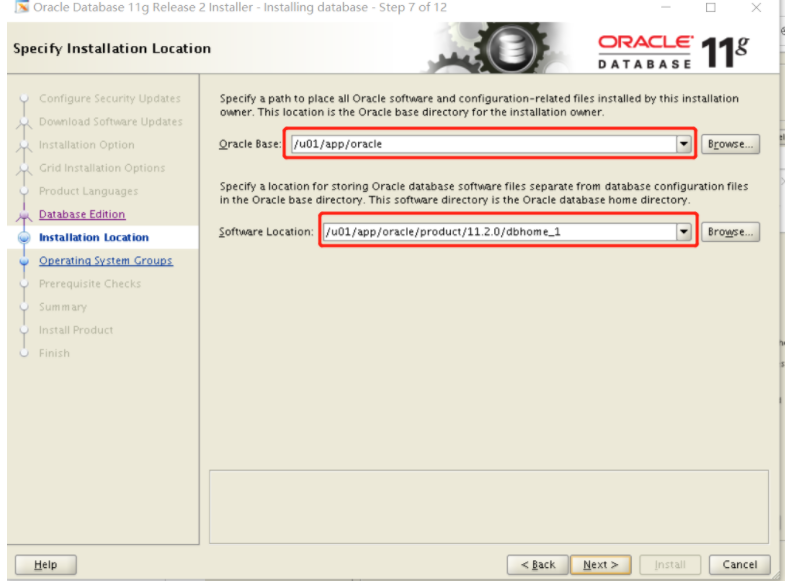
使用 oracle 用户连接 编辑/home/oracle/.bash_profile [oracle@rhel64 ~]$ vi .bash_profile unset TNS_ADMIN export ORACLE_BASE=/u01/app/oracle export ORACLE_HOME=$ORACLE_BASE/product/11.2.0/dbhome_1 export ORACLE_SID=PROD export PATH=$ORACLE_HOME/bin:$PATH复制
[oracle@rhel64 ~]$ source .bash_profile 验证 [oracle@rhel64 ~]$ echo $ORACLE_BASE [oracle@rhel64 ~]$ echo $ORACLE_HOME [oracle@rhel64 ~]$ echo $ORACLE_SID [oracle@rhel64 ~]$ echo $PATH [oracle@rhel64 ~]$ env | grep ORACLE_SID复制
2.4 解压软件,修改属主属组 权限
root 用户解压软件包 先后解压 1、2 [root@rhel64 db]# cd /software/db [root@rhel64 db]# ls复制

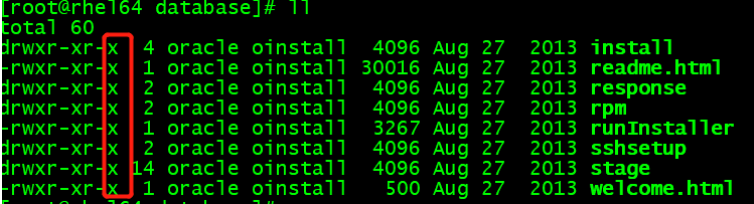
[root@rhel64 db]# unzip p13390677_112040_Linux-x86-64_1of7.zip [root@rhel64 db]# unzip p13390677_112040_Linux-x86-64_2of7.zip 解压得到 database 目录 约 2.5G 修改属主 属组 权限 [root@rhel64 db]# chown -R oracle:oinstall database/ [root@rhel64 db]# chmod -R +x database/复制
2.5 启动 Xmanager-passive 执行安装
启动 Xmanager - Passive

oracle 用户设置 DISPLAY 将图形化界面显示在宿主机 [oracle@rhel64 ~]$ export DISPLAY=192.168.6.1:0.0 [oracle@rhel64 ~]$ echo $DISPLAY复制

在oracle 用户执行安装操作 [oracle@rhel64 ~]$ cd /software/db/database/ [oracle@rhel64 database]$ ll复制
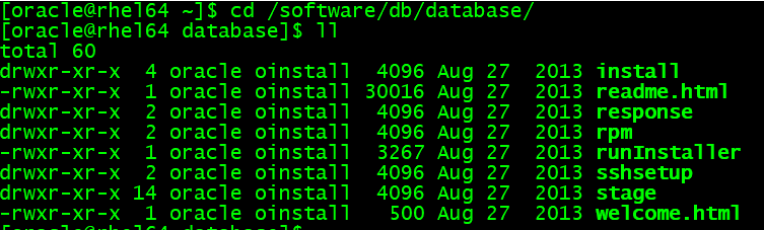
[oracle@rhel64 database]$ ./runInstaller复制

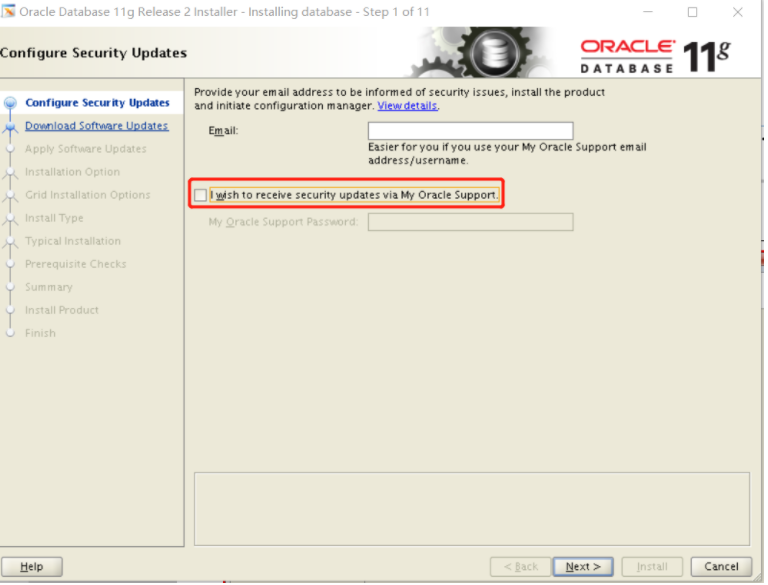
3 安装 oracle 软件
3.1 不勾选
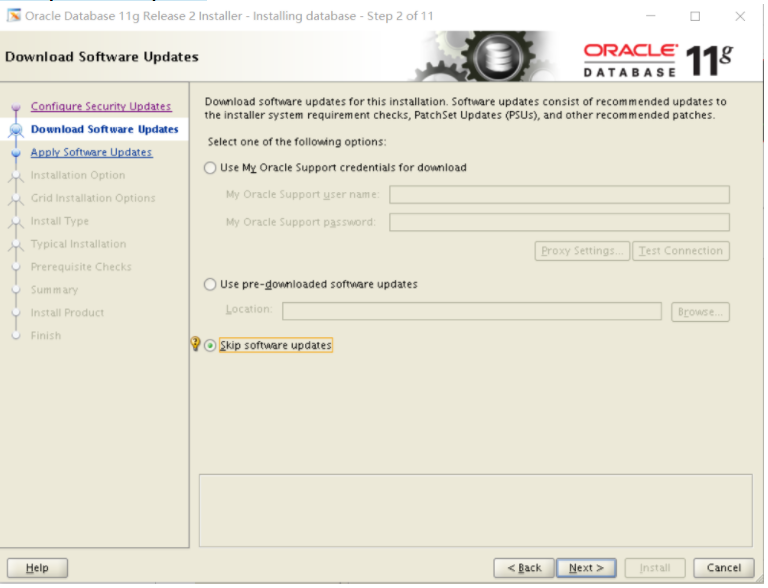
3.2 Skip software updates
3.3 Install database software only

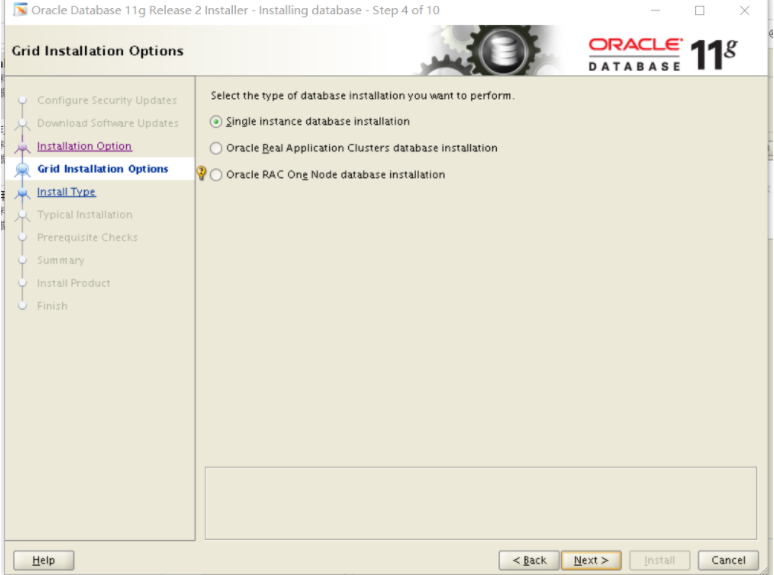
3.4 Single instance database installation
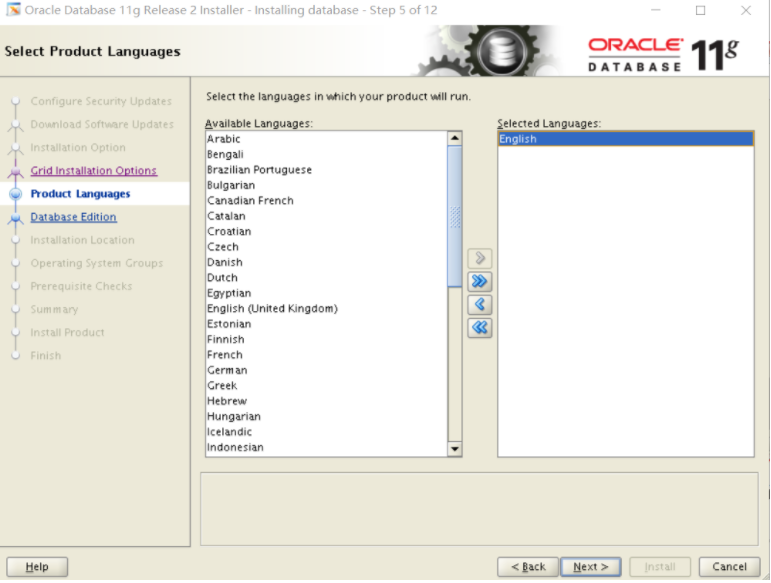
3.5 默认 English
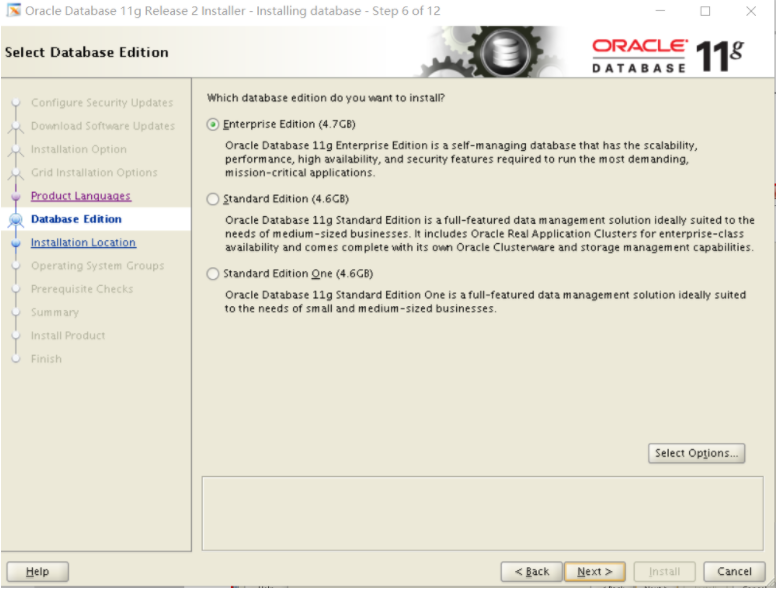
3.6 默认 Enterprise Edition
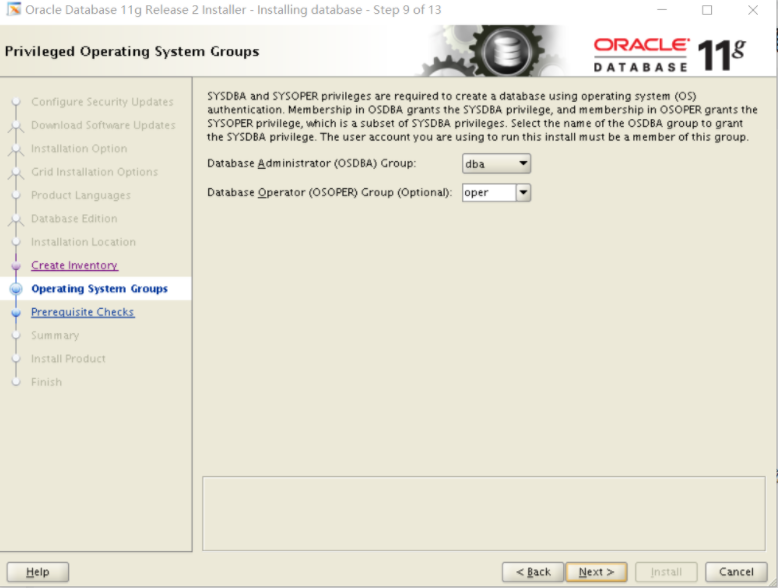
3.7 Next
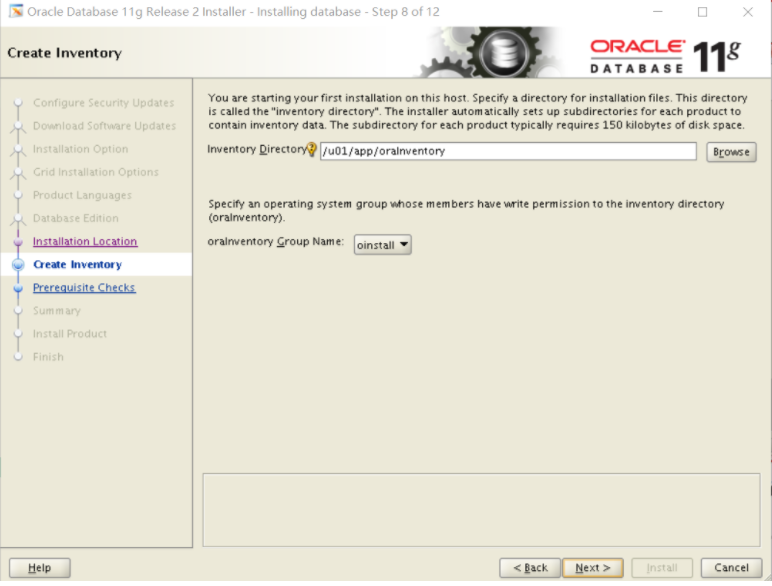
安装失败 重新安装时需 查看此目录 删除/u01/app/ 下的 oraInventory 目录 和 /u01/app/oracle 下的 product 目录复制
3.8 查看缺少的包
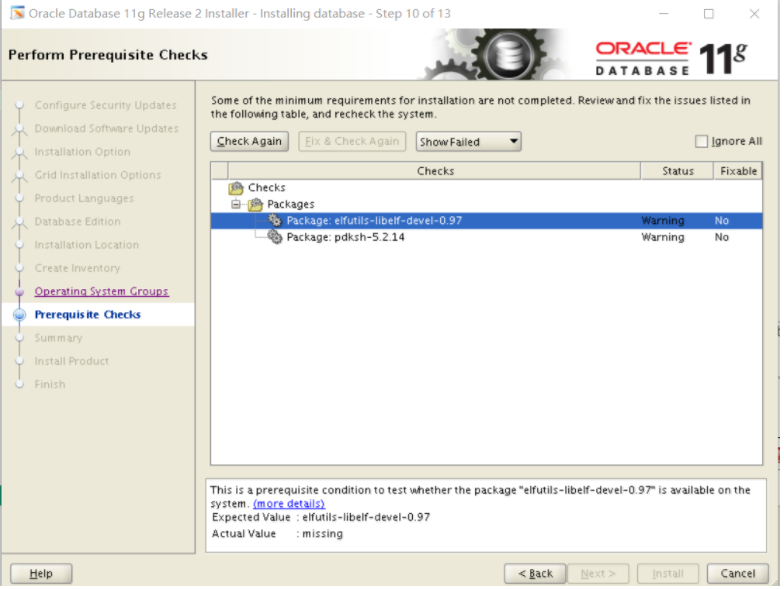
3.9 yum 进行安装
可以使用 yum 安装第一个包 [root@rhel64 ~]# yum install elfutils-libelf-devel 第二个包 pdksh 包可以从 rhel6 光盘中找到 上传后可以 rpm -ivh 安装 但与 ksh 冲突,需要先 rpm -e 卸载 ksh复制

[root@rhel64 db]# rpm -e ksh [root@rhel64 db]# rpm -i pdksh-5.2.14-37.el5.x86_64.rpm复制

[root@rhel64 db]# rpm -ivh pdksh-5.2.14-37.el5.x86_64.rpm复制

3.10 安装完成 Check Again

说明: 如果内核参数、资源限制等配置有问题,检查环节还会显示有其他错误,可先使用 Fix & Check Again 弹出的对话框会提示,仔细阅读提示内容。 使用 root 用户执行相应脚本,执行完成后再点 OK 用 对于缺少的软件包,可以直接使用 yum 进行安装, 如果还显示其他 错误, 如物理内存太小不满足条件等 错误, 需退出 安装程序关闭系统调整的。修复后 重新运行安装程序。 重新安装时需删除/u01/app/ 下的 oraInventory 目录 和 /u01/app/oracle 下的 product 目录 可以点击 Back 查看所检查的项目复制
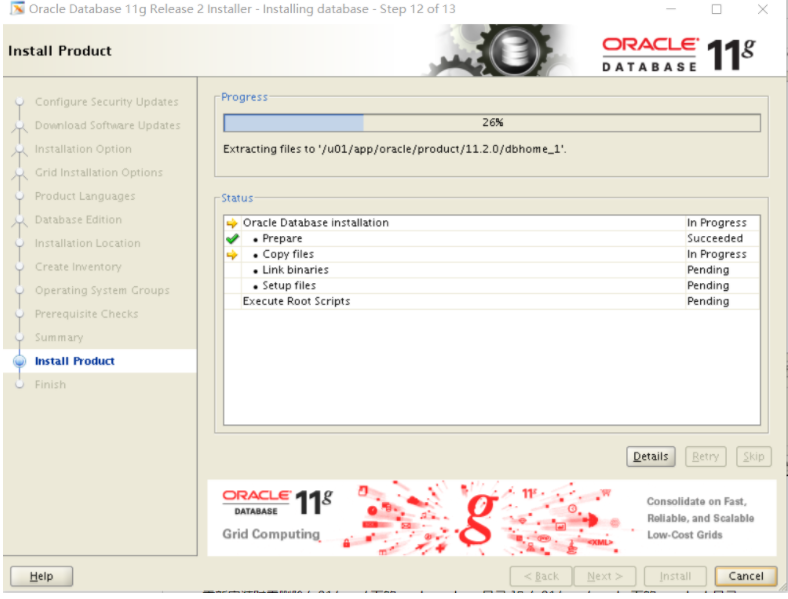
3.11 Install 安装
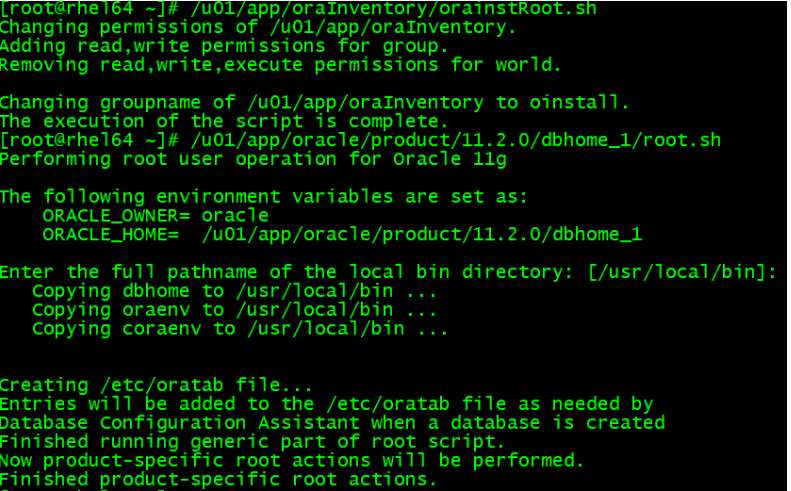
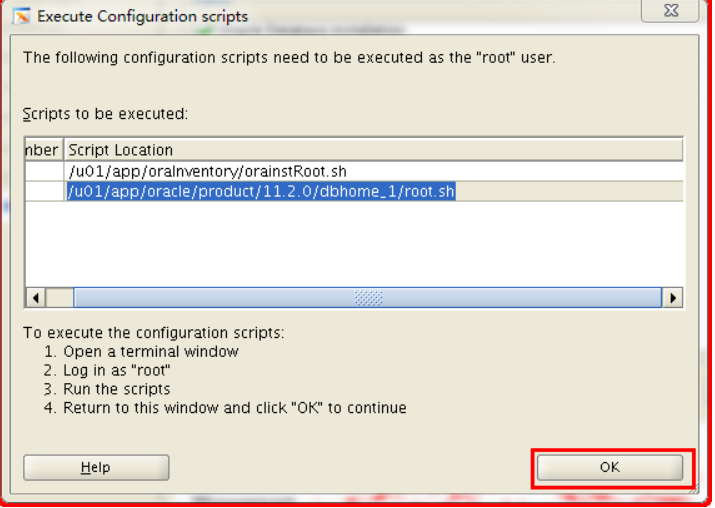
3.12 root 用户按顺序执行脚本
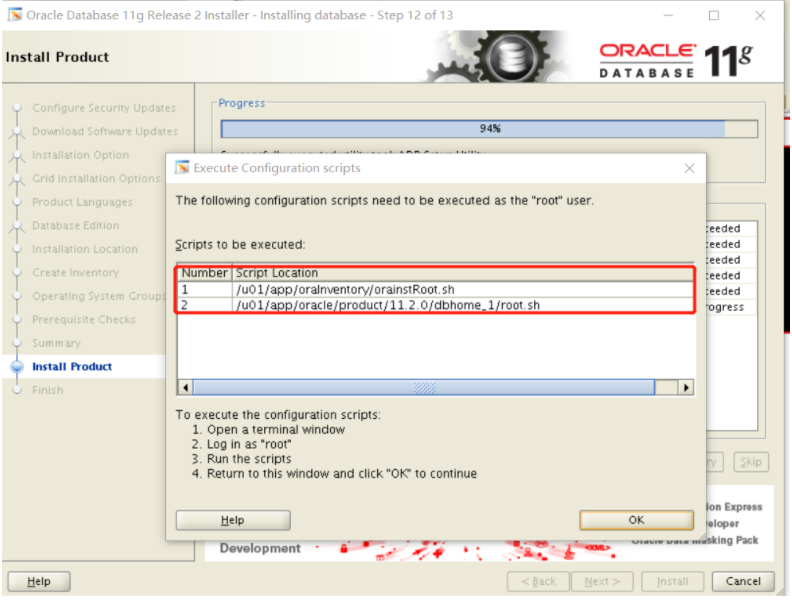
[root@rhel64 ~]# /u01/app/oraInventory/orainstRoot.sh [root@rhel64 ~]# /u01/app/oracle/product/11.2.0/dbhome_1/root.sh复制
执行完成点击 OK
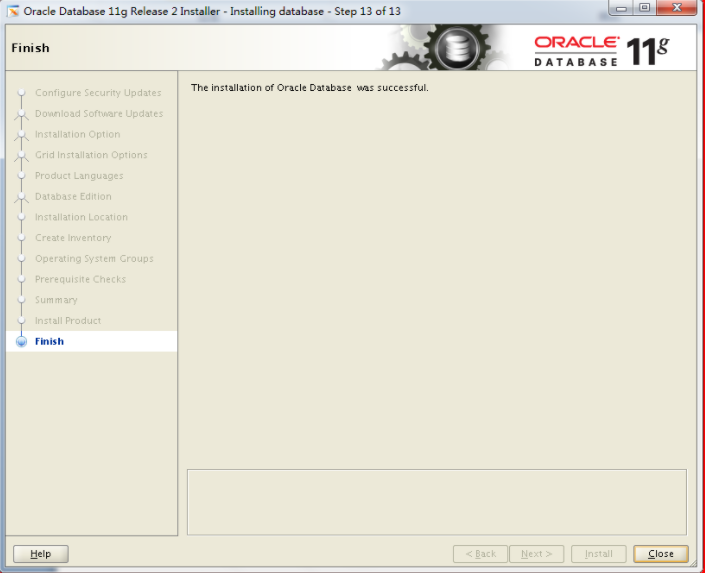
3.13 安装完成
4 netca 配置监听
4.1 oracle 用户执行 netca 命令
xmanager 启动状态 [oracle@rhel64 ~]$ netca复制
4.2 默认 Next
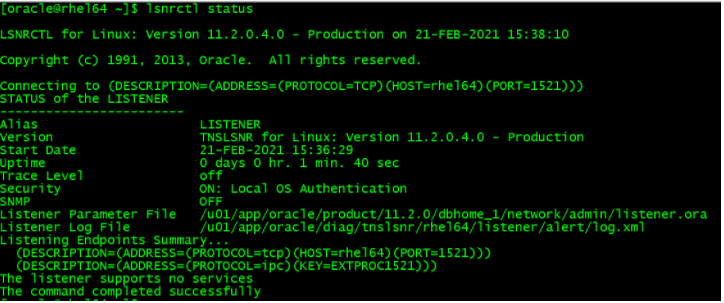
4.3 配置完成 lsnrctl status 查看监听状态
[oracle@rhel64 ~]$ lsnrctl status复制
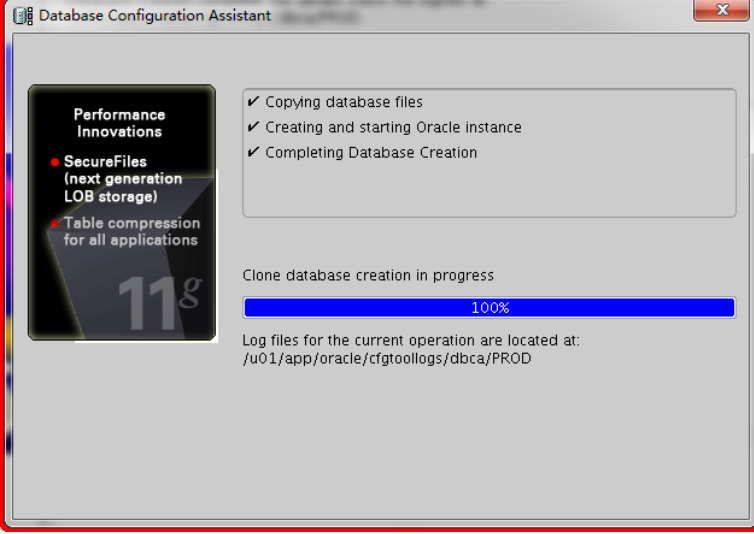
5 dbca 建库
5.1 oracle 用户执行 dbca 命令创建数据库
xmanager 启动状态 [oracle@rhel64 ~]$ dbca复制
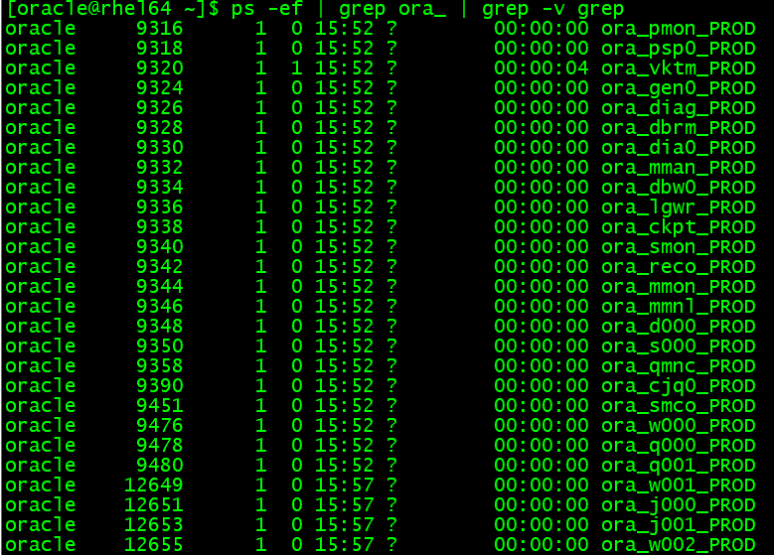
dbca 建库后查看相关进程
[oracle@rhel64 ~]$ ps -ef | grep ora_ | grep -v grep复制
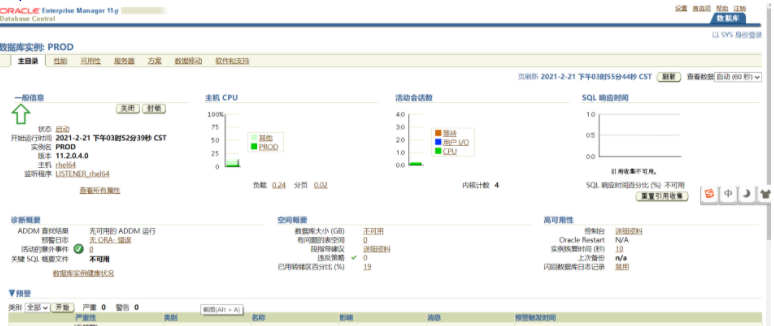
EM登陆
https://192.168.6.10:1158/em
本次分享到此结束啦~
如果觉得文章对你有帮助,点赞、收藏、关注、评论
你的支持就是我创作最大的动力。
❤️ 技术交流可以 关注公众号:IT邦德 ❤️
微信:jem_db
QQ交流群:168797397
更多内容请关注B站看直播(搜索jeames007)
评论

 2 2 1 1


