


说明
本篇文章主要介绍了Linux5.6基于LVM安装oracle10gR2单机的配置过程,比较详细,基本上每一个配置部分的步骤都提供了完整的脚本,安装部分都提供了简单的说明和截图,帮助你100%安装成功oracle数据库。
安装过程有不明白的地方或者卡点,可以私信留言,看到会回复。
1 环境规划
配置:
| 类目 | 配置 |
|---|---|
| 操作系统版本 | rhel5.6 x86_64 |
| 服务器主机名 | oracle10g |
| 物理分配内存 | 2G |
| SWAP交换分区 | 3G |
| IP地址 | 192.168.56.110 |
| 虚拟机存放位置 | G:\Machine\Oracle\Single\oracle10g\oracle10g.vdi |
| 本地磁盘及Oracle软件目录 | /u01/app/oracle |
安装介质:

如需获取安装介质,请后台私信我。
2 安装前准备及操作系统安装配置
2.1 虚拟机安装
略
安装的rhel5.6可能没有安装sshd服务,需要在挂载本地yum源后安装sshd服务,下载的包为openssh-server和openssh-clients。
2.2 修改主机名
[root@oracle10g ~]# cat /etc/sysconfig/network
NETWORKING=yes
NETWORKING_IPV6=yes
HOSTNAME=oracle10g

[root@oracle10g ~]# hostname
oracle10g
2.3 配置网络
一、修改网卡配置文件:
[root@oracle10g ~]# cat /etc/sysconfig/network-scripts/ifcfg-eth0
# Intel Corporation 82540EM Gigabit Ethernet Controller
DEVICE=eth0
BOOTPROTO=static
BROADCAST=192.168.56.255
HWADDR=08:00:27:90:4D:69
IPADDR=192.168.56.110
IPV6INIT=yes
IPV6_AUTOCONF=yes
NETMASK=255.255.255.0
NETWORK=192.168.56.0
ONBOOT=yes
主要关注BOOTPROTO、IPADDR、NETMASK和ONBOOT。
二、配置hosts
[root@oracle10g ~]# cat /etc/hosts
# Do not remove the following line, or various programs
# that require network functionality will fail.
127.0.0.1       localhost.localdomain localhost
::1             localhost6.localdomain6 localhost6

192.168.56.110 oracle10g
注意:需要把127.0.0.1这一行的主机名删掉,要不然在配置检查的时候网络配置报错。
2.4 安装需要的软件包
Linux 5需要如下或以上版本的包,确认并安装缺失的包:
[root@oracle10g ~]#
rpm -q binutils compat-db glibc kernel-headers glibc-headers glibc-devel gcc \
libstdc++ libstdc++-devel  gcc-c++ libXt libXp libXau-devel libXp-devel libXmu \
openmotif libaio libaio-devel  sysstat compat-gcc compat-gcc-34-c++ make ksh \
compat-libstdc++-296 compat-libstdc++-3 | grep "is not installed"
缺的包安装:
yum install -y compat-db libXp libXp-devel openmotif libaio libaio-devel sysstat compat-gcc ksh compat-libstdc++-3
再检查一遍,还有没装的包:compat-gcc和compat-libstdc+±3,查看可安装的包:
[root@oracle10g ~]# yum search compat-gcc
Loaded plugins: rhnplugin
This system is not registered with RHN.
RHN support will be disabled.
================================================================== Matched: compat-gcc ===================================================================
compat-gcc-34.x86_64 : Compatibility GNU Compiler Collection
compat-gcc-34-c++.x86_64 : C++ support for compatibility compiler
compat-gcc-34-g77.x86_64 : Fortran 77 support for compatibility compiler

[root@oracle10g ~]# yum search compat-libstdc++-3
Loaded plugins: rhnplugin
This system is not registered with RHN.
RHN support will be disabled.
============================================================== Matched: compat-libstdc++-3 ===============================================================
compat-libstdc++-33.i386 : Compatibility standard C++ libraries
compat-libstdc++-33.x86_64 : Compatibility standard C++ libraries
直接无脑把上面的包都装了就好。
yum install -y compat-gcc-34.x86_64 compat-gcc-34-c++.x86_64 compat-gcc-34-g77.x86_64
yum install -y compat-libstdc++-33.i386 compat-libstdc++-33.x86_64
注意:最好把i386的包也安装上,若没安装libXt i386的包,否则后续安装会报/lib/i386/libawt.so:libXt.so.6: cannot open shared object file: No such file or directory occurred。
安装下列包:
yum install -y libXau-devel.i386 libXp.i386 libXp-devel.i386
2.5 禁用不必要的服务
[root@oracle10g ~]#
export LANG=en
chkconfig atd off
chkconfig sendmail off
chkconfig cups off
chkconfig bluthtooth off
2.6 禁用防火墙和selinux
[root@oracle10g ~]#
iptables -F
iptables -L
chkconfig iptables off
chkconfig ip6tables off
vi /etc/sysconfig/selinux
#改为:
SELINUX=disabled
2.7 创建oracle用户和组
[root@oracle10g ~]#
groupadd -g 501 oinstall
groupadd -g 502 dba
groupadd -g 503 oper
useradd -u 501 -g oinstall -G dba,oper oracle
passwd oracle
2.8 创建lvm逻辑卷
创建分区:
[root@oracle10g ~]#
echo -e "n\np\n1\n\n+5120m\nw" | fdisk /dev/sdb
echo -e "n\np\n2\n\n+5120m\nw" | fdisk /dev/sdb
echo -e "n\np\n3\n\n+5120m\nw" | fdisk /dev/sdb
echo -e "n\np\n4\n\n\nw" | fdisk /dev/sdb
创建物理卷:
[root@oracle10g ~]#
pvcreate /dev/sdb1 /dev/sdb2 /dev/sdb3 /dev/sdb4
vgcreate  vg_oracle /dev/sdb1 /dev/sdb2
lvcreate  -L 9.5G vg_oracle -n lv_oracle

[root@oracle10g ~]# lvdisplay
  --- Logical volume ---
  LV Name                /dev/vg_oracle/lv_oracle
  VG Name                vg_oracle
  LV UUID                LEszdq-Eyum-JwZb-ELTU-2nFZ-jnBE-d6BKNP
  LV Write Access        read/write
  LV Status              available
  # open                 0
  LV Size                9.50 GB
  Current LE             2432
  Segments               2
  Allocation             inherit
  Read ahead sectors     auto
  - currently set to     256
  Block device           253:0
格式化:
[root@oracle10g ~]# mkfs -t ext3 /dev/vg_oracle/lv_oracle
2.9 创建软件安装目录并挂载
创建软件安装目录:
[root@oracle10g ~]#
mkdir /u01
df -h
mkdir -p  /u01/app/oracle
chown -R oracle:oinstall /u01
挂载:
[root@oracle10g ~]# df -Th
Filesystem    Type    Size  Used Avail Use% Mounted on
/dev/mapper/vg_oracle-lv_oracle
              ext3    9.4G  150M  8.8G   2% /u01
设置永久挂载:
[root@oracle10g ~]# echo "/dev/mapper/vg_oracle-lv_oracle /u01 ext3 defaults 0 0" >> /etc/fstab
2.10 配置相关系统文件
/etc/sysctl.conf:
[root@oracle10g ~]# vi /etc/sysctl.conf
#添加:
kernel.shmmni = 4096
kernel.sem = 250 32000 200 128
fs.file-max = 870400
net.ipv4.ip_local_port_range = 1024 65000

net.core.rmem_default = 4194304
net.core.rmem_max = 4194304
net.core.wmem_default = 1048576
net.core.wmem_max = 1048576

#生效:
[root@oracle10g app]# sysctl -p
net.ipv4.ip_forward = 0
net.ipv4.conf.default.rp_filter = 1
net.ipv4.conf.default.accept_source_route = 0
kernel.sysrq = 0
kernel.core_uses_pid = 1
net.ipv4.tcp_syncookies = 1
kernel.msgmnb = 65536
kernel.msgmax = 65536
kernel.shmmax = 68719476736
kernel.shmall = 4294967296
kernel.shmmni = 4096
kernel.sem = 250 32000 200 128
fs.file-max = 870400
net.ipv4.ip_local_port_range = 1024 65000
net.core.rmem_default = 4194304
net.core.rmem_max = 4194304
net.core.wmem_default = 1048576
net.core.wmem_max = 1048576
/etc/security/limits.conf:
[root@oracle10g ~]# vim /etc/security/limits.conf
#添加:
oracle  soft  nproc 3096
oracle  hard  nproc  16384
oracle  soft  nofile  65536
oracle  hard  nofile  870400
/etc/pam.d/login:
[root@oracle10g ~]# vim /etc/pam.d/login
#添加
session    required     /lib/security/pam_limits.so
由于Redhat 5上oracle10g RAC,hangcheck_reboot默认是0,即系统hang住不重起系统,CRS默认的misscount值是60s,Misscount必须 > hangcheck_tick+hangcheck_margin,因此设置:
[root@oracle10g ~]# vim /etc/modprobe.conf
#添加
options hangcheck-timer hangcheck_tick=10 hangcheck_margin=40 hangcheck_reboot=1

[root@oracle10g ~]# modprobe hangcheck-timer
[root@oracle10g ~]# tail -20 /var/log/messages
...
Apr  9 01:42:19 oracle10g last message repeated 3 times
Apr  9 01:42:32 oracle10g last message repeated 6 times
Apr  9 01:42:36 oracle10g kernel: Hangcheck: starting hangcheck timer 0.9.0 (tick is 10 seconds, margin is 40 seconds).
Apr  9 01:42:36 oracle10g kernel: Hangcheck: Using monotonic_clock().
2.11 配置环境变量
[root@oracle10g ~]# su - oracle
[oracle@oracle10g ~]$ vim .bash_profile
#添加:
export ORACLE_BASE=/u01/app/oracle
export ORACLE_HOME=$ORACLE_BASE/product/10.2/db_1
export ORA_CRS_HOME=$ORACLE_BASE/product/10.2/crs
export ORACLE_SID=orcl
export ORACLE_TERM=xterm
export LANG=en_US
export PATH=$ORACLE_HOME/bin:$ORA_CRS_HOME/bin:$PATH
export TNS_ADMIN=$ORACLE_HOME/network/admin
export LD_LIBRARY_PATH=$ORACLE_HOME/lib:/lib:/usr/lib:/usr/local/lib
export TEMP=/tmp
export TMPDIR=/tmp
umask 022
PATH=$PATH:$HOME/bin
3 安装数据库软件
3.1 解压缩安装文件
创建安装包存放目录:
[oracle@oracle10g ~]$ cd
[oracle@oracle10g ~]$ mkdir soft/
上传安装包:
[oracle@oracle10g ~]$ ll soft/
total 783588
-rw-r--r-- 1 root root 801603584 Apr  9 01:51 10201_database_linux_x86_64.cpio
解压:
[oracle@oracle10g soft]$ cpio -idmv <10201_database_linux_x86_64.cpio

[oracle@oracle10g soft]$ ll
total 783592
-rw-r--r-- 1 root   root     801603584 Apr  9 01:51 10201_database_linux_x86_64.cpio
drwxr-xr-x 6 oracle oinstall      4096 Oct 23  2005 database
3.2 安装数据库软件
3.2.1 运行安装命令
[root@oracle10g ~]# xhost +
access control disabled, clients can connect from any host
[root@oracle10g ~]# su - oracle
[oracle@oracle10g ~]$ cd soft/database/
[oracle@oracle10g database]$ ./runInstaller
Starting Oracle Universal Installer...

Checking installer requirements...

Checking operating system version: must be redhat-3, SuSE-9, redhat-4, UnitedLinux-1.0, asianux-1 or asianux-2
                                      Failed <<<<

Exiting Oracle Universal Installer, log for this session can be found at /tmp/OraInstall2024-04-09_02-03-18AM/installActions2024-04-09_02-03-18AM.log
报错版本问题,系统版本必须为redhat-3, SuSE-9, redhat-4, UnitedLinux-1.0, asianux-1 or asianux-2。
3.2.2 修改操作系统版本
release 5.6修改为release 4:
[root@oracle10g ~]# cat /etc/redhat-release
#Red Hat Enterprise Linux Server release 4 (Tikanga)
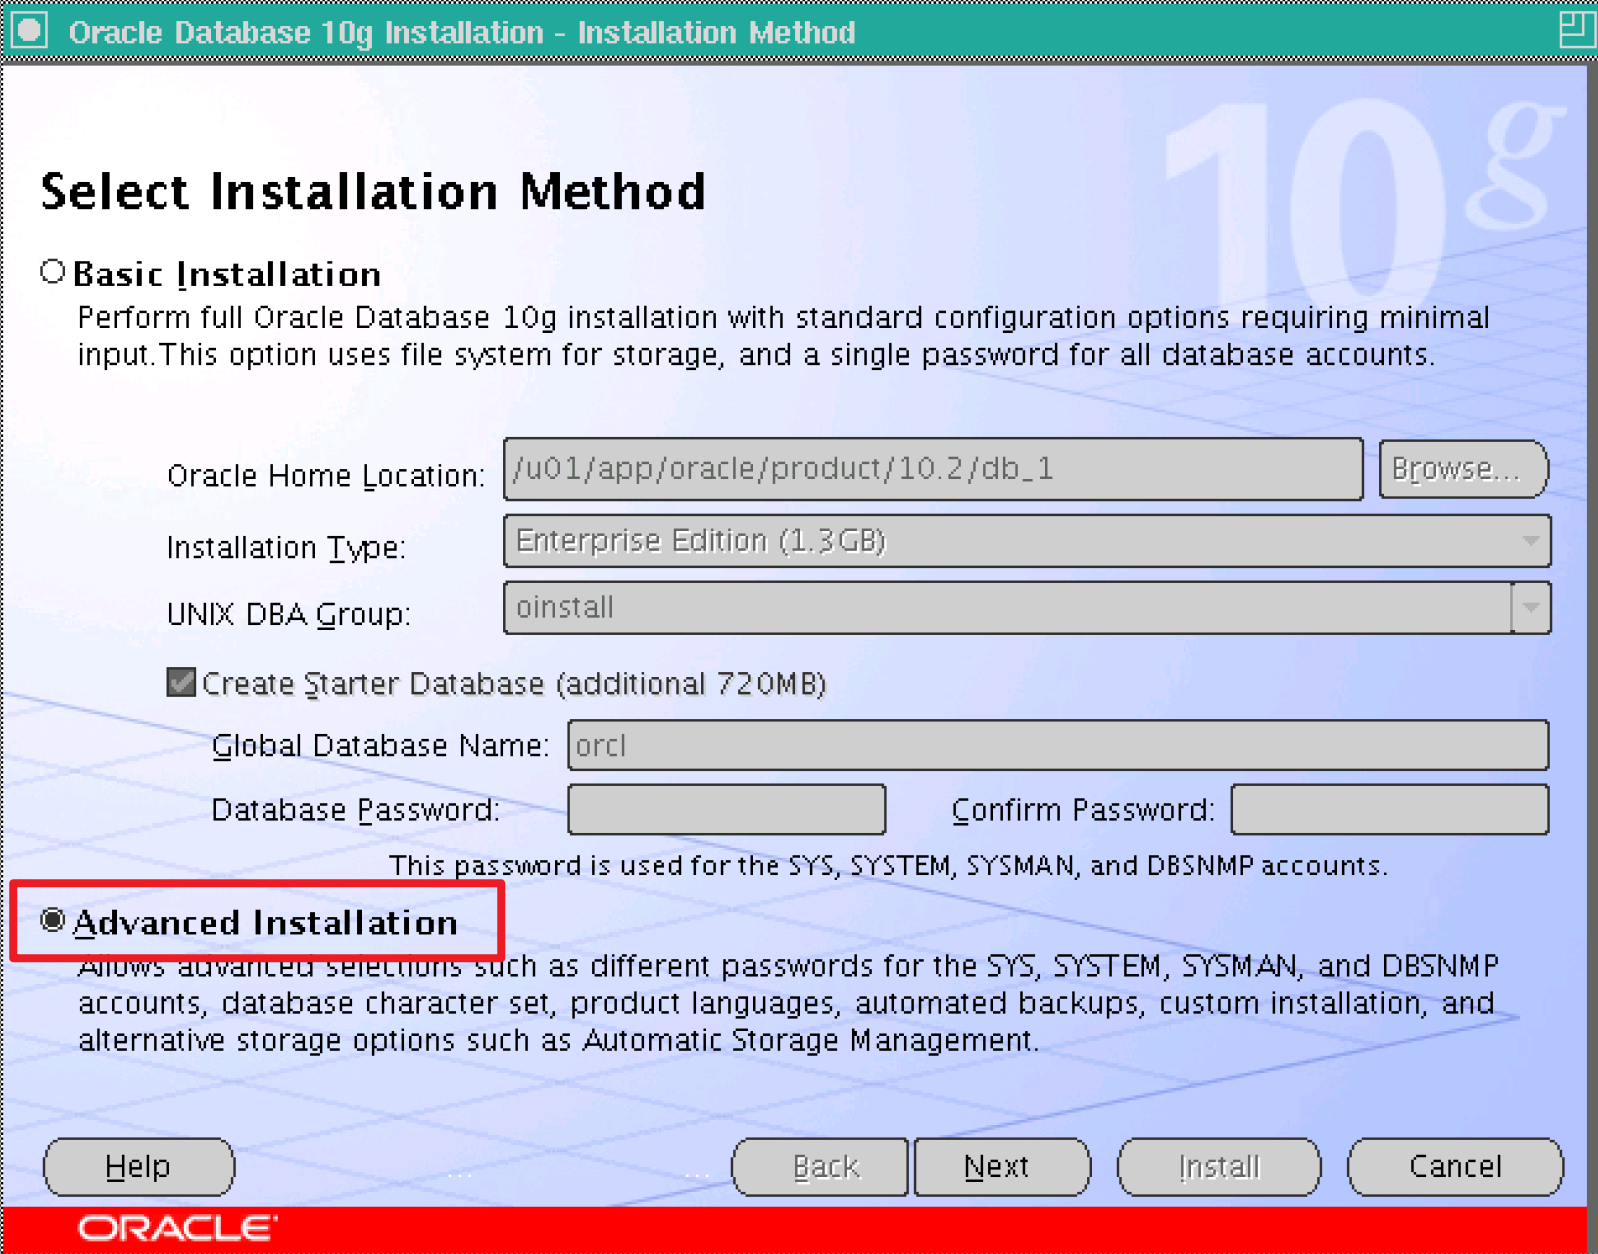
3.2.3 运行安装
[root@oracle10g ~]# xhost +
access control disabled, clients can connect from any host
[root@oracle10g ~]# su - oracle
[oracle@oracle10g ~]$ cd soft/database/
[oracle@oracle10g database]$ ./runInstaller
选择自定义安装。
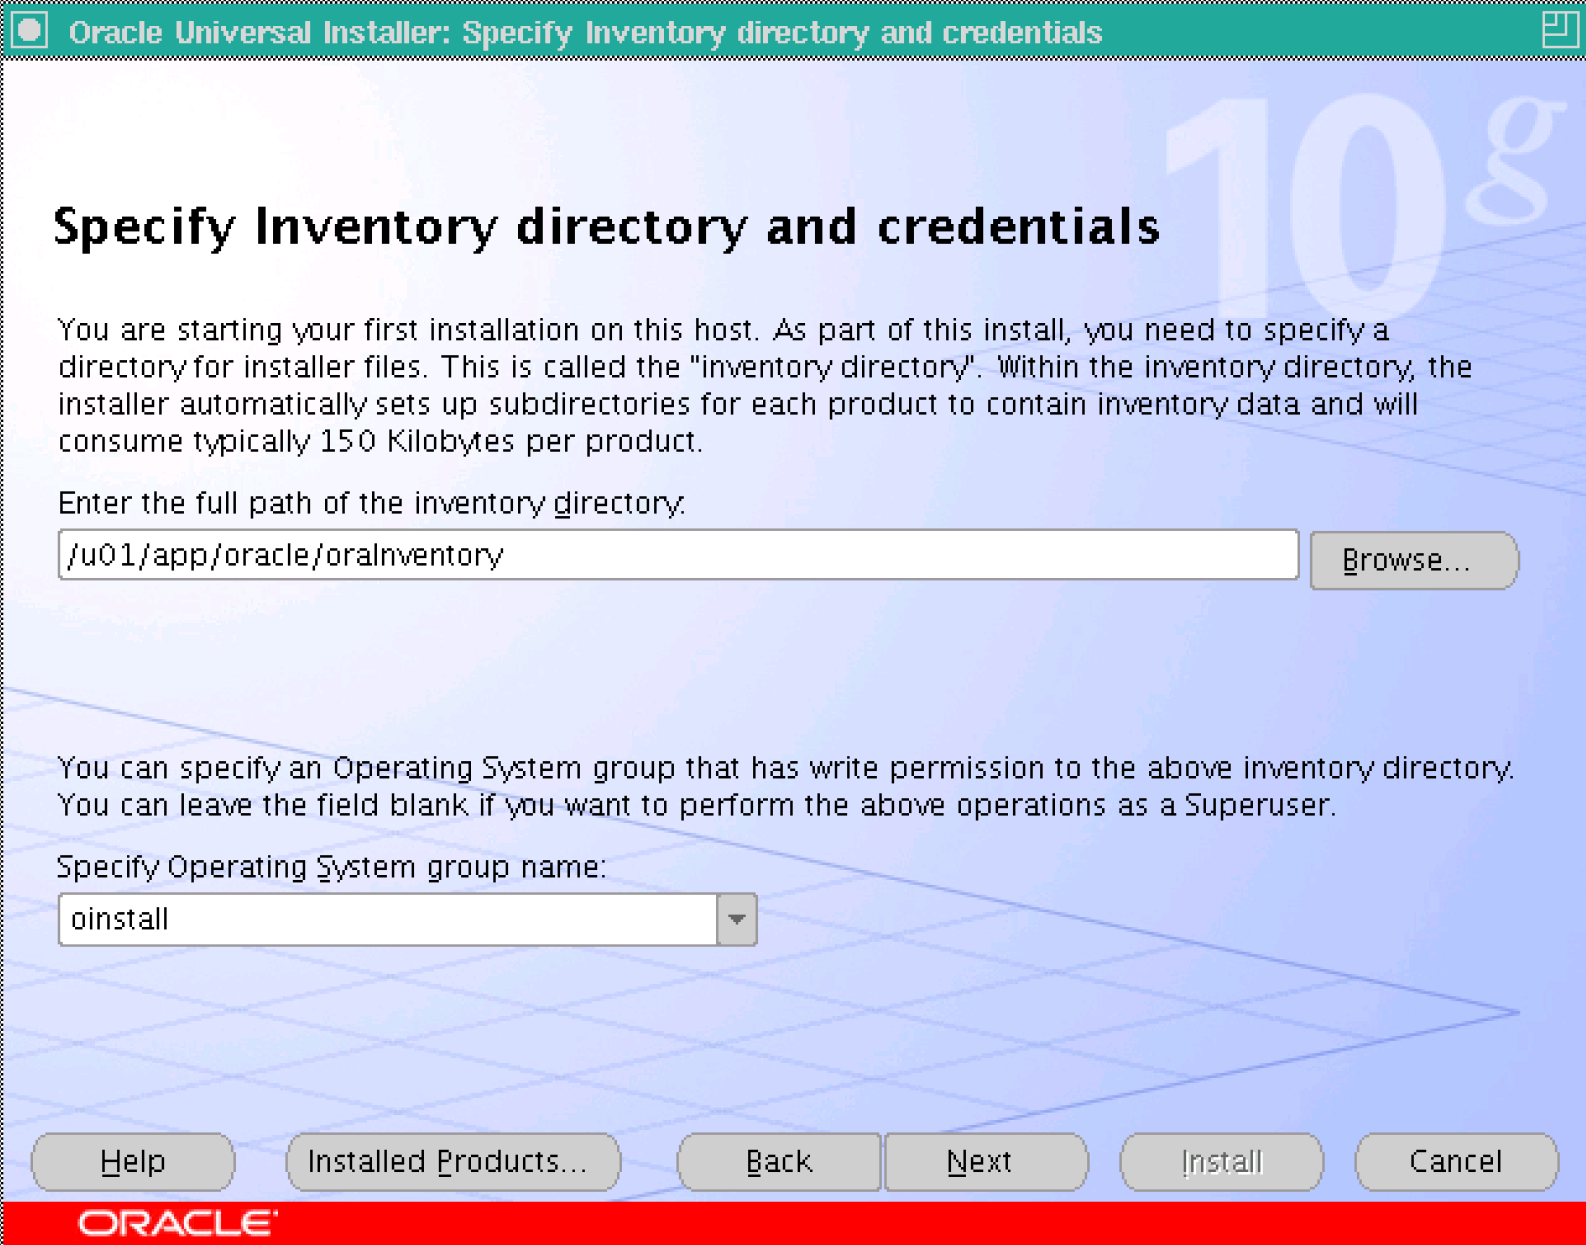
3.2.4 指定库存目录和凭证
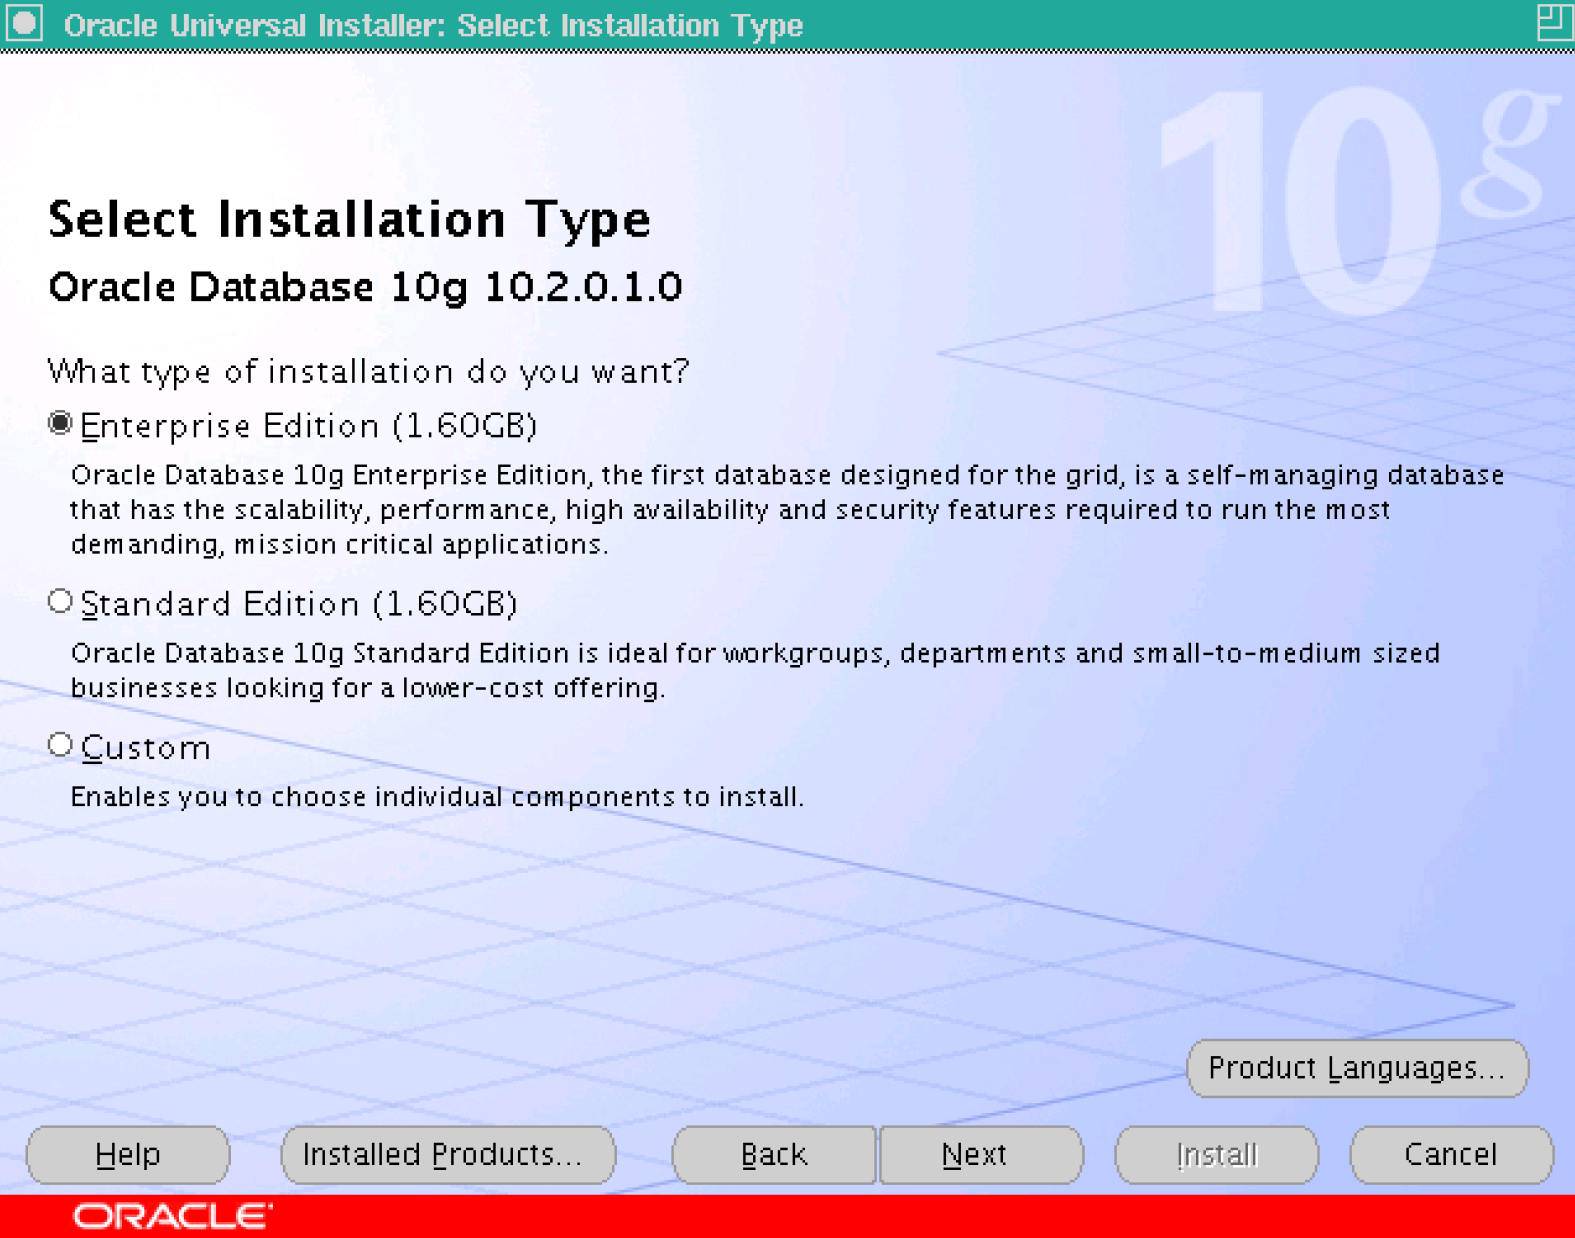
3.2.5 选择安装类型
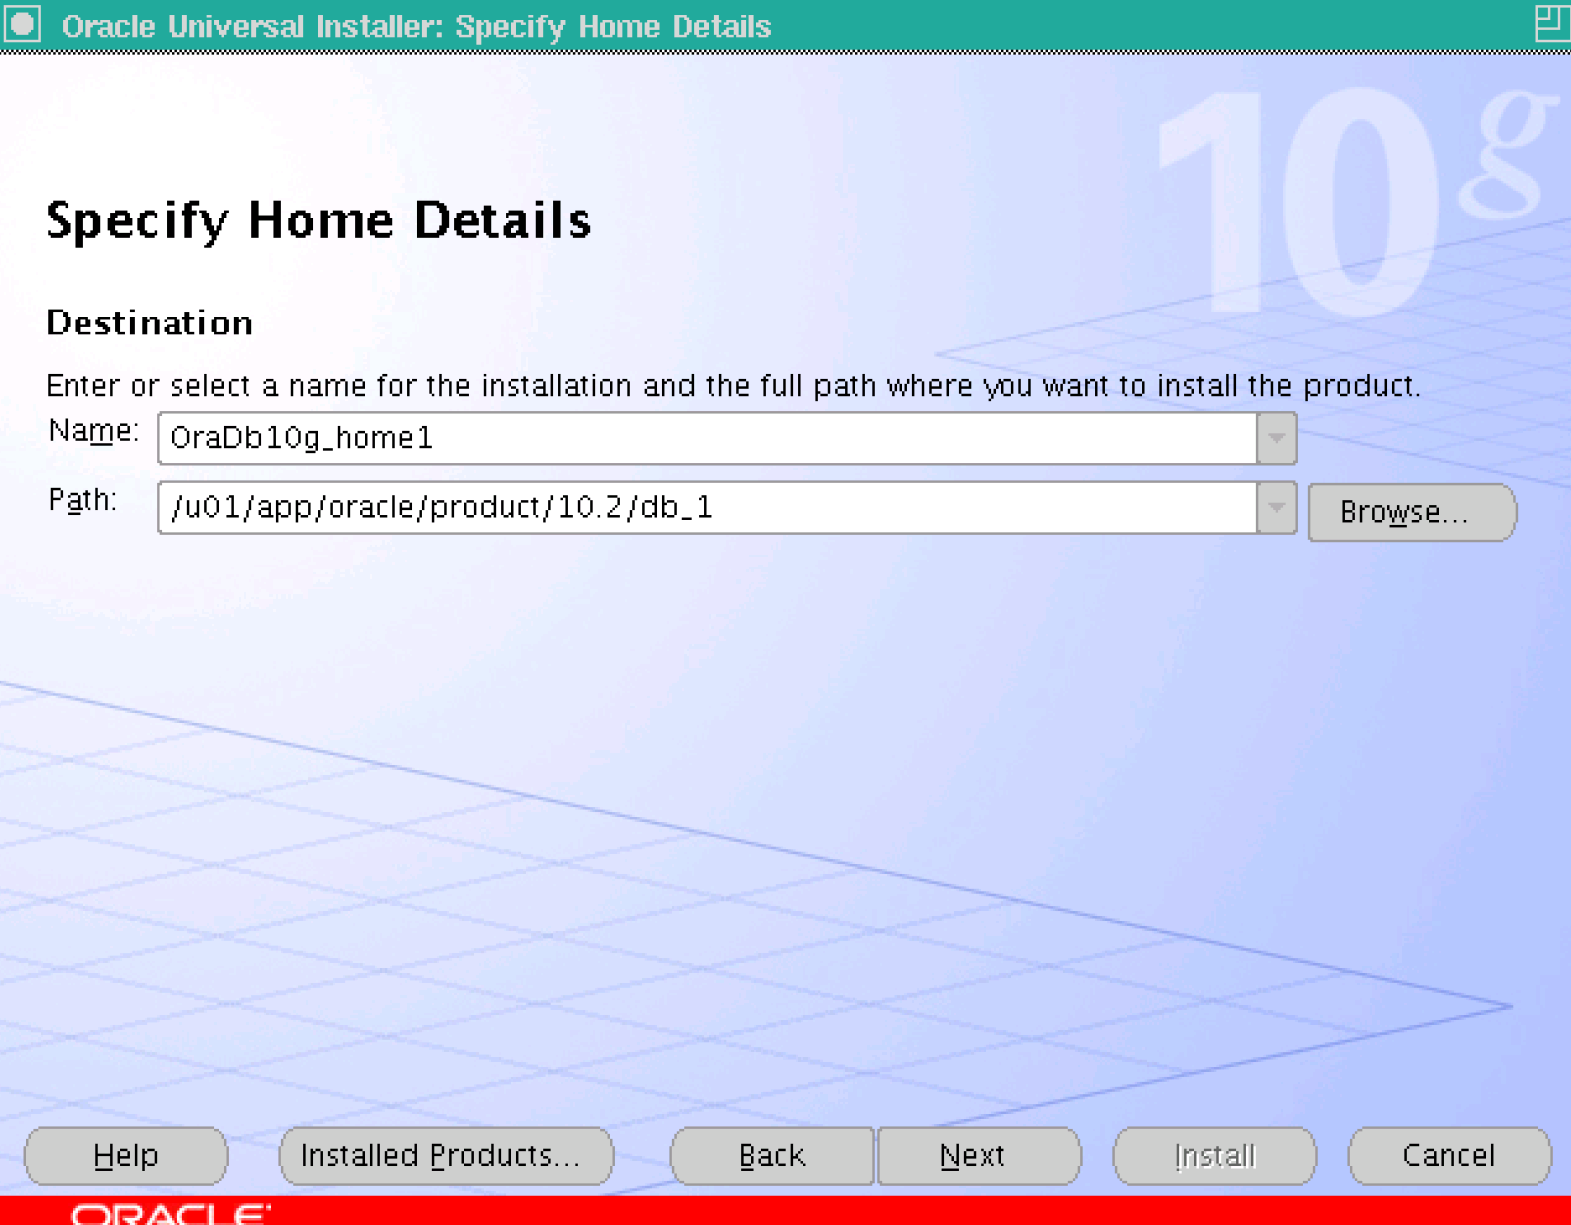
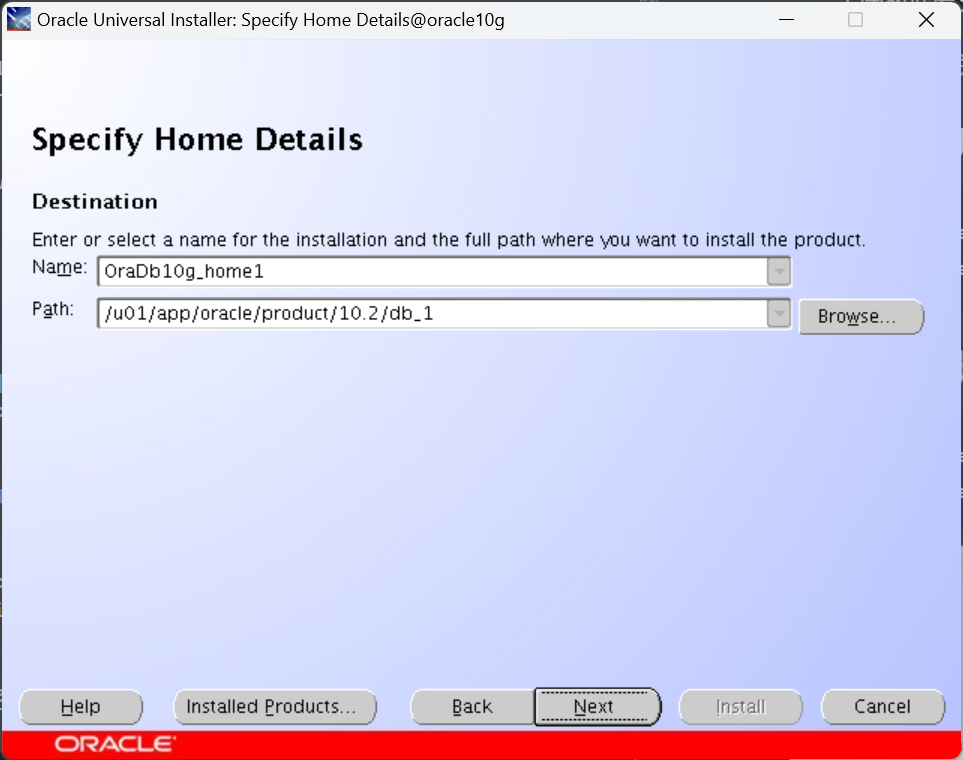
3.2.6 指定ORACLE HOME目录
3.2.7 安装前自动检查系统配置

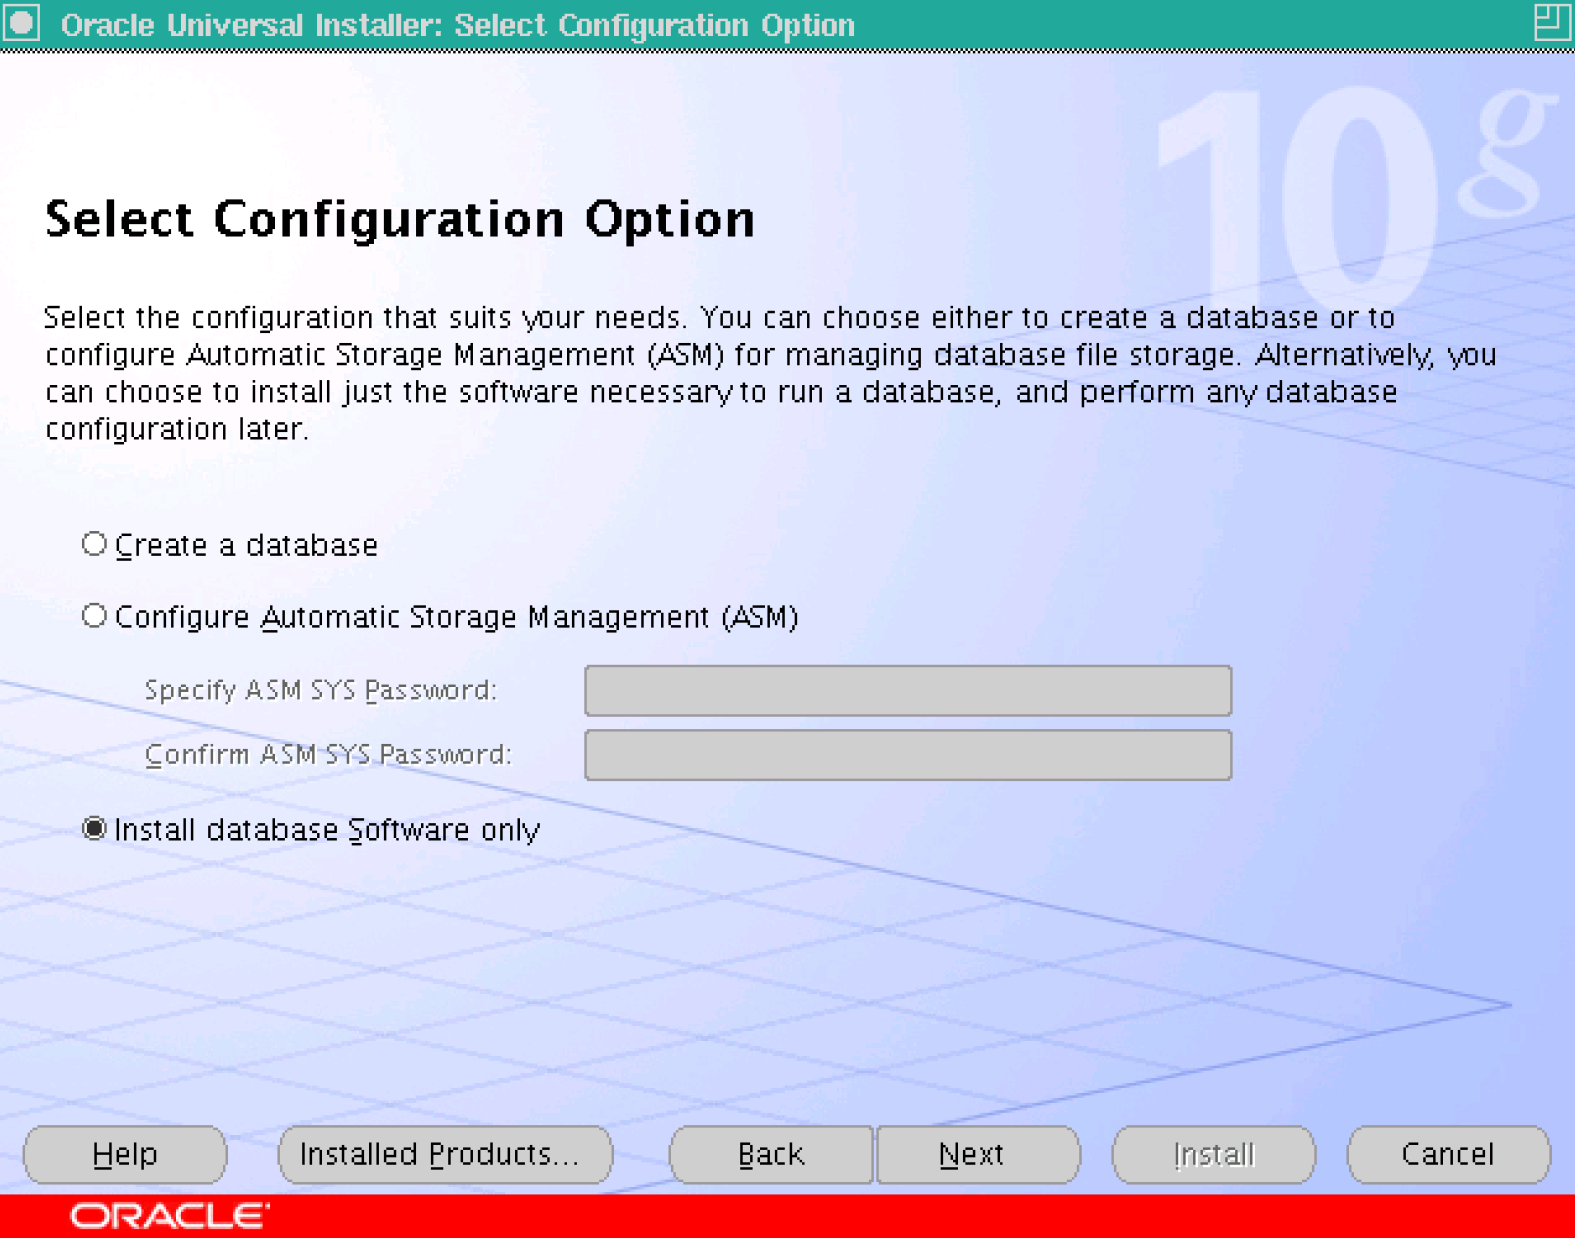
3.2.8 仅安装数据库软件
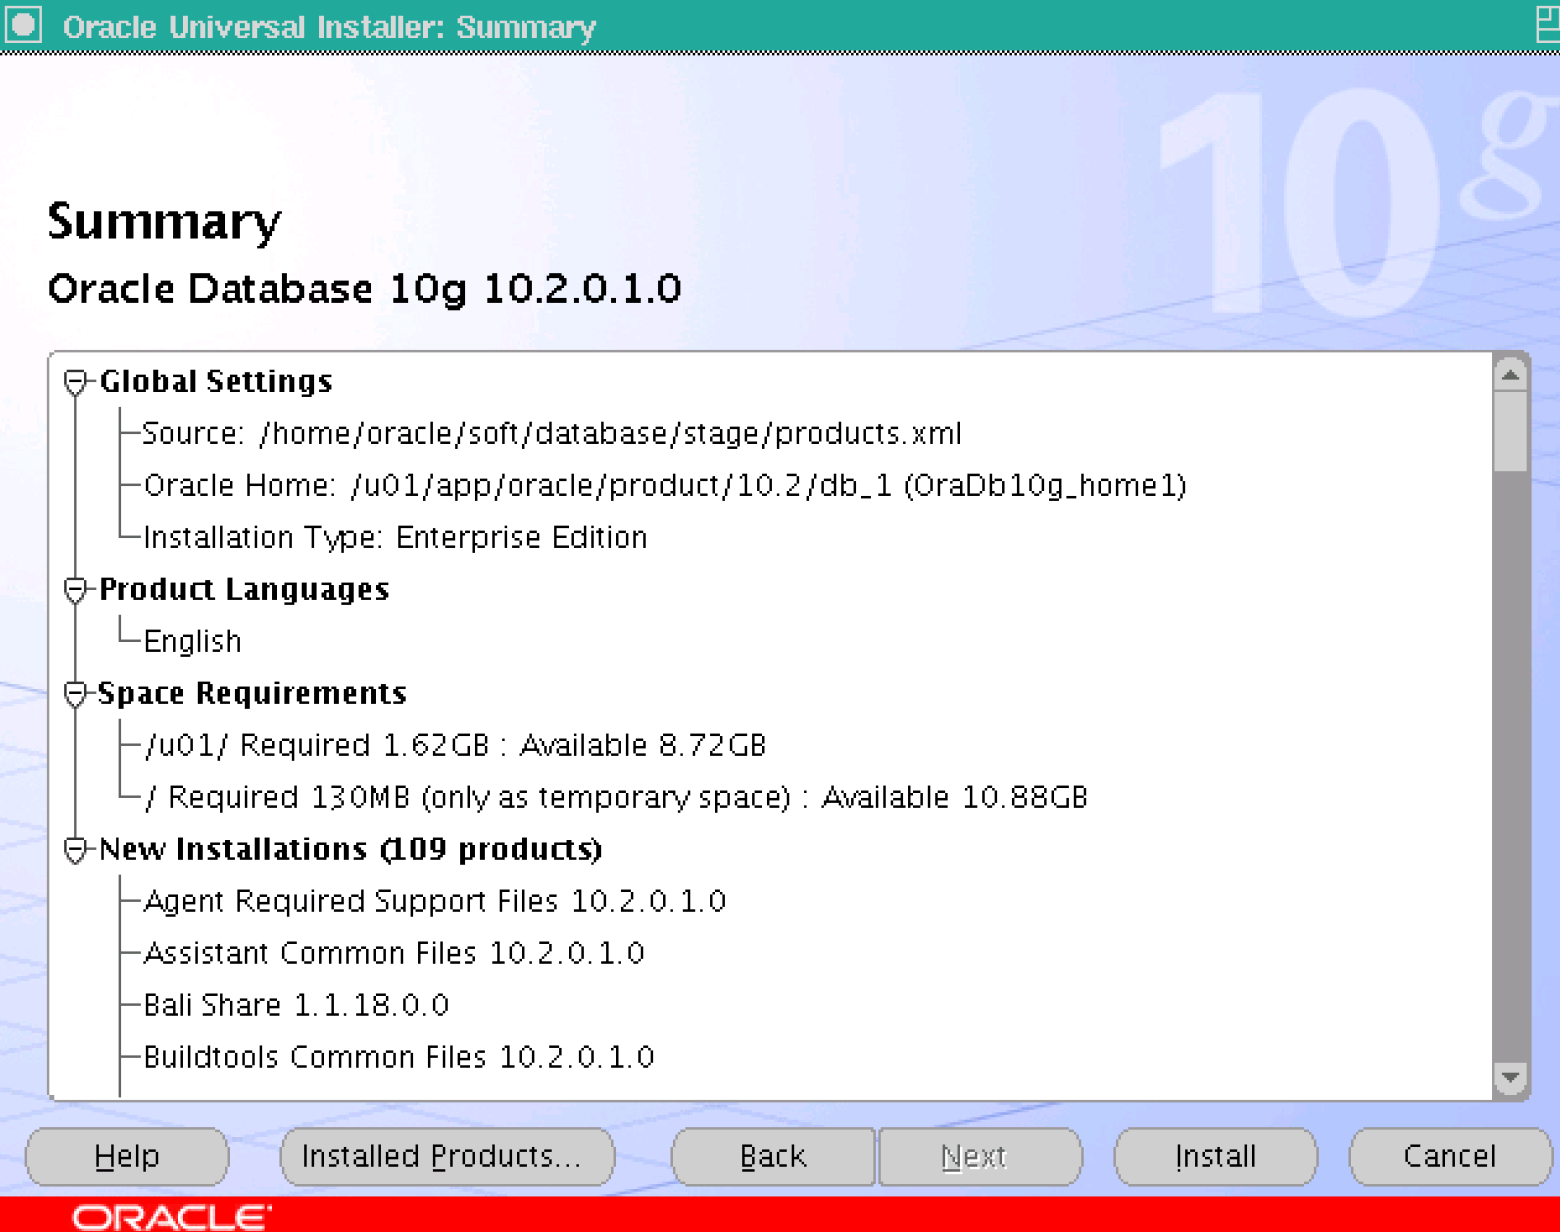
3.2.9 开始安装数据库软件
3.2.10 按照提示运行root.sh
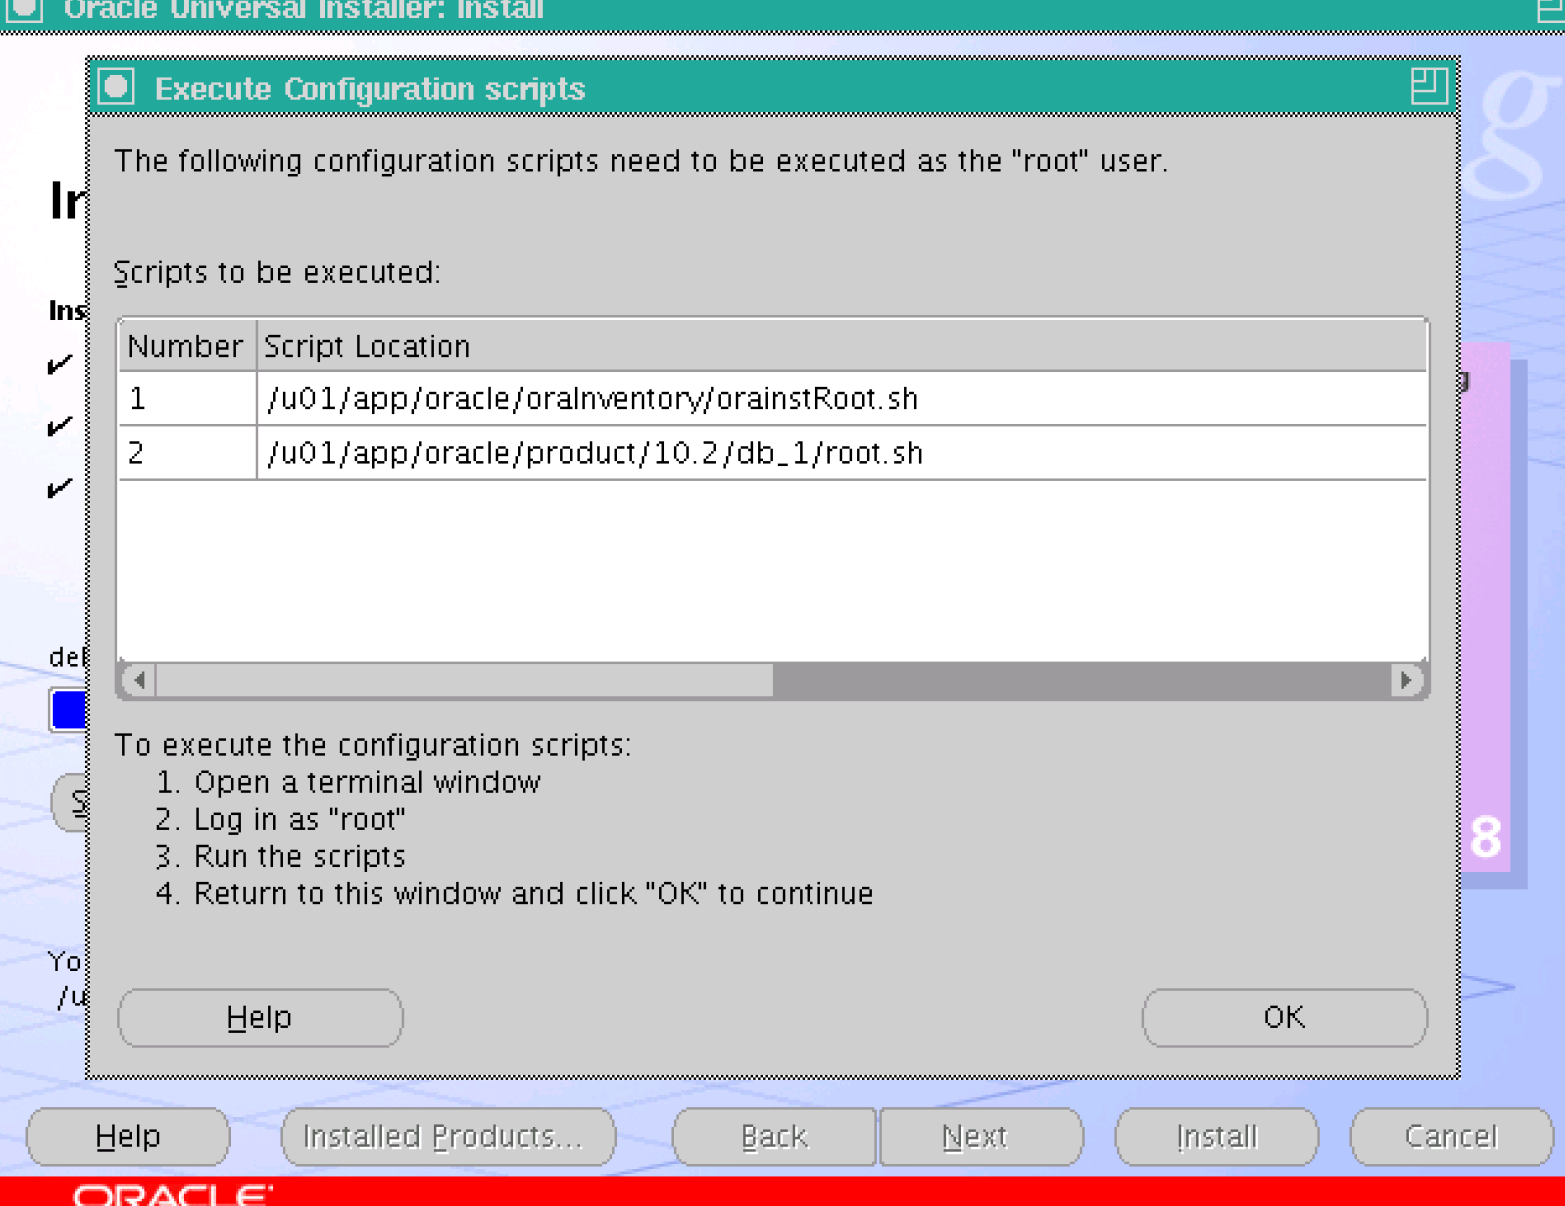
root新开一个会话,执行脚本:
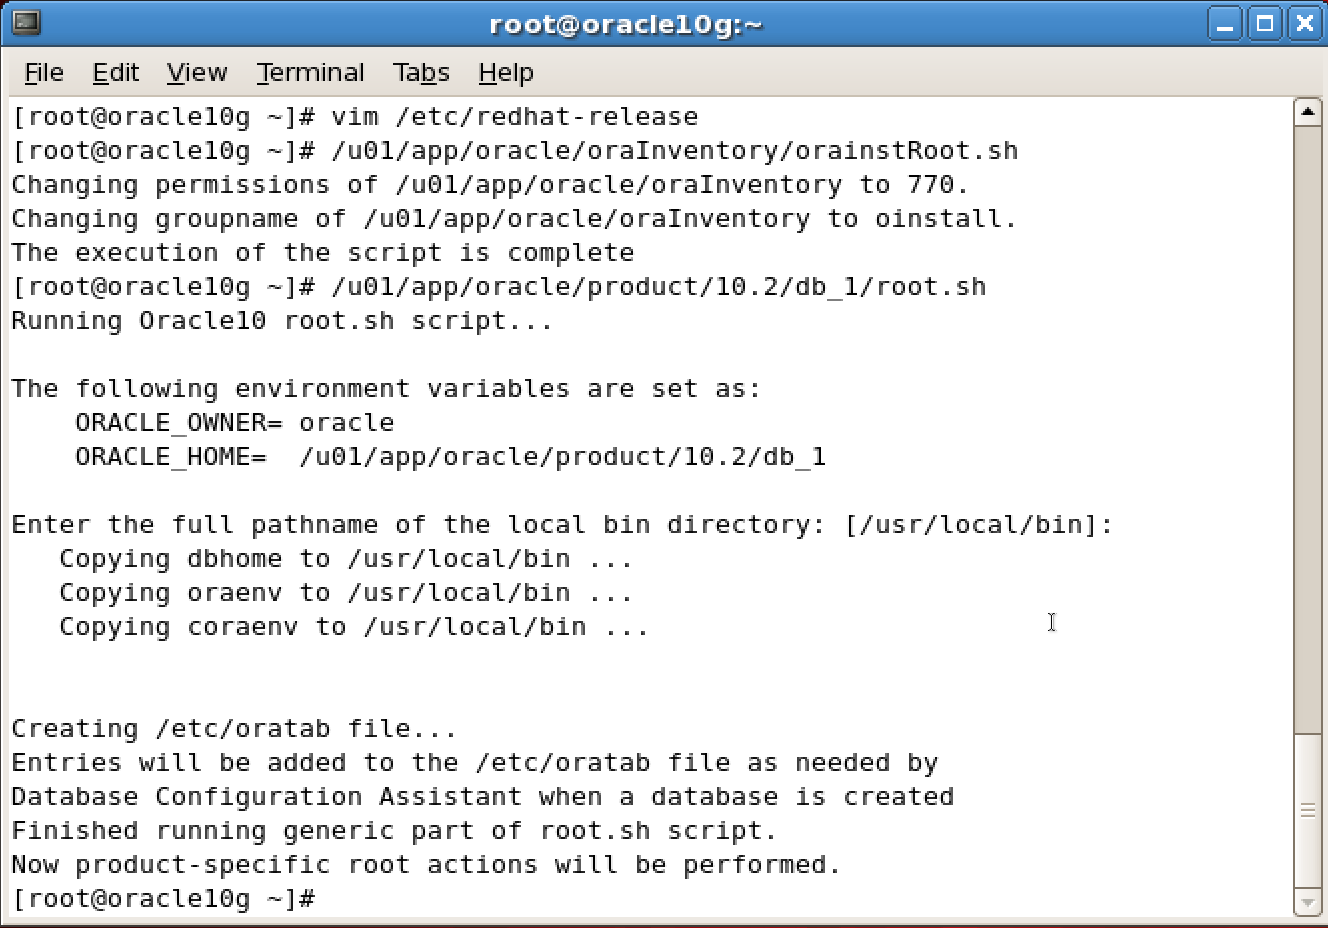
执行完后返回安装界面点击ok
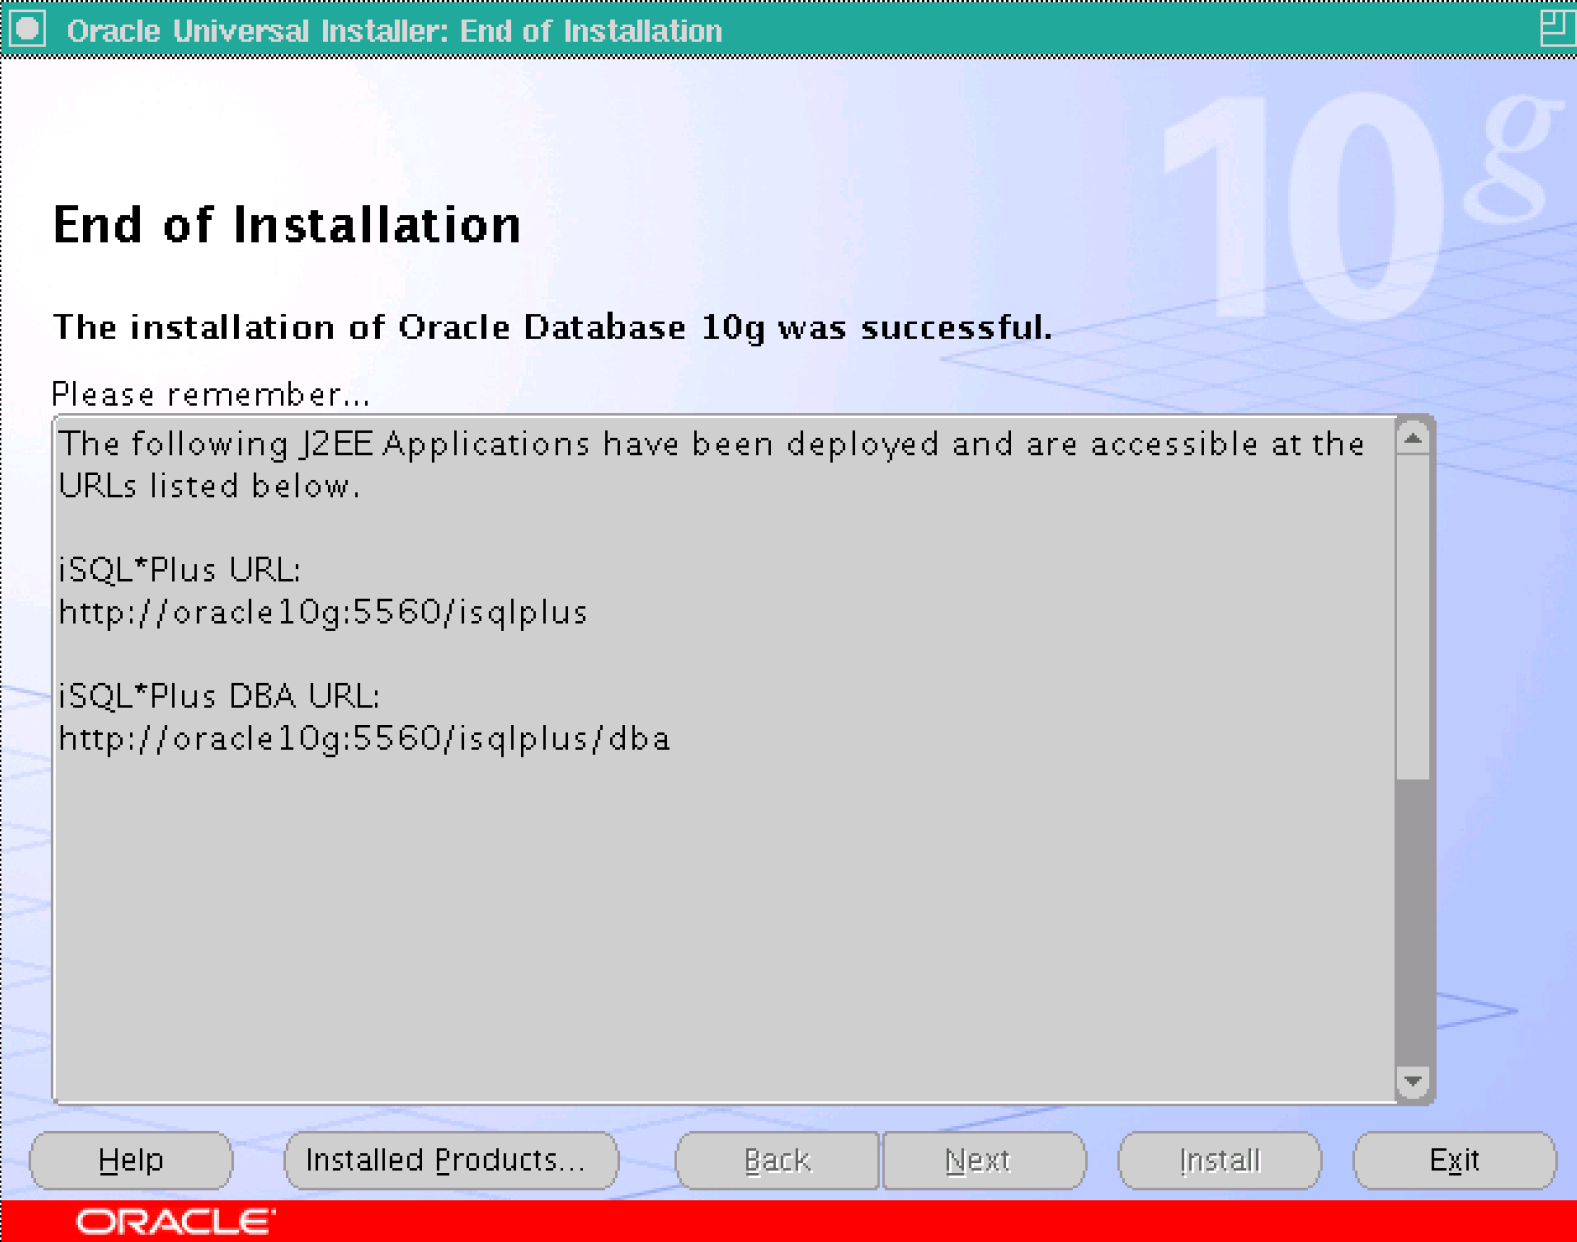
3.2.11 完成安装

4 升级数据库软件打补丁R205
刚刚安装的是R201的数据库软件,现在打补丁升级到R205版本。也可以选择后续再升级,但是后续升级比较耗时,而且失败的话还要做数据库恢复,相对比较麻烦,建议在安装好数据库软件后就进行升级。
4.1 停止oracle相关服务
一般升级前需要做好数据备份,并把oracle相关服务和数据库关掉。
-
数据备份
-
关闭相关服务
- 关闭监听:lsnrctl stop
- 关闭oem:emctl stop dbconsole
- 关闭sqlplus
-
关闭数据库:shutdown immediate
检查是否全部都关闭了,如:ps -ef | grep sqlplus
4.2 解压升级包
[oracle@oracle10g ~]$ cd soft/
[oracle@oracle10g soft]$ unzip p8202632_10205_Linux-x86-64.zip
4.3 执行脚本开始升级
[oracle@oracle10g soft]$ cd Disk1/
[oracle@oracle10g Disk1]$ ./runInstaller
直接点击下一步。

4.3.1 指定升级名字和路径
点击下一步。
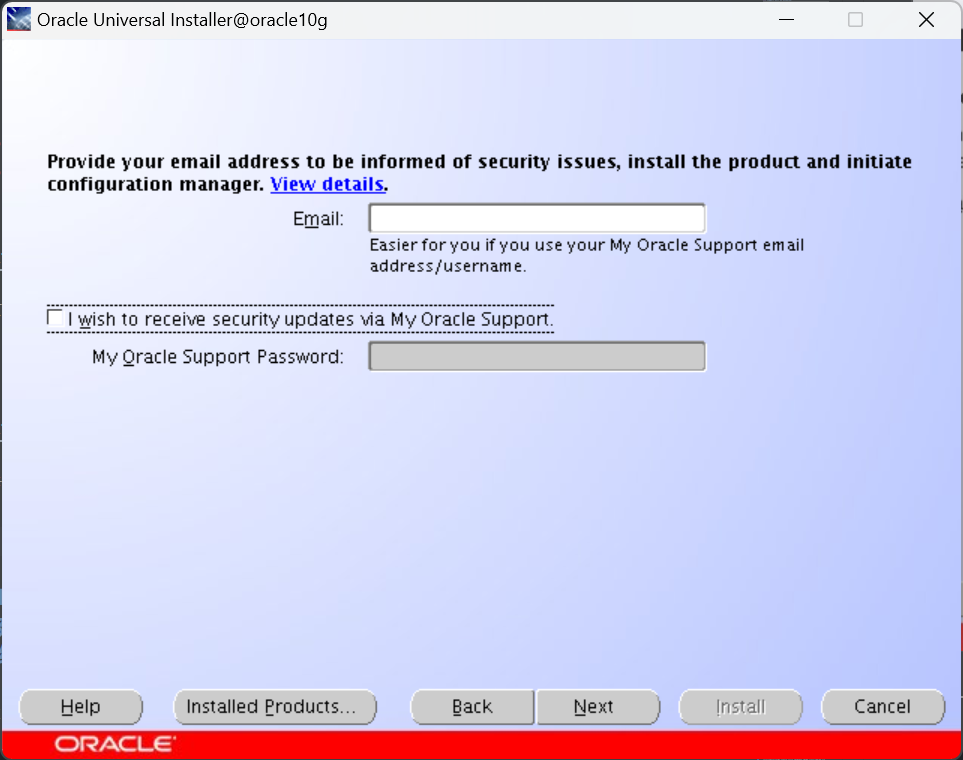
4.3.2 邮箱和支持密码
取消勾选mo支持,点击下一步。
点击yes。

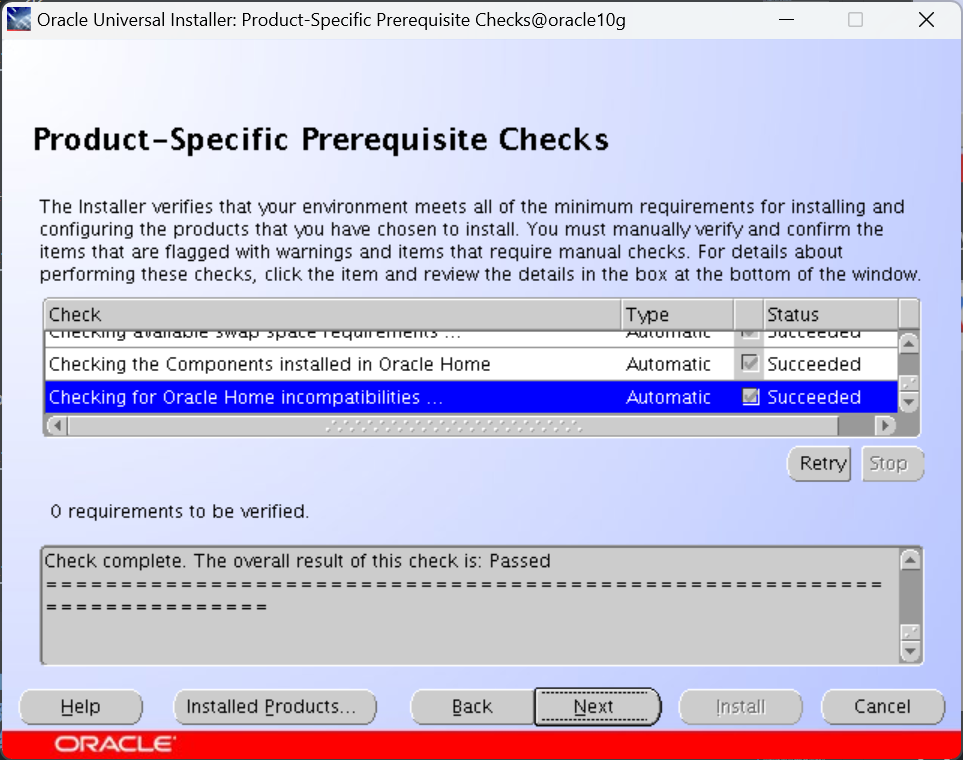
4.3.3 升级前配置检查
一定要确保所有检查项都通过,点击下一步。
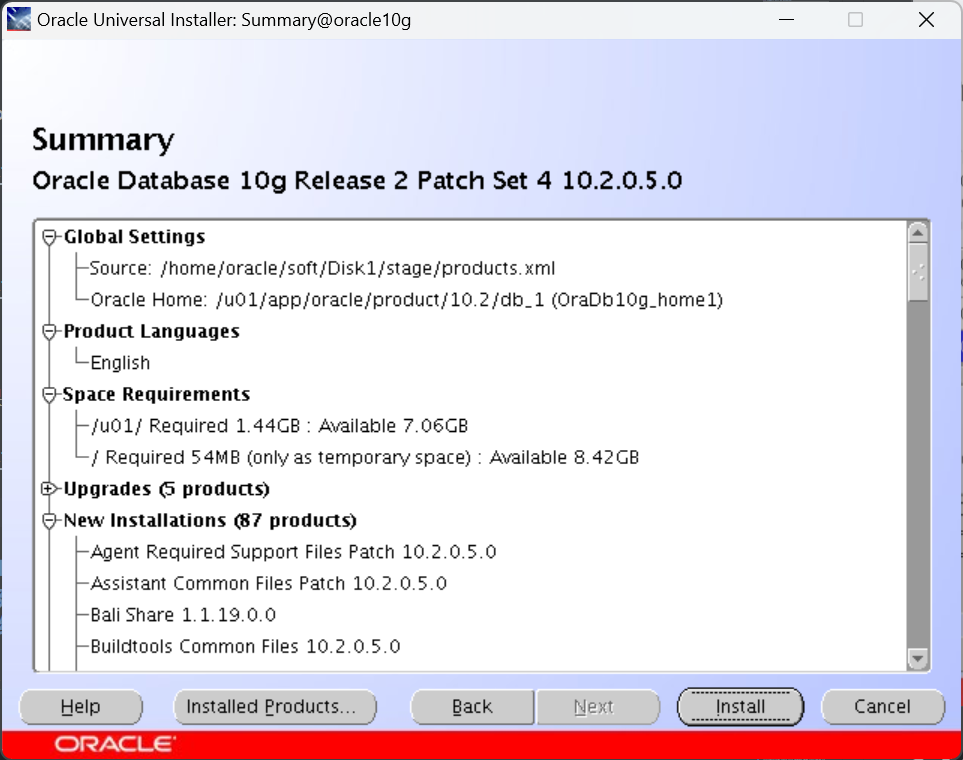
4.3.4 开始升级
升级概要,点击install开始升级。
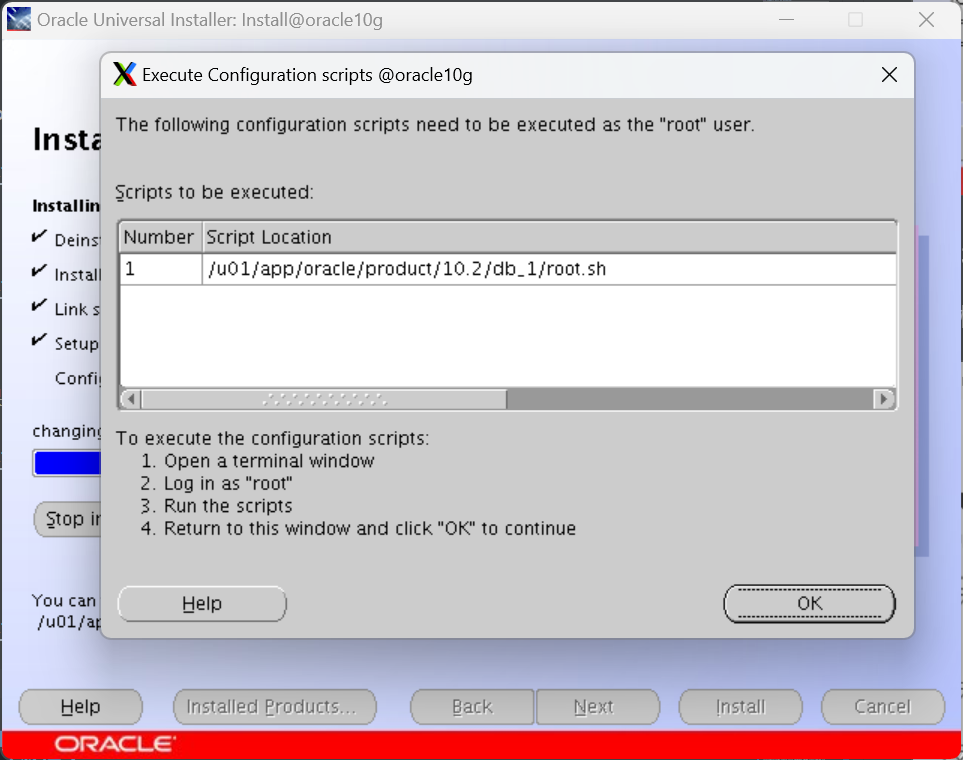
4.3.5 root执行指定目录下脚本
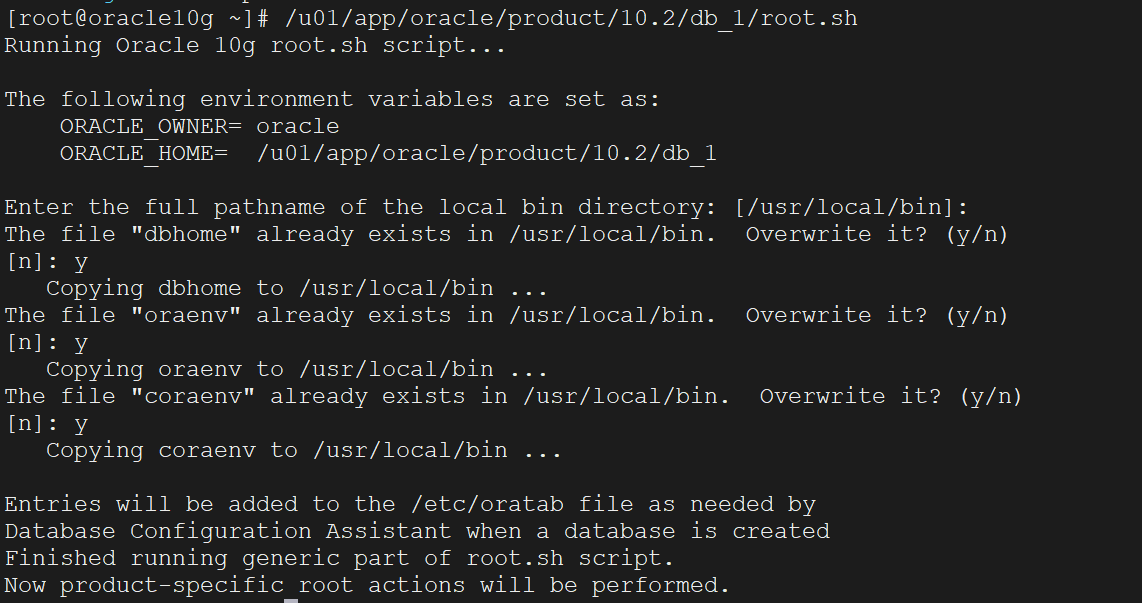
root用户新开一个会话,执行提供的脚本。
回车 + 三个y。
执行完后回到安装页面,点击ok,最后退出。
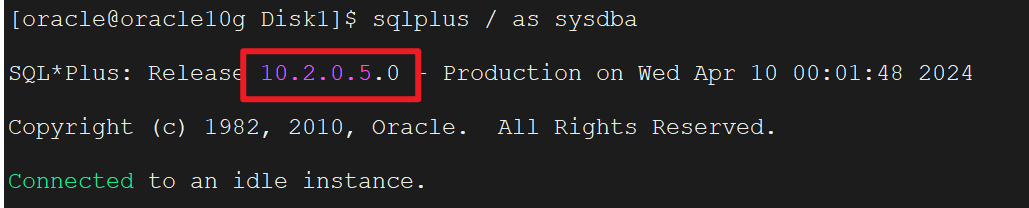
4.3.6 查看数据库软件版本
可以看到版本为10gR205。
5 监听配置
创建数据库实例前应该把监听给配了。创建数据库过程应该遵循这个顺序: 先配置监听, 再配置ASM 实例, 最后创建数据库实例, 这样可以减少出错的概率。
5.1 添加一个监听
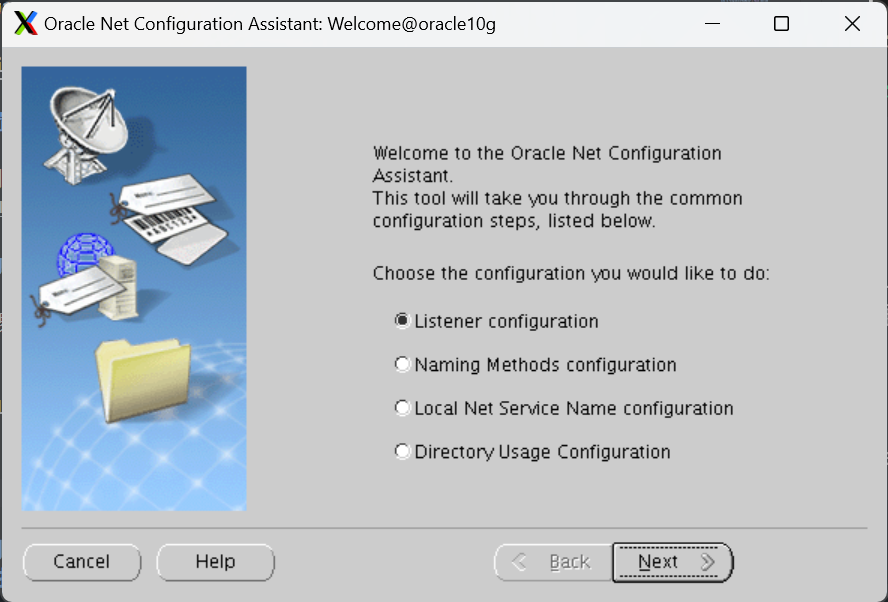
netca调出安装界面。
[oracle@oracle10g Disk1]$ netca
保持监听配置选项,点击下一步。
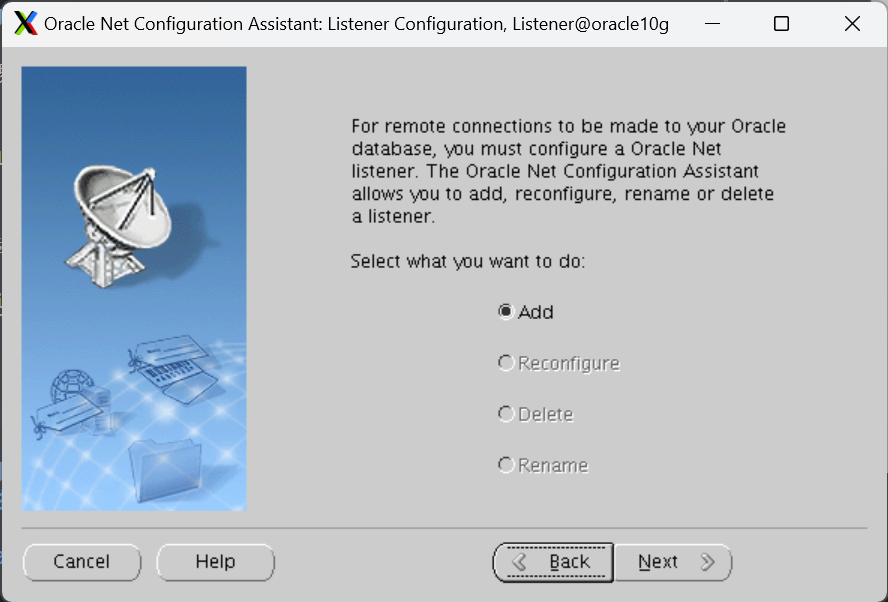
5.2 添加一个监听
add添加,点击下一步。
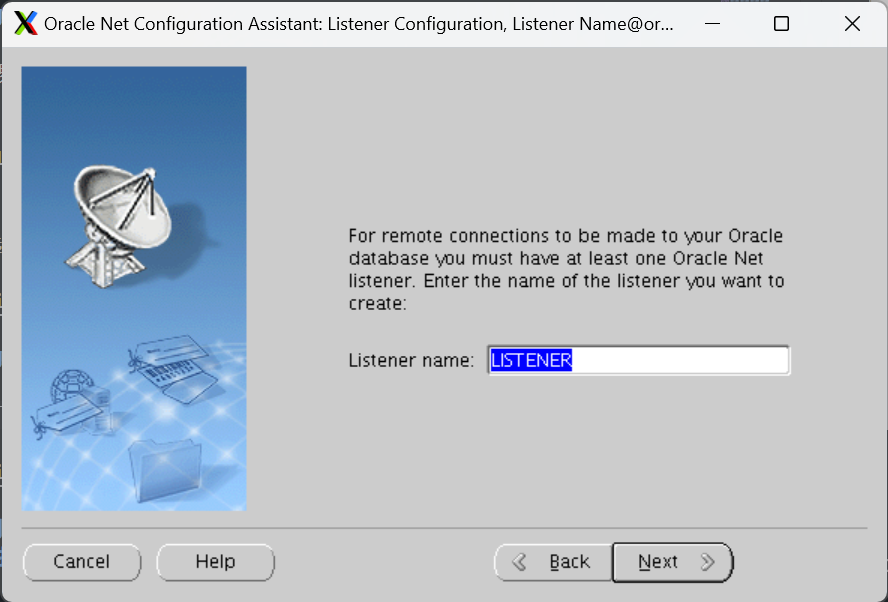
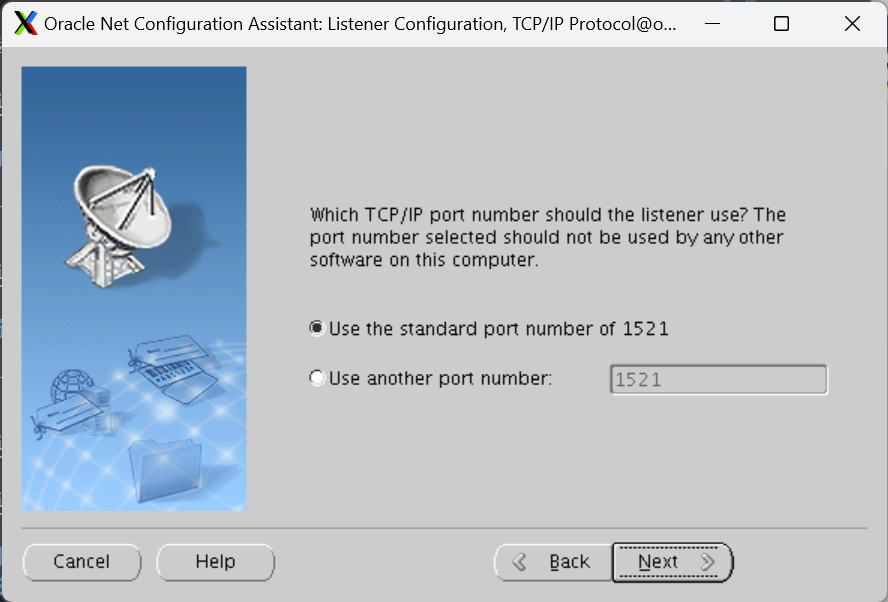
5.3 指定监听名字、传输协议和端口
选择默认的即可。

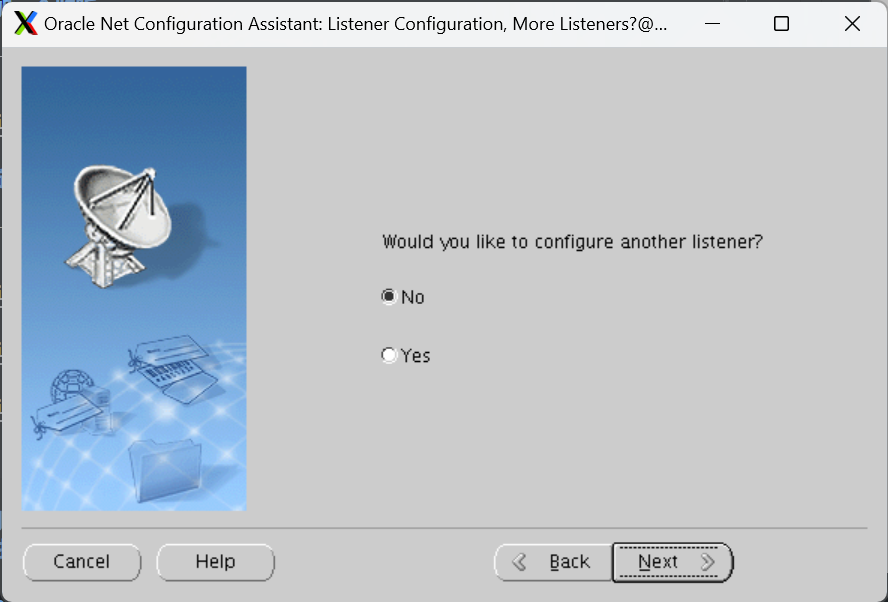
5.4 完成监听添加
选择no,不配置其他监听。

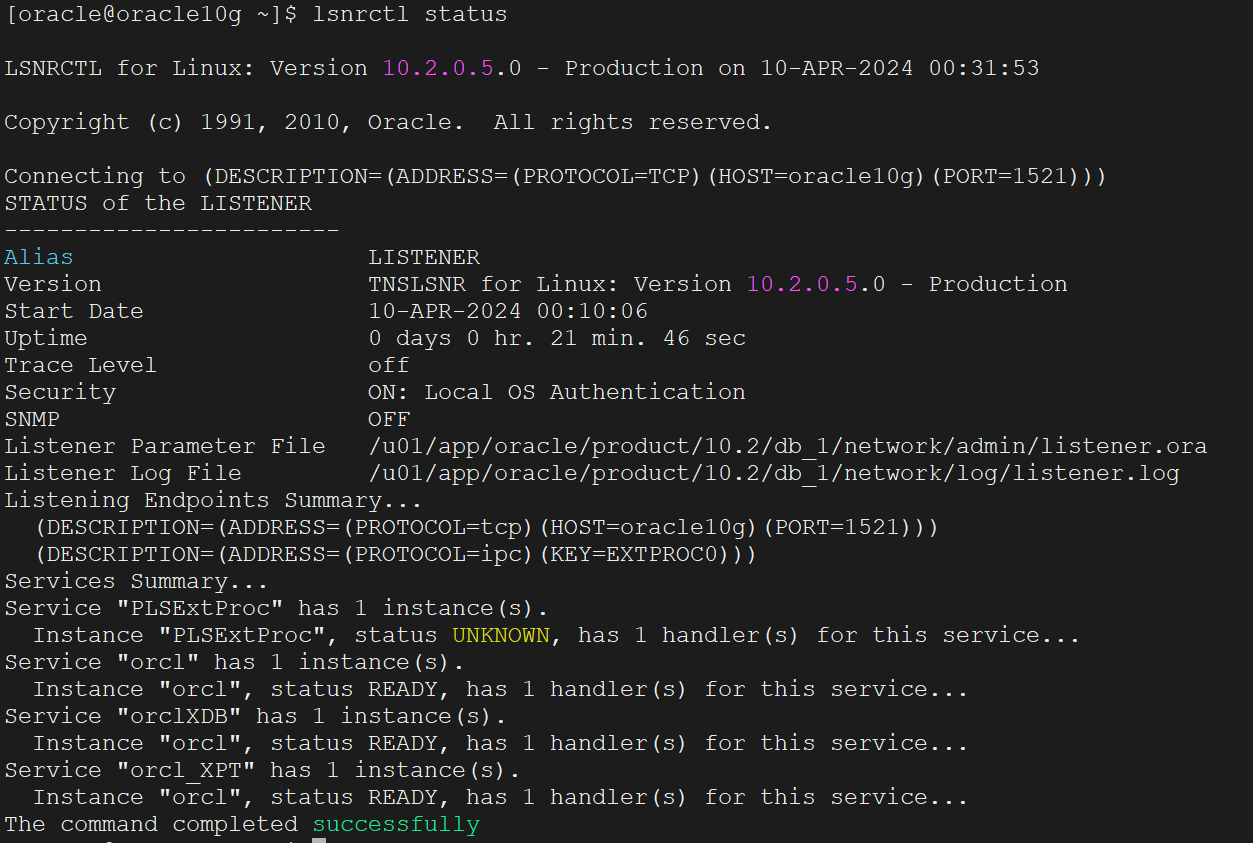
5.5 查看监听状态
监听添加成功,并且已经启动。
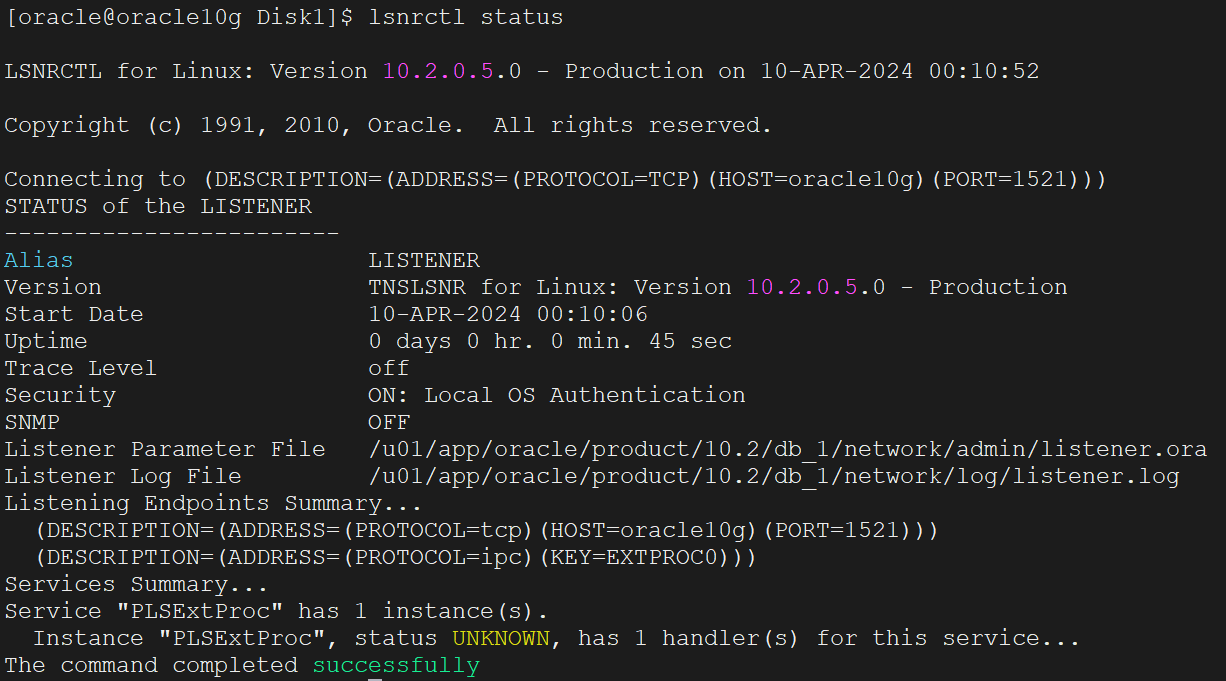

查看监听相关文件:
[oracle@oracle10g ~]$ ls $ORACLE_HOME/network/admin/
listener.ora  samples  shrept.lst  tnsnames.ora
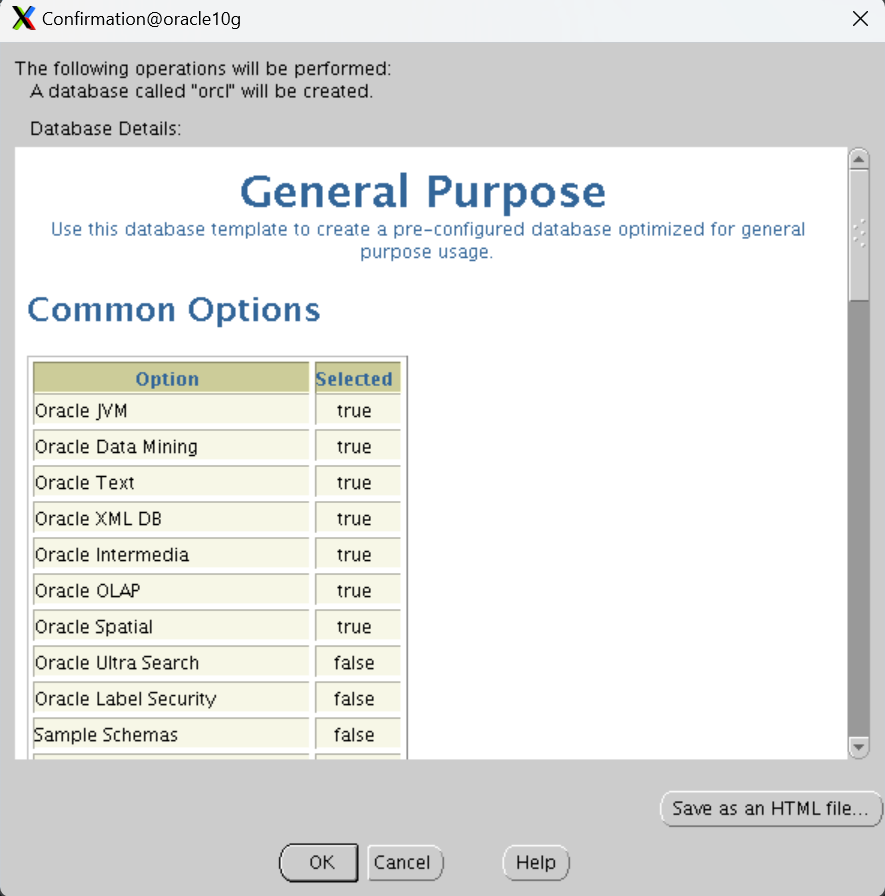
6 dbca创建数据库
[oracle@oracle10g ~]$ dbca
选择创建一个数据库。


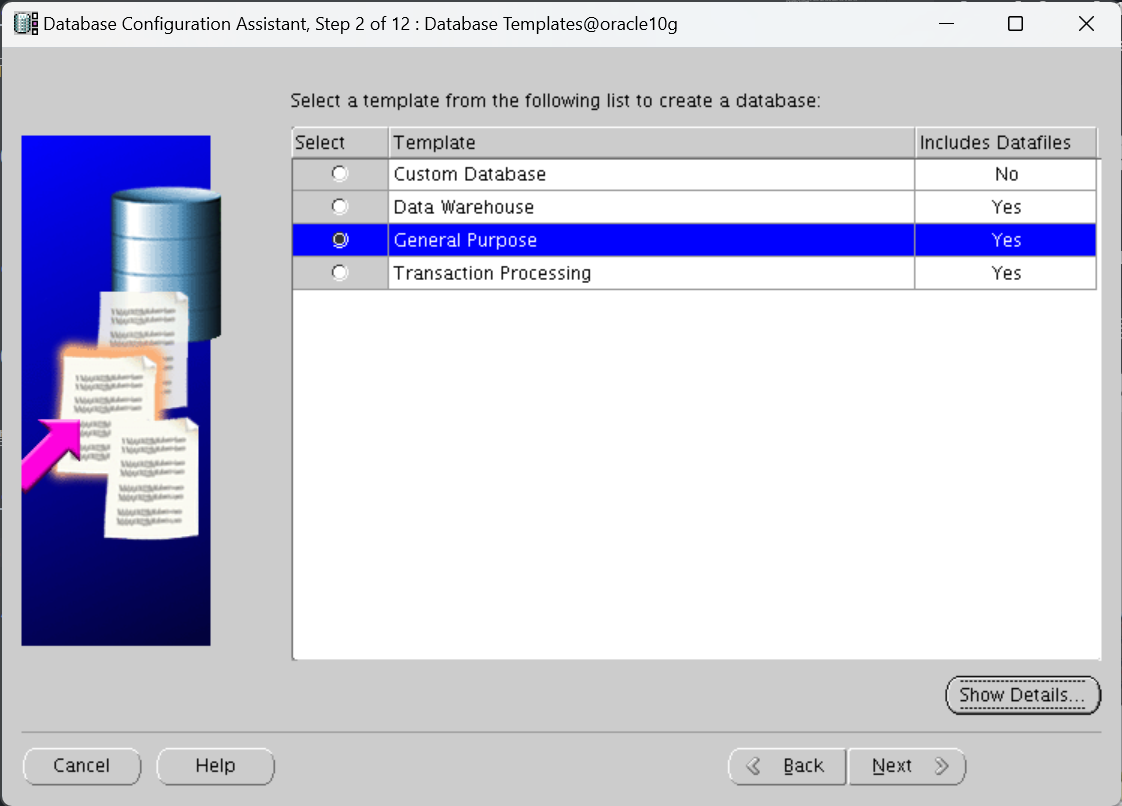
6.1 选择数据库类型
默认。

6.2 指定数据库名
指定数据库名为orcl。

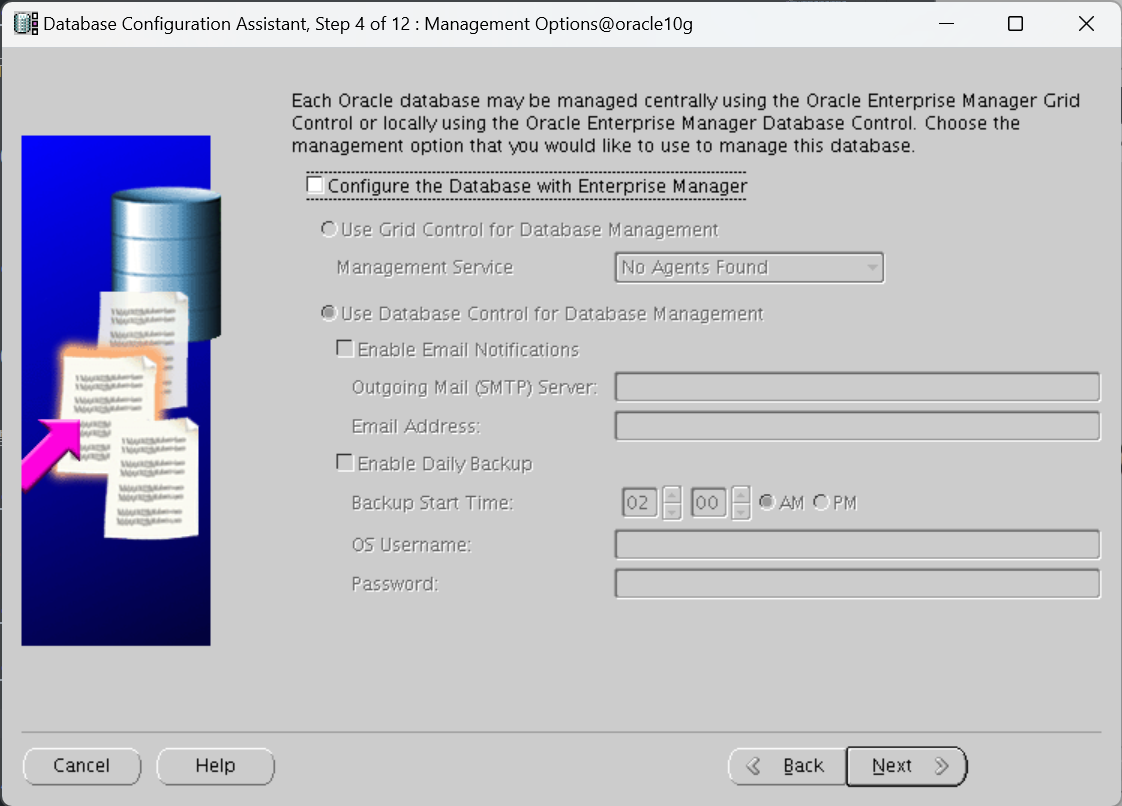
6.3 指定是否安装OEM
不安装oem。
6.4 指定数据库系统帐号密码
指定使用统一的密码。

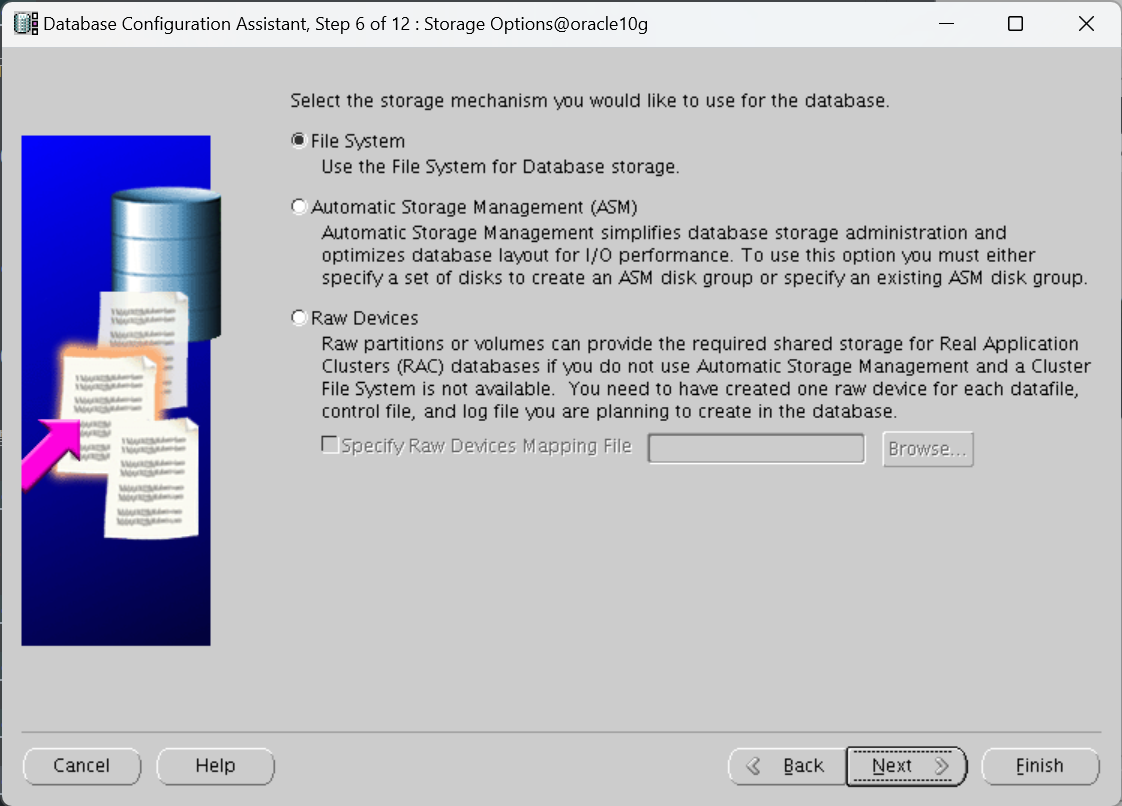
6.5 指定文件系统存储方式
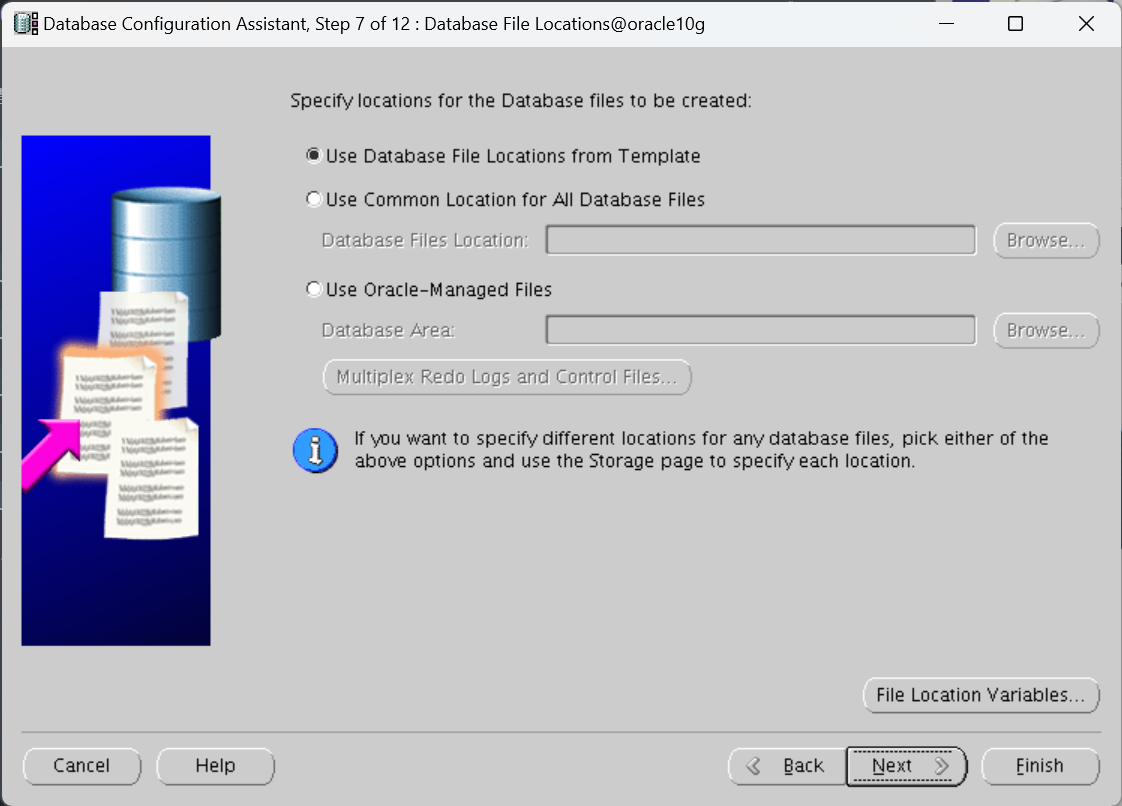
6.6 指定创建的数据库文件位置
默认。
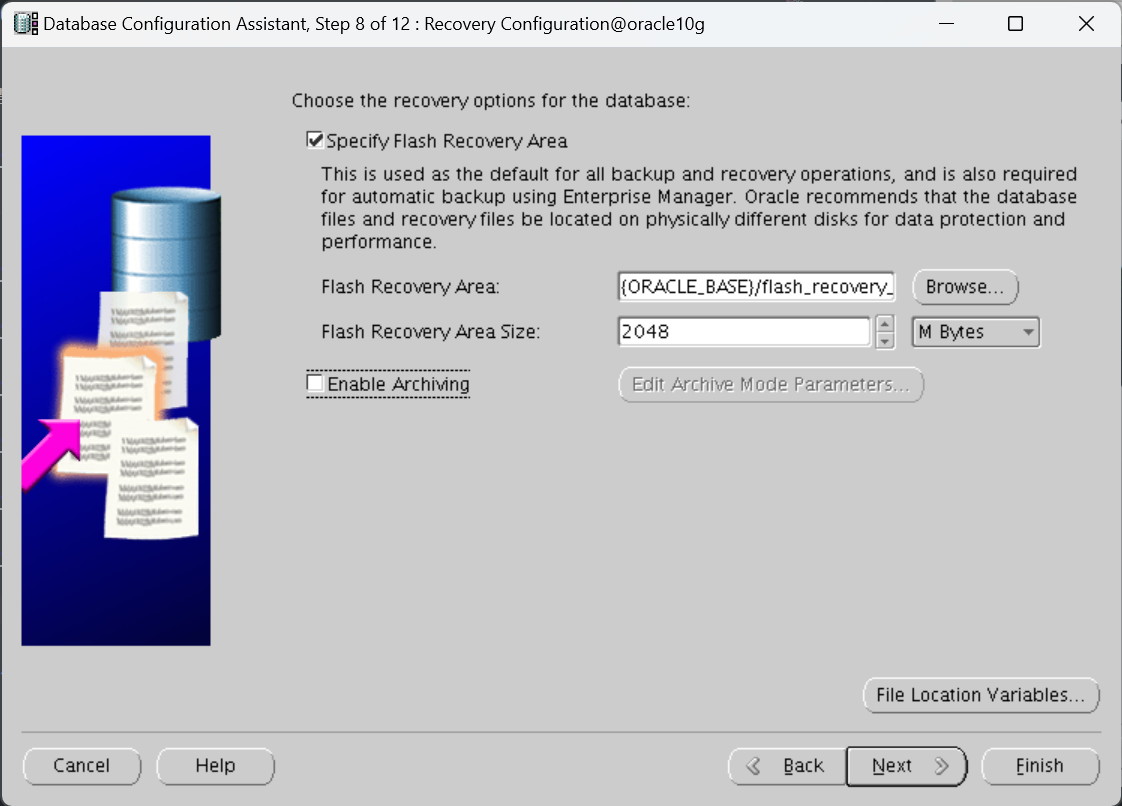
6.7 设置闪回和归档
设置闪回区位置和大小:FRA和2G。先不开归档。
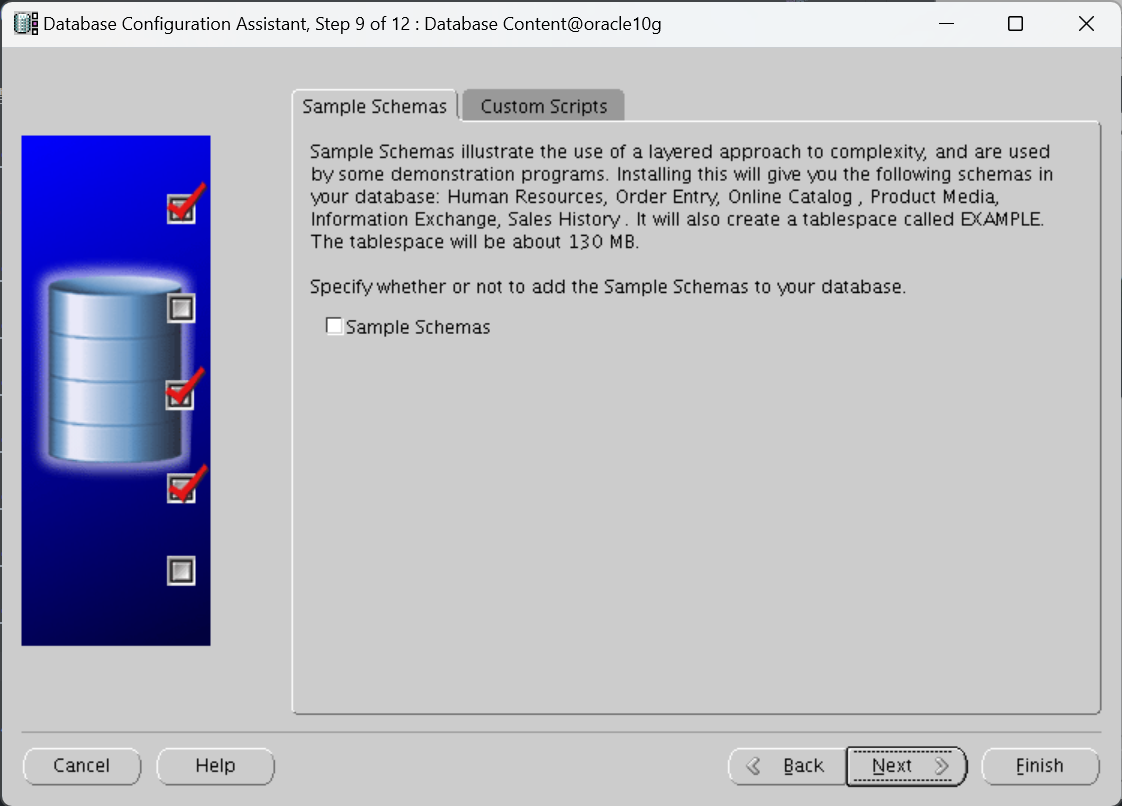
6.8 选择是否创建样例用户
不创建。
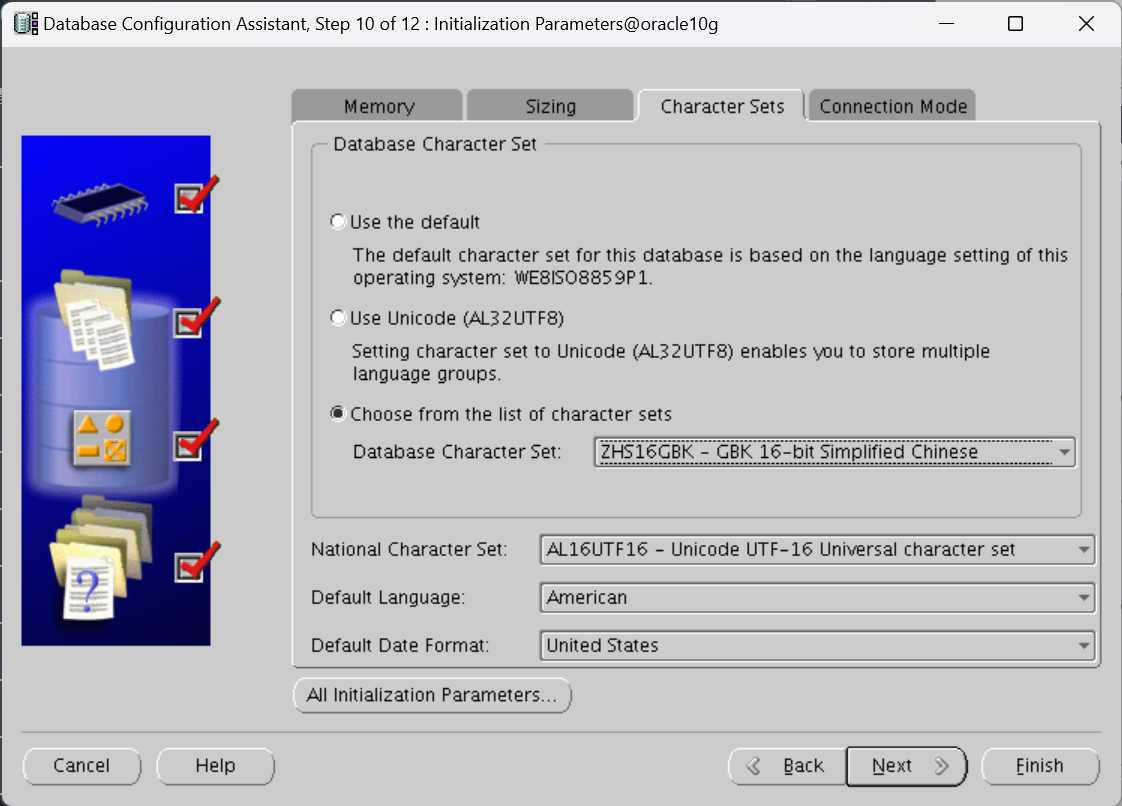
6.9 设置数据库主要参数
内存设置:

内存进程数:
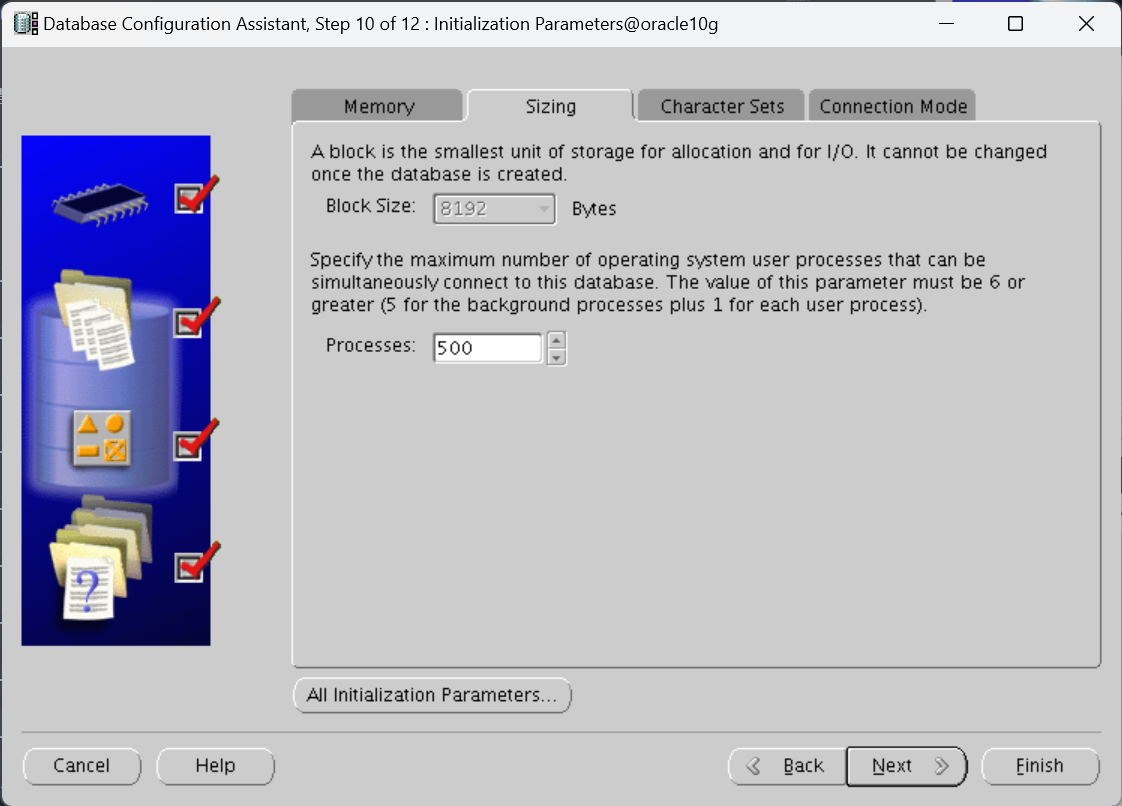
内存字符集:
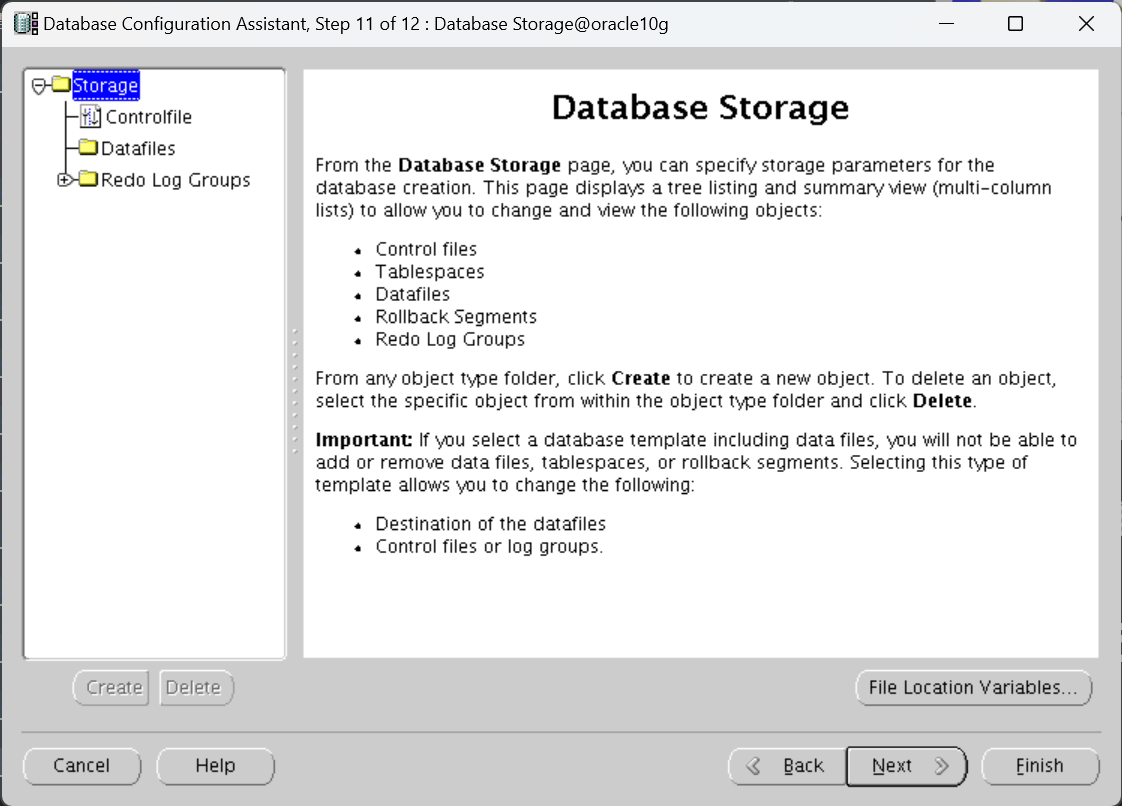
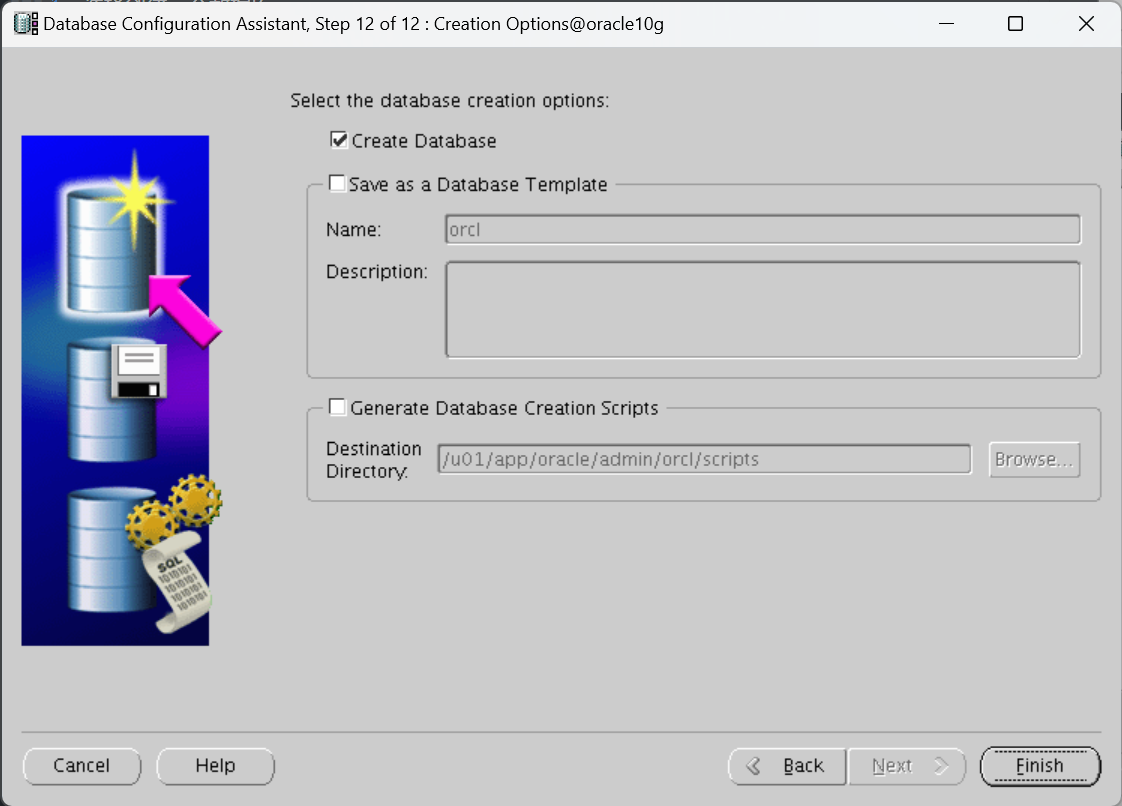
6.10 一路默认

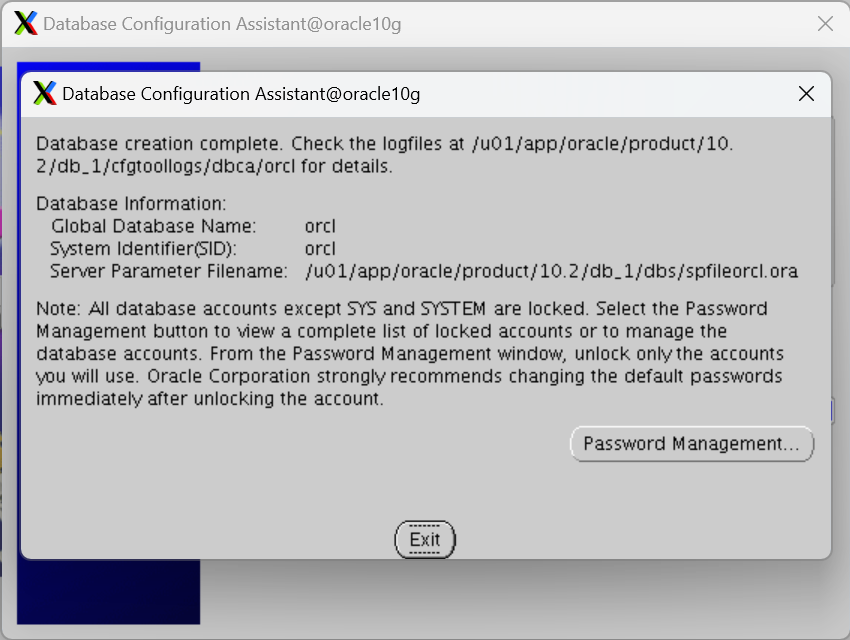
7 后续检查
7.1 检查监听
7.2 检查数据字段
SQL> select dbid,name,log_mode,version_time,open_mode from v$database;

      DBID NAME      LOG_MODE     VERSION_T OPEN_MODE
---------- --------- ------------ --------- ----------
1693663630 ORCL      NOARCHIVELOG 10-APR-24 READ WRITE


SQL> select instance_name,version,status from v$instance;

INSTANCE_NAME    VERSION           STATUS
---------------- ----------------- ------------
orcl             10.2.0.5.0        OPEN
