


正文开始
一、背景及环境准备
最近,搭建本地离线私有化知识库成为热门趋势。今天,就由我们引领大家,一步步构建专属于自己的私有知识库。
首先,需要准备一台 Linux 服务器,配置为 4 核 CPU、8GB 内存,我选用的是 CentOS 7.9 系统。获取安装包也很简单,只需在公众号后台回复 “ds离线安装包”,即可领取。
二、安装ollma
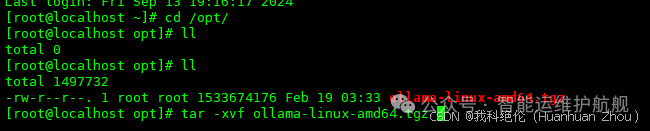
[root@localhost ~]# cd opt/上传离线安装包,官方网址:https://ollama.com/[root@localhost opt]# tar -xvf ollama-linux-amd64.tgz复制
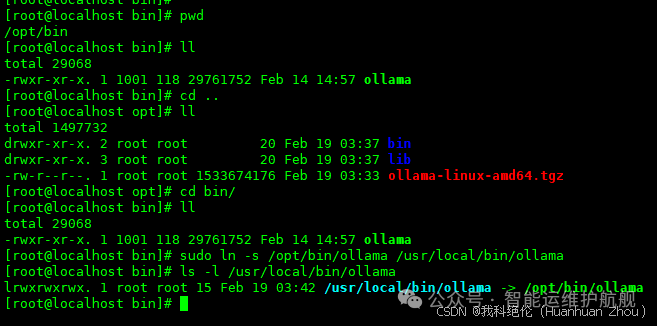
 设置软连接
设置软连接
[root@localhost opt]# cd bin/[root@localhost bin]# ll[root@localhost bin]# sudo ln -s opt/bin/ollama /usr/local/bin/ollama[root@localhost bin]# ls -l /usr/local/bin/ollama复制
 设置环境变量
[root@localhost bin]# vi ~/.bashrc添以下内容:export PATH=$PATH:/usr/local/bin复制
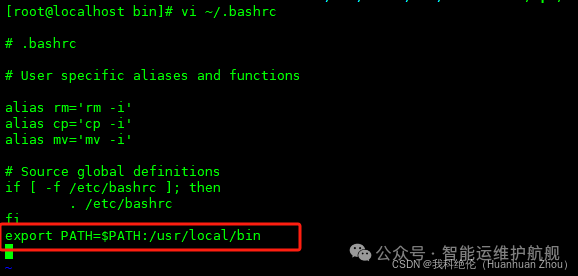
[root@localhost bin]# source ~/.bashrc复制
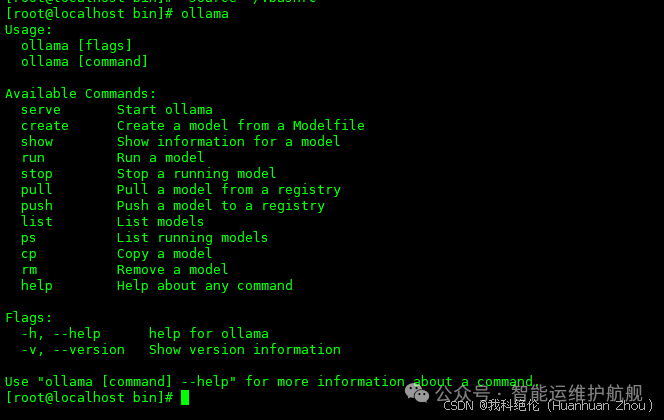
输入ollama,验证是否安装成功
[root@localhost bin]# ollama复制
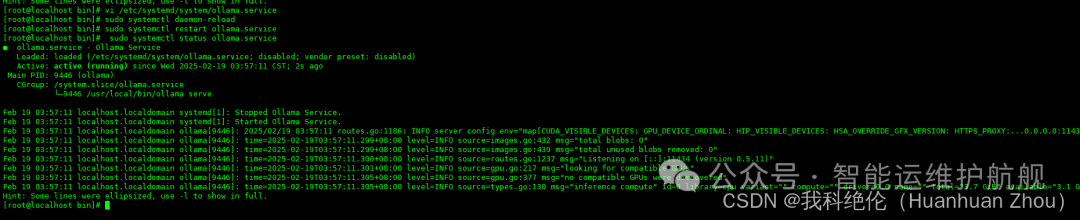
 设置服务开机自启动 配置ollama的配置文件
[root@localhost bin]# vi /etc/systemd/system/ollama.service添加以下内容:[Unit]Description=Ollama ServiceAfter=network-online.target[Service]ExecStart=/usr/local/bin/ollama serveUser=rootGroup=rootRestart=alwaysRestartSec=3Environment="OLLAMA_HOST=0.0.0.0:11434"[Install]WantedBy=default.target复制
[root@localhost bin]# sudo systemctl daemon-reload[root@localhost bin]# sudo systemctl enable ollama.service[root@localhost bin]# sudo systemctl restart ollama.service[root@localhost bin]# sudo systemctl status ollama.service复制
 查看端口是否开启
[root@localhost bin]# ss -anlp|grep 11434复制
 ollama 下载deepseek-r1:1.5b,这里大家根据服务器的性能选择
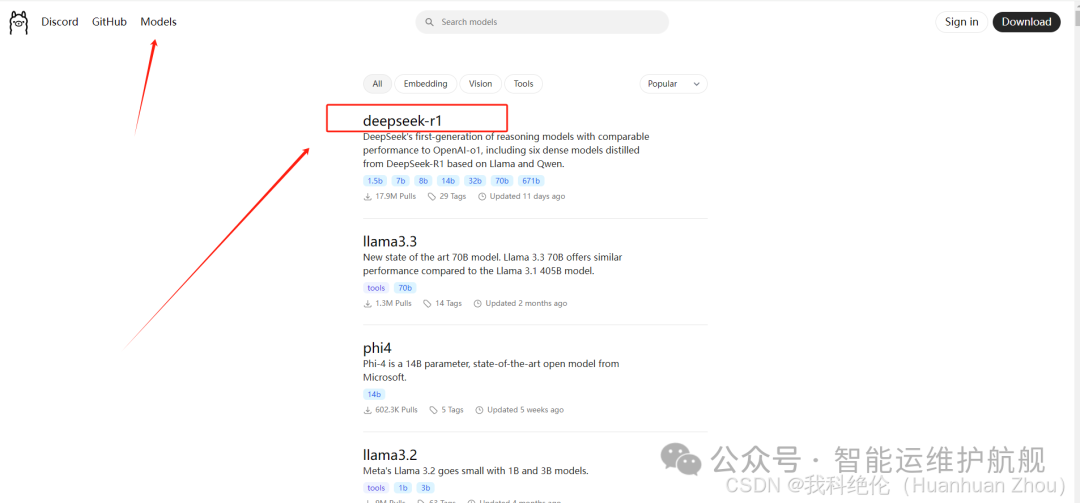 根据需求和实际情况选择
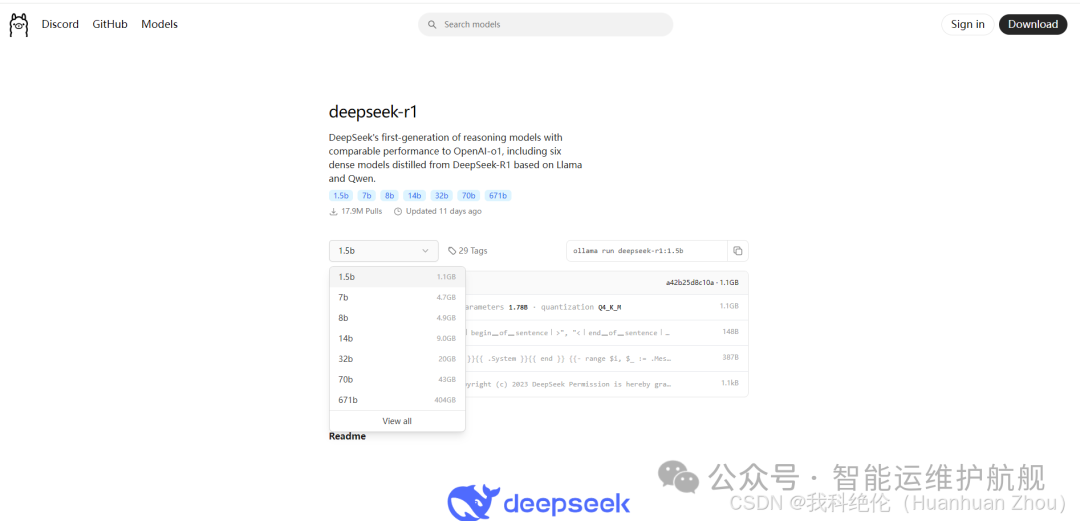 复制命令到操作系统运行即可,这里大家根据需要进行选择。
[root@localhost bin]# ollama run deepseek-r1:1.5b复制
离线的需要把.ollama下的这4文件复制到服务器的路径下即可,这里我再不演示。
[root@localhost ~]# tar -cvf 1.5B.tar .ollama/ #将1.5B.tar复制到服务器解压即可,其他模型一样,打包导出导入。复制
出现以下界面即为安装成功。 提问问题”你是谁“,得到回复
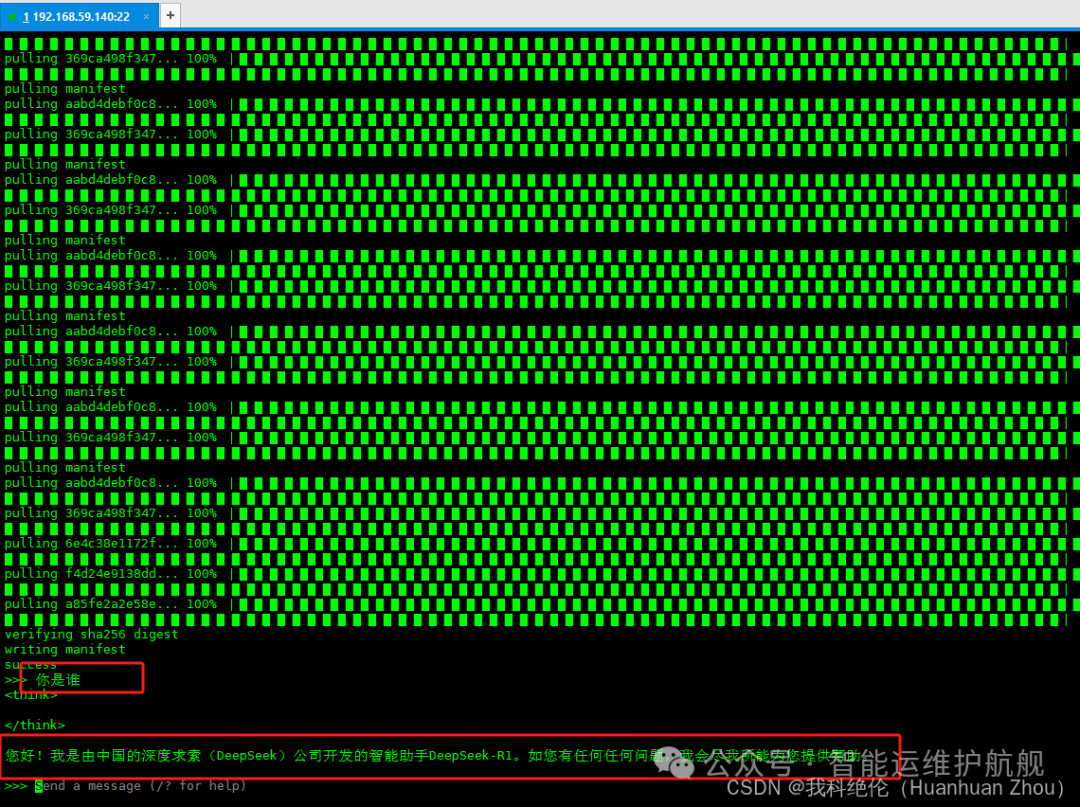
三、安装docker
上传安装文件至家目录下
[root@localhost ~]# tar -zxvf ./docker-28.0.0.tgz[root@localhost ~]# cp docker/* usr/bin/[root@localhost ~]# vi docker.service
[Unit]Description=Docker Application Container EngineDocumentation=https://docs.docker.comAfter=network-online.target firewalld.serviceWants=network-online.target[Service]Type=notify# the default is not to use systemd for cgroups because the delegate issues still# exists and systemd currently does not support the cgroup feature set required# for containers run by dockerExecStart=/usr/bin/dockerdExecReload=/bin/kill -s HUP $MAINPID# Having non-zero Limit*s causes performance problems due to accounting overhead# in the kernel. We recommend using cgroups to do container-local accounting.LimitNOFILE=infinityLimitNPROC=infinityLimitCORE=infinity# Uncomment TasksMax if your systemd version supports it.# Only systemd 226 and above support this version.#TasksMax=infinityTimeoutStartSec=0# set delegate yes so that systemd does not reset the cgroups of docker containersDelegate=yes# kill only the docker process, not all processes in the cgroupKillMode=process# restart the docker process if it exits prematurelyRestart=on-failureStartLimitBurst=3StartLimitInterval=60s[Install]WantedBy=multi-user.target复制
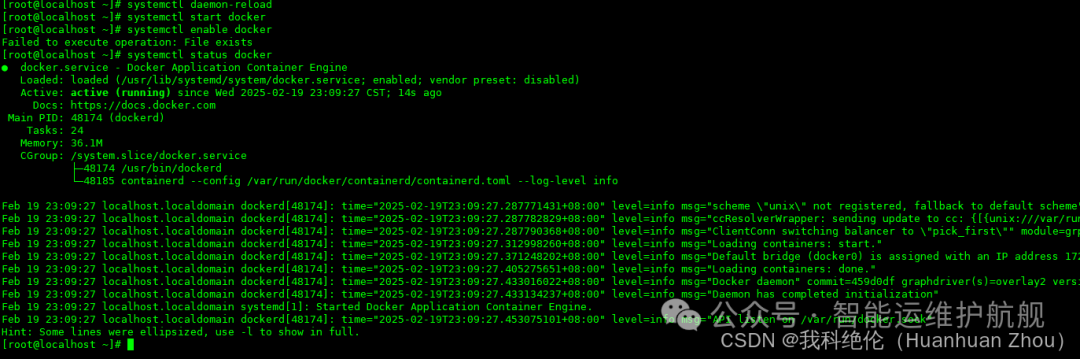
[root@localhost bin]#cp ./docker.service /usr/lib/systemd/system[root@localhost bin]#systemctl daemon-reload[root@localhost bin]#systemctl start docker[root@localhost bin]#systemctl enable docker[root@localhost bin]#systemctl status docker复制
四、部署WEB页面
(一)openwebui
上传open-webui压缩包
官方网址:https://github.com/open-webui/open-webui/releases/tag/v0.5.14复制
制作本地镜像(选择操作)
[root@localhost ~]# docker pull ghcr.io/open-webui/open-webui:main[root@localhost ~]# docker save -o open-webui-main.tar ghcr.io/open-webui/open-webui:main
导入web镜像
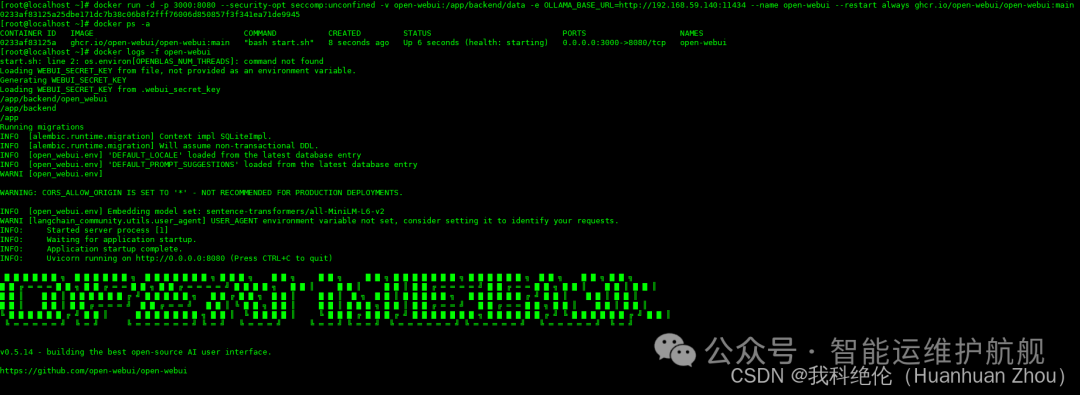
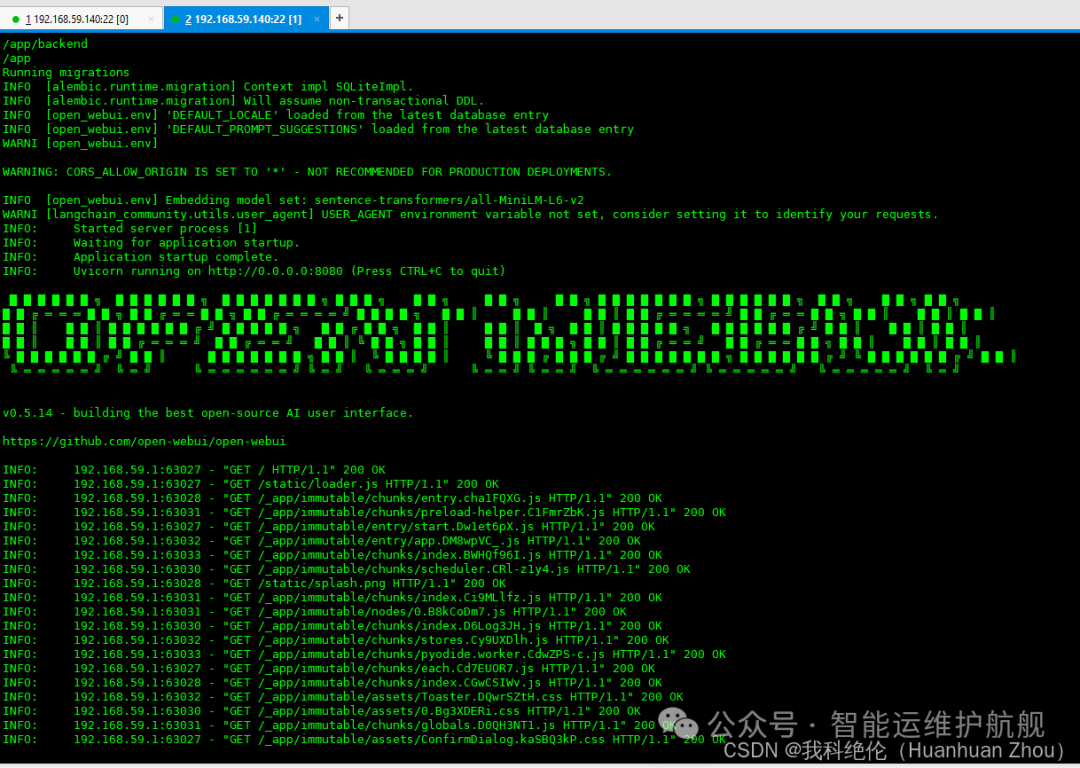
[root@localhost ~]# docker load -i open-webui-main.tar[root@localhost ~]# docker run -d -p 3000:8080 --security-opt seccomp:unconfined -v open-webui:/app/backend/data -e OLLAMA_BASE_URL=http://192.168.59.140:11434 --name open-webui --restart always ghcr.io/open-webui/open-webui:main[root@localhost ~]# docker ps -a复制
(二)dify
1、上传安装包
安装包可以关注公众号,后台领取。
官网地址:http://difyai.com/复制
2、导入镜像包
[root@localhost dify-0.15.3-on-key-startup]# docker load -i resources/squid.tar[root@localhost dify-0.15.3-on-key-startup]# docker load -i resources/postgres.tar[root@localhost dify-0.15.3-on-key-startup]# docker load -i resources/redis.tar[root@localhost dify-0.15.3-on-key-startup]# docker load -i resources/nginx.tar[root@localhost dify-0.15.3-on-key-startup]# docker load -i resources/dify-sandbox.tar[root@localhost dify-0.15.3-on-key-startup]# docker load -i resources/weaviate.tar[root@localhost dify-0.15.3-on-key-startup]# docker load -i resources/dify-api.tar[root@localhost dify-0.15.3-on-key-startup]# docker load -i resources/dify-web.tar复制
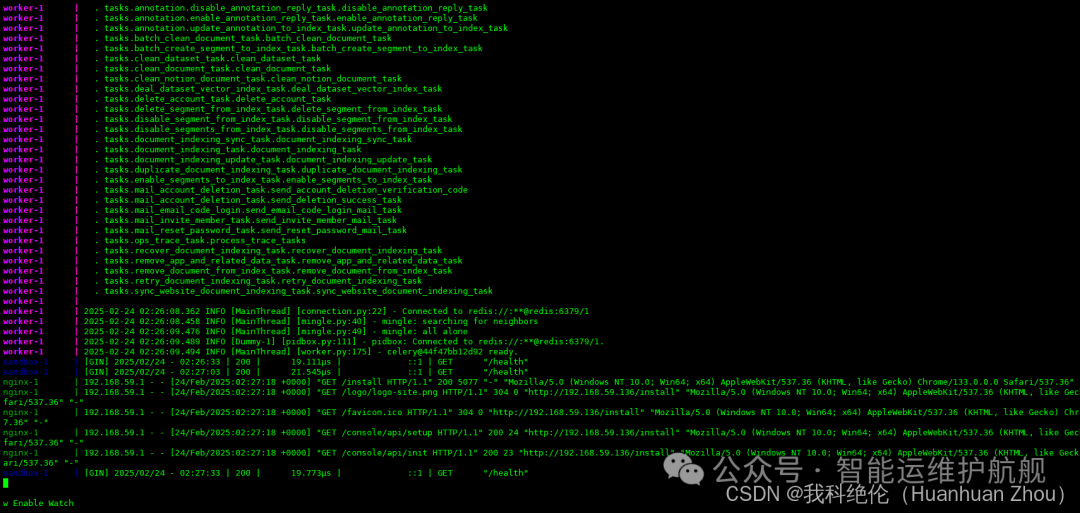
3、启动
[root@localhost dify-0.15.3-on-key-startup]# docker-compose -f docker/docker-compose.yaml up复制
五、访问WEB端
(一)openwebui
访问地址:http://192.168.59.140:3000/复制
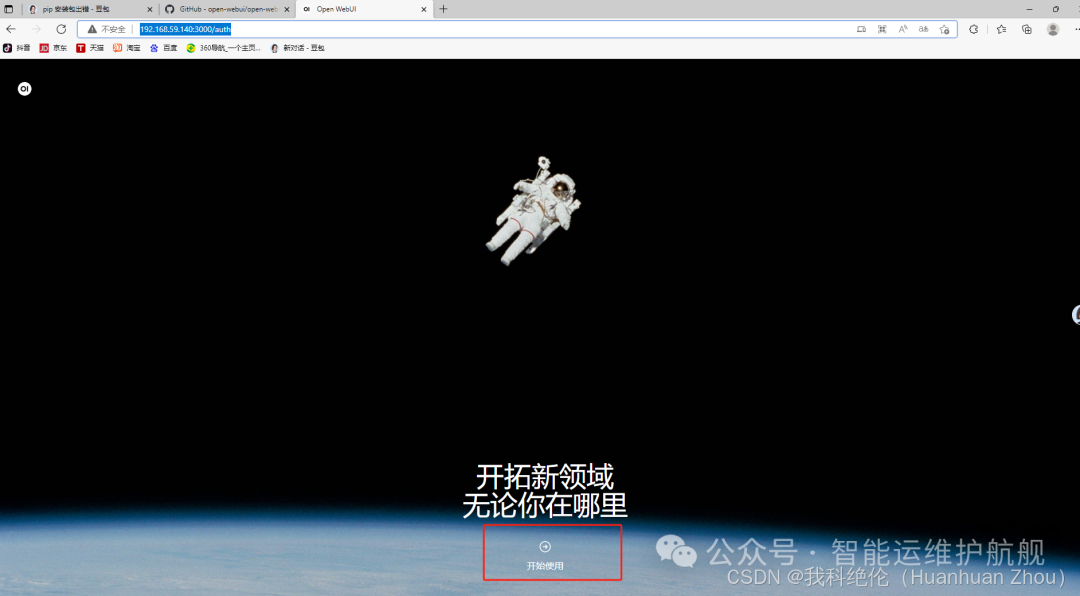 创建管理员账号密码
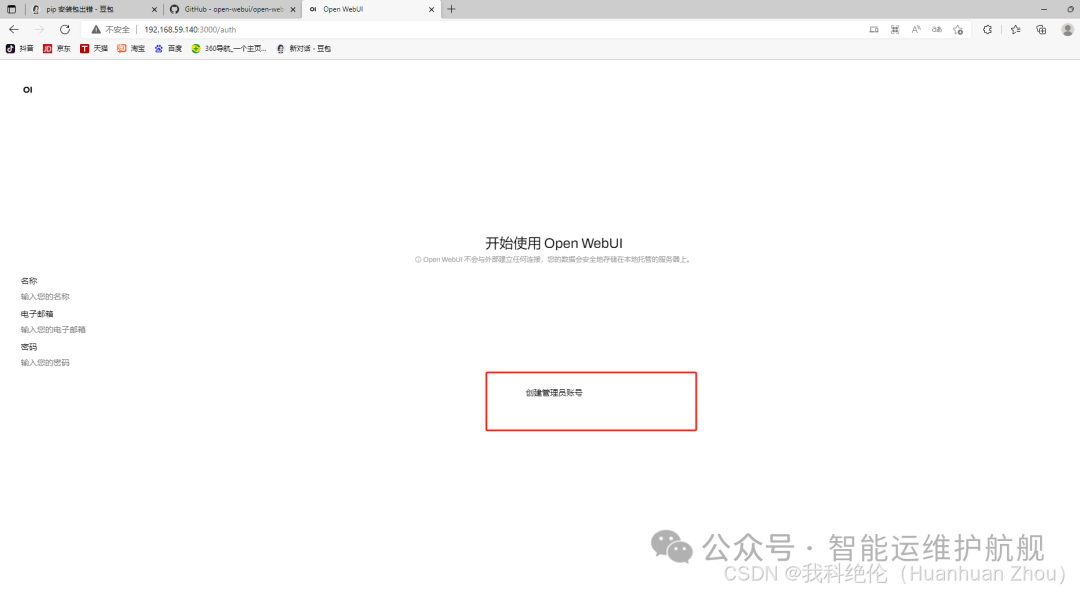
 在web端提问
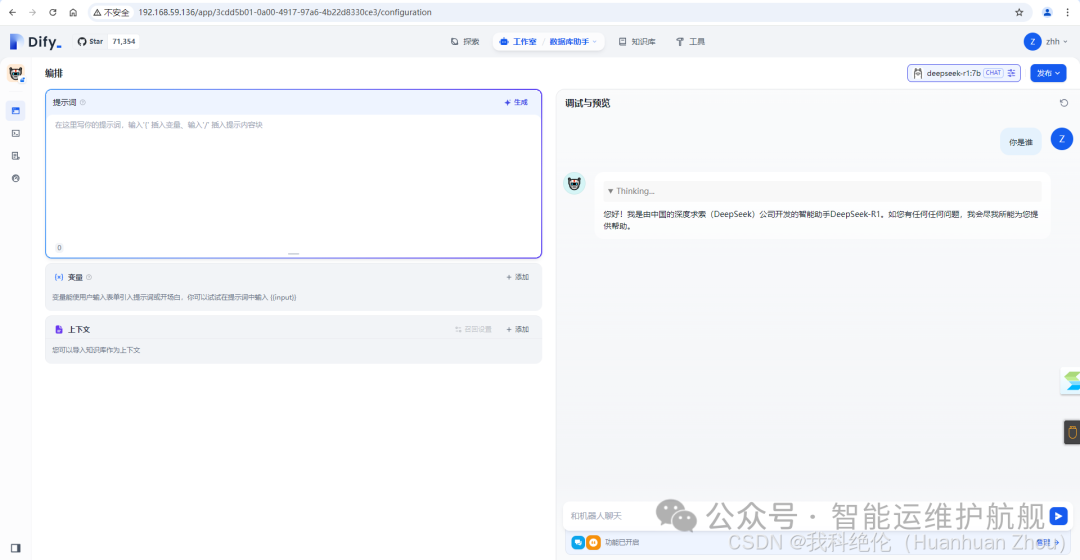
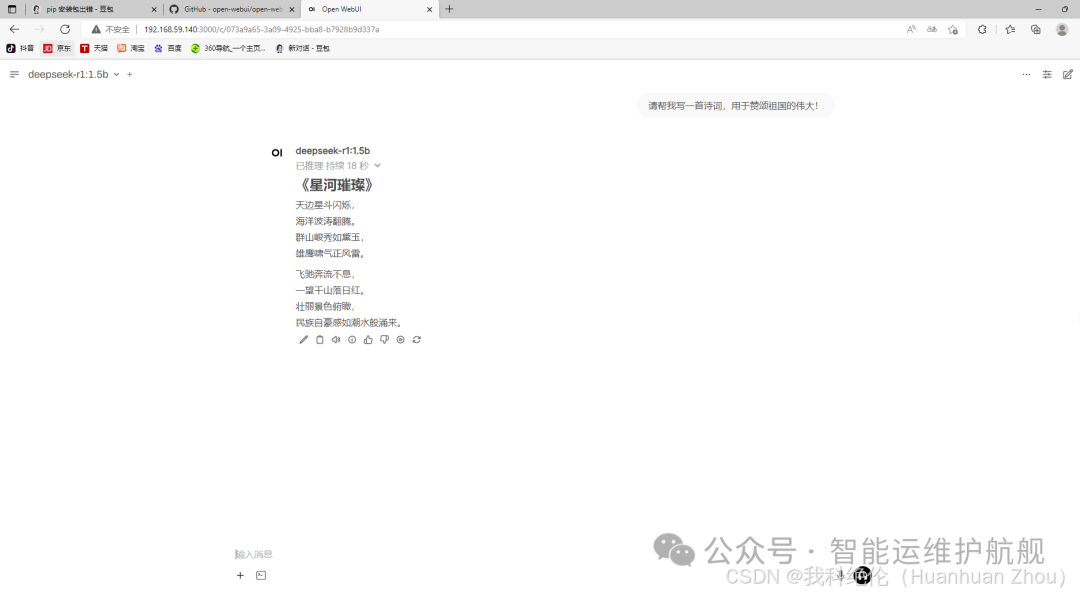 现在可以添加知识库和提示词,去训练专属AI了。
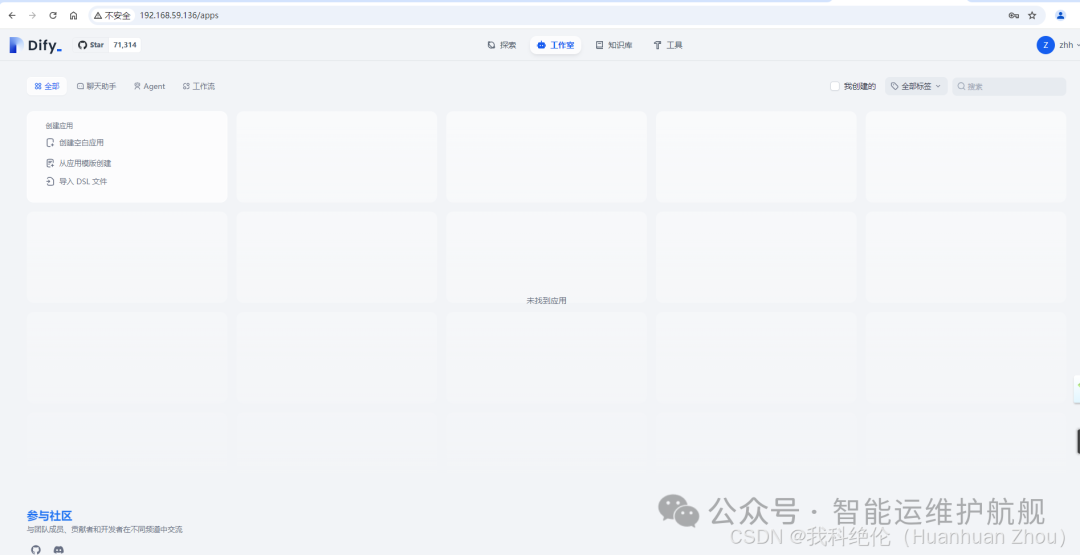
(二)dify
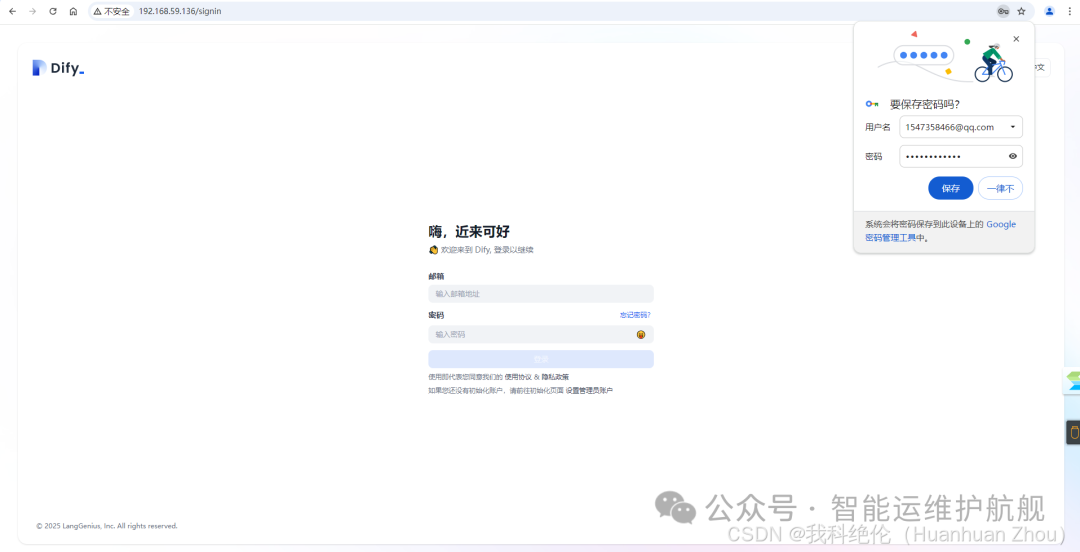
访问地址:http://192.168.59.136/install复制
 第一次需要设置账号信息
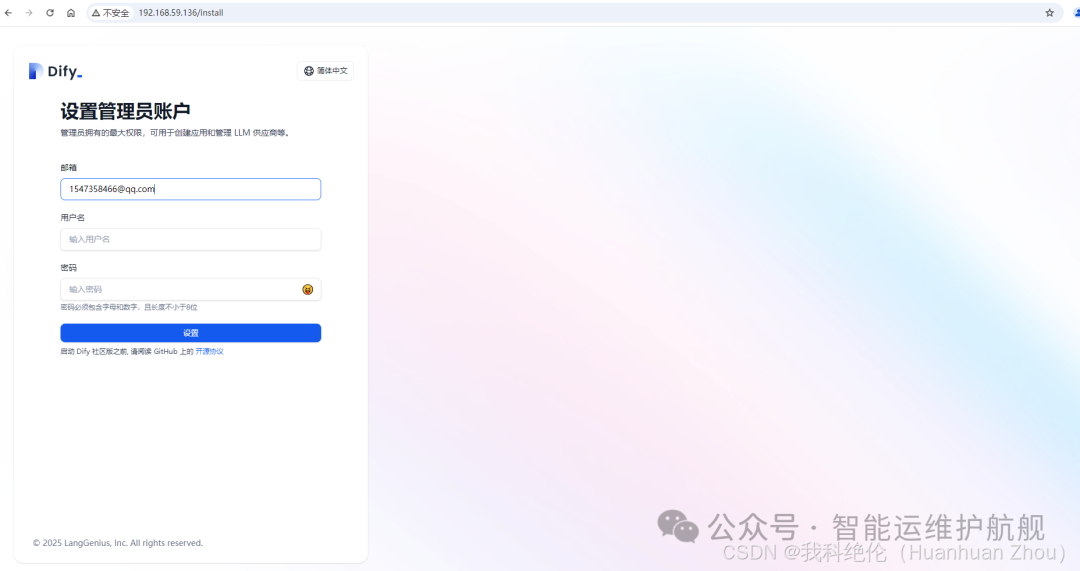
文中的概念来源于互联网,如有侵权,请联系我删除。
欢迎关注公众号:智能运维护航舰,致力于数字政府、智慧城市领域的运维知识和经验分享,专注于自动化、智能化、数字化的运维能力发展,提供各类技术支持服务。
文章转载自小周的数据库进阶之路,如果涉嫌侵权,请发送邮件至:contact@modb.pro进行举报,并提供相关证据,一经查实,墨天轮将立刻删除相关内容。
