本文翻译自 bokeh/bokeh-notebooks 项目,并经过修改。
Bokeh 的体系结构是在 Python 中创建高级 “模型对象”(表示 plots, ranges, axes, glyphs 等),然后转换为客户端库 BokehJS 使用的 JSON 格式。使用 Bokeh 服务器,可以使 python 和浏览器中的“模型对象”彼此保持同步,从而创建强大的功能:
利用 Python 的全部功能通过计算或查询来响应浏览器中生成的 UI 和工具事件
在浏览器中自动推送更新用户界面(即控件或绘图)
使用定期,超时和异步回调来驱动流更新
这种在 python 和浏览器之间进行同步的功能是 Bokeh Server 的主要目的。
from bokeh.io import output_notebook, show
output_notebook()复制
Notebook 中的 Bokeh 应用
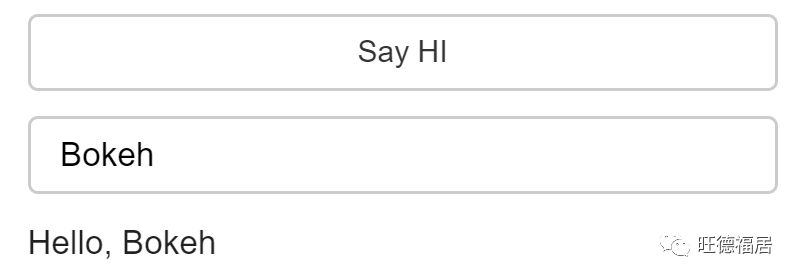
在 Notebook 中嵌入 Bokeh 应用程序的最简单方法是创建一个函数 modify_doc(doc)
,该功能创建Bokeh 内容并将其添加到文档中。这个函数可以传递给 show
,并且该函数定义的应用将内联显示。下面是一个简短的完整示例
from bokeh.layouts import column
from bokeh.models import TextInput, Button, Paragraph
def modify_doc(doc):
# 创建一些控件
button = Button(label="Say HI")
input = TextInput(value="Bokeh")
output = Paragraph()
# 为控件添加回调函数
def update():
output.text = "Hello, " + input.value
button.on_click(update)
# 为所有对象创建布局
layout = column(button, input, output)
# 将布局添加到当前的文档
doc.add_root(layout)
# 在笔记本中,只需传递定义应用的函数即可显示
# 您可能需要提供笔记本网址,例如,notebook_url="http://localhost:8889"
show(modify_doc)复制
练习
在此示例中添加一个选择小部件,该小部件提供了几种不同的问候
使用 bokeh serve
的 Bokeh 应用
也可以通过创建标准的 Python 脚本来定义 Bokeh 应用程序。在这种情况下,无需创建类似 modify_doc
的函数。通常,脚本应该只创建所有 bokeh 内容,然后将其添加到文档中,如下所示:
curdoc().add_root(layout)复制
要尝试以下示例,请将代码复制到文件 hello.py
中,然后执行:
bokeh serve --show hello.py复制
注意:以下练习需要在 Notebook 外部进行操作
# hello.py
from bokeh.io import curdoc
from bokeh.layouts import column
from bokeh.models.widgets import TextInput, Button, Paragraph
# create some widgets
button = Button(label="Say HI")
input = TextInput(value="Bokeh")
output = Paragraph()
# add a callback to a widget
def update():
output.text = "Hello, " + input.value
button.on_click(update)
# create a layout for everything
layout = column(button, input, output)
# add the layout to curdoc
curdoc().add_root(layout)复制
将此代码复制到脚本 hello.py
并在 Bokeh 服务器上运行。
链接绘图和控件
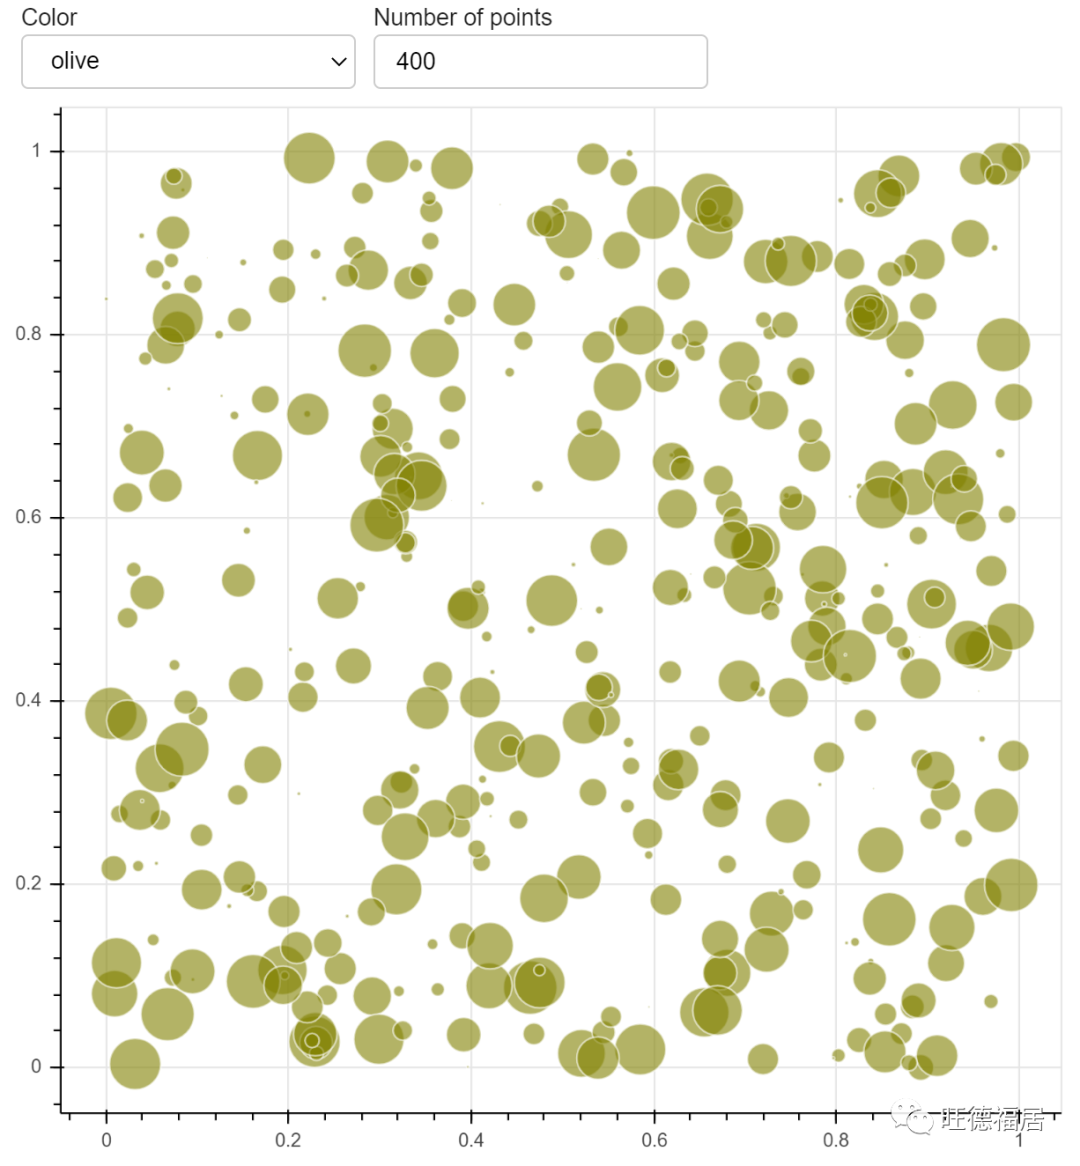
让我们看一个更复杂的示例,该示例将几个控件链接到一个图。
from numpy.random import random
from bokeh.layouts import column, row
from bokeh.plotting import figure
from bokeh.models import ColumnDataSource, Select, TextInput
def get_data(N):
return dict(
x=random(size=N),
y=random(size=N),
r=random(size=N) * 0.03
)
COLORS = [
"black",
"firebrick",
"navy",
"olive",
"goldenrod"
]
def modify_doc(doc):
source = ColumnDataSource(data=get_data(200))
p = figure(
tools="",
toolbar_location=None
)
r = p.circle(
x='x',
y='y',
radius='r',
source=source,
color="navy",
alpha=0.6,
line_color="white"
)
select = Select(
title="Color",
value="navy",
options=COLORS
)
input = TextInput(
title="Number of points",
value="200"
)
def update_color(attrname, old, new):
r.glyph.fill_color = select.value
select.on_change(
'value',
update_color
)
def update_points(attrname, old, new):
N = int(input.value)
source.data = get_data(N)
input.on_change(
'value',
update_points
)
layout = column(
row(
select,
input,
width=400
),
row(p)
)
doc.add_root(layout)
show(modify_doc)复制
练习
添加更多控件以更改此图的更多方面
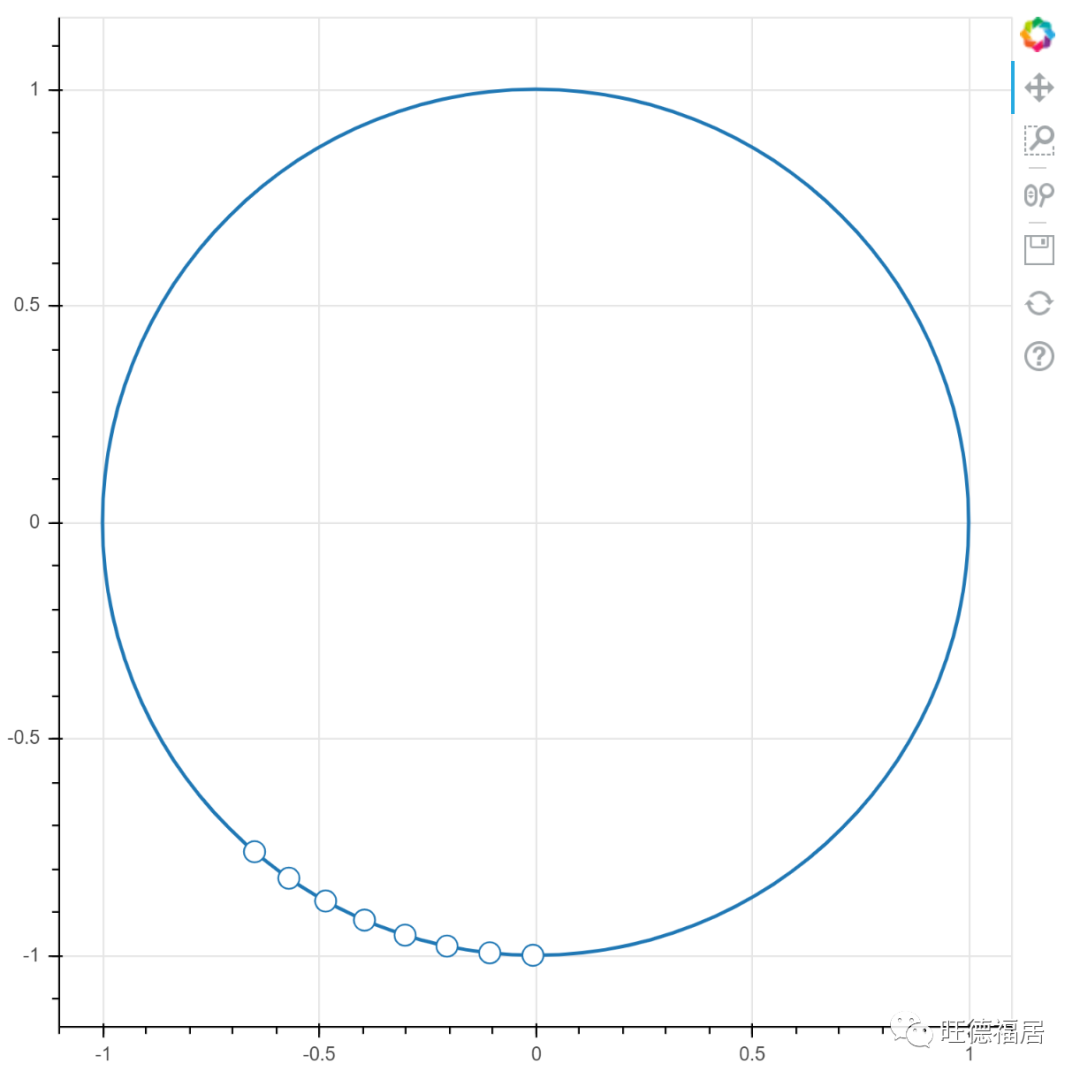
流数据
通过使用 stream
方法可以有效地将新数据流式传输到列数据源。此方法接受两个参数:
new_data
— 与列数据源具有相同结构的字典rollover
— 客户端上的最大列长度(之前的数据已删除)[可选]
如果未指定 rollover
,则数据永远不会在客户端上丢弃,并且列会无限增长。
与流数据结合使用定期回调通常很有用。 curdoc()
的 add_periodic_callback
方法接受回调函数,并有一个时间间隔(以毫秒为单位)重复执行回调。
from math import cos, sin
from bokeh.models import ColumnDataSource
def modify_doc(doc):
p = figure(match_aspect=True)
p.circle(
x=0,
y=0,
radius=1,
fill_color=None,
line_width=2
)
# 这只是为了帮助 auto-datarange
p.rect(
0, 0, 2, 2,
alpha=0
)
# 这是我们将流式传输到的数据源
source = ColumnDataSource(
data=dict(
x=[1],
y=[0]
)
)
p.circle(
x='x',
y='y',
size=12,
fill_color='white',
source=source
)
def update():
x, y = source.data['x'][-1], source.data['y'][-1]
# 为所有列构造新值,然后传递给流
new_data = dict(
x=[x*cos(0.1) - y*sin(0.1)],
y=[x*sin(0.1) + y*cos(0.1)]
)
source.stream(
new_data,
rollover=8
)
doc.add_periodic_callback(update, 150)
doc.add_root(p)
show(modify_doc)复制
练习
从上面的示例开始,创建自己的流图
Bokeh 列数据源还支持 patch
方法,该方法可用于有效地更新数据子集。
目录格式应用程序和模板
Bokeh 应用程序也可以使用目录格式进行定义。这种格式允许使用额外的模块,数据文件,模板,主题文件和其他功能。该目录应包含一个 main.py
,这是该应用程序的 “入口点”,但是还包含其他部分:
myapp
|
+---main.py
+---server_lifecycle.py
+---static
+---theme.yaml
+---templates
+---index.html复制
用户指南的 目录格式 部分提供了更多信息。
https://bokeh.pydata.org/en/latest/docs/user_guide/server.html#directory-format
在以下位置查看完整的复杂示例:
https://github.com/bokeh/bokeh/tree/master/examples/app/dash
提示和技巧
真正的 Python 需要 Bokeh 服务器应用。它们不能与
output_file
,components
或其他生成独立输出的函数一起工作。独立内容只能使用CustomJS
回调。尽可能尝试 “一次全部” 更新数据源,即首选下面的方式:
source.data = new_data_dict # GOOD复制而不是按顺序更新各个列:
# LESS GOOD
source.data['foo'] = new_foo_column
source.data['bar'] = new_bar_column复制如果新列的长度与旧列完全相同,则按顺序更新将触发额外的更新,并可能导致不好的视觉效果。如果新列的长度与旧列的长度不同,则更新”一次全部”是 强制性 的。
每次启动会话时,Bokeh 服务器都会运行脚本(或
modify_doc
)函数,并且运行的代码 每次必须返回全新的 Bokeh 对象。无法在会话之间共享 Bokeh 对象。作为一个具体示例,请不要这样做:source = ColumnDataSource(data) # VERY BAD - global outside modify_doc
def modify_doc(doc):
p = figure()
p.circle('x', 'y', source=source)
doc.add_root(p)
复制如果脚本从单独的模块导入全局 Bokeh 对象(由于 Python 缓存导入的方式),脚本将发生类似的情况。
参考
https://bokeh.org
https://github.com/bokeh/bokeh-notebooks
Bokeh教程系列文章