


由于MySQL DB的免费与易用性使得LAMP架构盛极全球互联网界,但在Oracle收购了Sun后很多公司开始担忧MySQL的开源前景,而最近Oracle进一步闭源的举措更是让人难以安心,众多互联网公司纷纷开始寻求MySQL的替代方案。
大部分互联网公司开始寻找适合自己的数据库解决方案,Apple公司宣布迁移到PostgreSQL(类Oracle语法结构)。大量使用MySQL的Google、Facebook、Twitter也纷纷发布了自己的MySQL分支/补丁集,并为不少公司所采用。
MySQL之父Michael Widenius离开Sun之后,觉得依靠Sun/Oracle来发展MySQL实在很不靠谱,于是决定另开分支,这个分支的名字叫做MariaDB
MariaDB与MySQL在绝大多数方面是兼容的,对于开发者几乎感觉不到任何不同。目前MariaDB是发展最快的MySQL分支版本,新版本发布速度已经超过了Oracle官方的MySQL版本。
MariaDB 是一个采用Aria存储引擎的MySQL分支版本,是由原来 MySQL 的作者Michael Widenius创办的公司所开发的免费开源的数据库服务器。对于大部分的MySQL用户来说,从现在主流的MySQL转到MariaDB完全没有什么难度。
下面让我们来看看CentOS7 下MariaDB最新版本10.5.5的安装与简单配置
需要安装的包
MariaDB-backup.x86_64 0:10.5.5-1.el7
MariaDB-client.x86_64 0:10.5.5-1.el7
MariaDB-common.x86_64 0:10.5.5-1.el7
MariaDB-compat.x86_64 0:10.5.5-1.el7
MariaDB-server.x86_64 0:10.5.5-1.el7
MariaDB-shared.x86_64 0:10.5.5-1.el7
galera-4.x86_64 0:26.4.5-1.el7
依赖的包:
boost-program-options.x86_64 0:1.53.0-28.el7
libaio.x86_64 0:0.3.109-13.el7
pcre2.x86_64 0:10.23-2.el7
perl-Compress-Raw-Bzip2.x86_64 0:2.061-3.el7
perl-Compress-Raw-Zlib.x86_64 1:2.061-4.el7
perl-DBI.x86_64 0:1.627-4.el7
perl-IO-Compress.noarch 0:2.061-2.el7
perl-Net-Daemon.noarch 0:0.48-5.el7
perl-PlRPC.noarch 0:0.2020-14.el7
socat.x86_64 0:1.7.3.2-2.el7
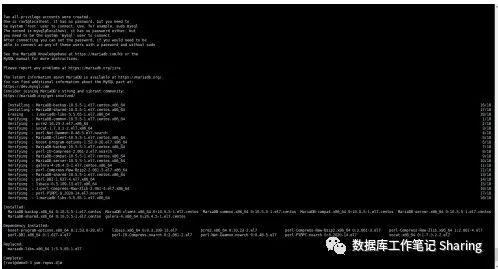
第一步、官网下载原文件
http://yum.mariadb.org/10.5/centos7-amd64/rpms/
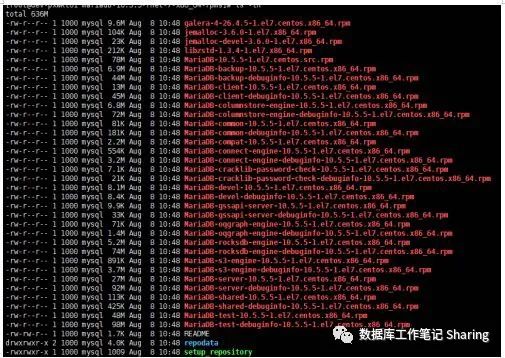
第二步、解压:
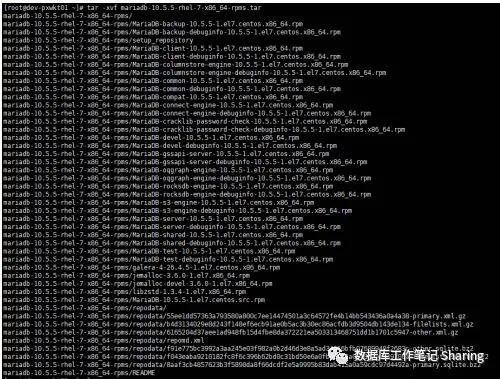
A.进入解压后的目录
B.安装Mariadb Server
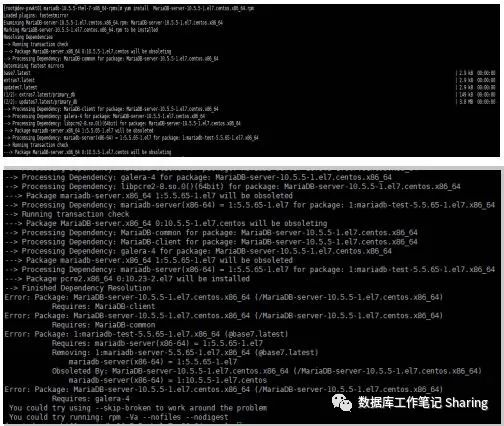
由于没有配置yum源,缺乏许多依赖包,安装失败。
不同OS所需要打的补丁包不尽相同,为避免一个个手工下载补丁的繁琐,建议配置Yum源指向Mariadb 官网安装
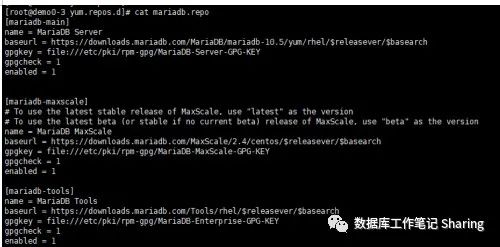
第三步、配置 mariadb.repo
[mariadb-main]
name = MariaDB Server
baseurl = https://downloads.mariadb.com/MariaDB/mariadb-10.5/yum/rhel/$releasever/$basearch
gpgkey = file:///etc/pki/rpm-gpg/MariaDB-Server-GPG-KEY
gpgcheck = 1
enabled = 1
[mariadb-maxscale]
# To use the latest stable release of MaxScale, use "latest" as the version
# To use the latest beta (or stable if no current beta) release of MaxScale, use "beta" as the version
name = MariaDB MaxScale
baseurl = https://downloads.mariadb.com/MaxScale/2.4/centos/$releasever/$basearch
gpgkey = file:///etc/pki/rpm-gpg/MariaDB-MaxScale-GPG-KEY
gpgcheck = 1
enabled = 1
[mariadb-tools]
name = MariaDB Tools
baseurl = https://downloads.mariadb.com/Tools/rhel/$releasever/$basearch
gpgkey = file:///etc/pki/rpm-gpg/MariaDB-Enterprise-GPG-KEY
gpgcheck = 1
enabled = 1
Yum源也通过如下命令自动配置:
curl -LsS https://downloads.mariadb.com/MariaDB/mariadb_repo_setup | sudo bash
清除缓存: yum -y clean all
重建缓存: yum makecache
检查yum源: yum list
第四步、安装Mariadb 相关包
yum install MariaDB-server galera-4 MariaDB-client MariaDB-shared MariaDB-backup MariaDB-common
报出缺少openssL
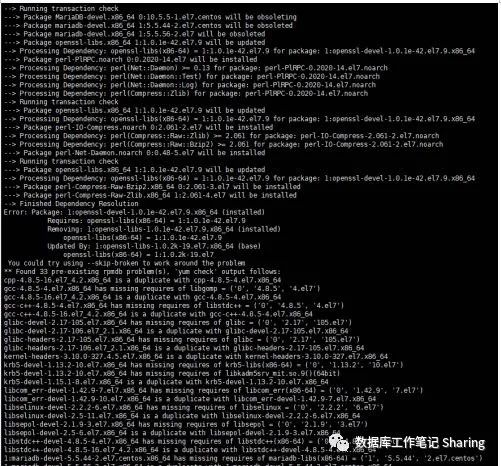
找了很久没找到openssl-libs相关版本包
挂好CentOS7.ISO镜像后直接yum update
之后再次安装MariaDB
yum install MariaDB-server galera-4 MariaDB-client MariaDB-shared MariaDB-backup MariaDB-common
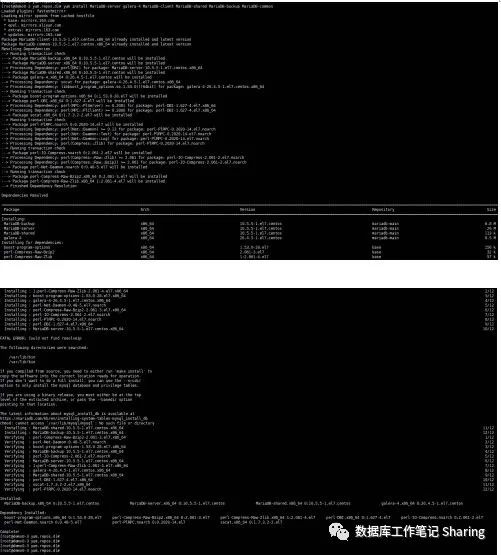
安装成功
备注:1.如果OS中安装有旧mysql或老版本的Mariadb也会失败
2.如遇以上问题,先卸载冲突的mariadb-libs
3.搜索:rpm -qa | grep mariadb-libs
4.删除:rpm -ev --nodeps mariadb-libs-xxxx.xxxx.x86_64(xxxx为你自己对应的版本)
5.再次执行:rpm -qa | grep mariadb-libs(查看是否删除成功)
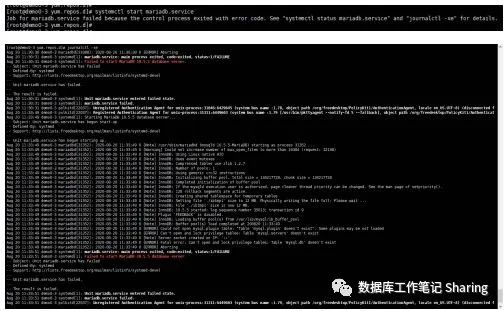
第五步、启动MariaDB
systemctl start mariadb
第六步、进行MariaDB的简单配置
1.mysql_secure_installation
首先是设置密码,会提示先输入密码.。
Enter current password for root (enter for none):<–初次运行直接回车
2.Switch to unix_socket authentication<– 是否设置socket身份验证方式,输入n
3.设置密码
Set root password? [Y/n] <– 是否设置root用户密码,输入y并回车或直接回车
New password: <– 设置root用户的密码
Re-enter new password: <– 再输入一次你设置的密码
4.其他配置
Remove anonymous users? [Y/n] <– 是否删除匿名用户,回车
Disallow root login remotely? [Y/n] <–是否禁止root远程登录,回车,
Remove test database and access to it? [Y/n] <– 是否删除test数据库,回车
Reload privilege tables now? [Y/n] <– 是否重新加载权限表,回车
初始化MariaDB完成,
5.测试登录
mysql -uroot -p密码(注意-p和密码之间没有空格)
结果:成功登陆
第七步、配置MariaDB的字符集
Mariadb中配置文件不再是简单的配置my.cnf,而是拆分成5个cnf文件,如下图:
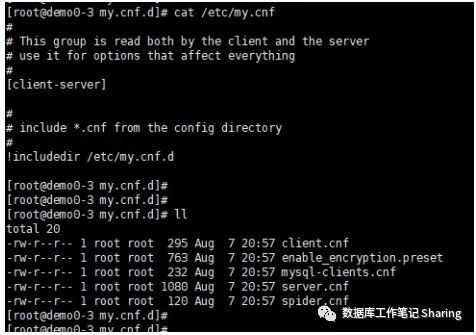
1. 修改/etc/my.cnf.d/server.cnf文件
命令:vi /etc/my.cnf.d/server.cnf
在[mysqld]标签下添加
init_connect=‘SET collation_connection = utf8mb4_unicode_ci’
init_connect=‘SET NAMES utf8mb4’
character-set-server=utf8mb4
collation-server=utf8mb4_unicode_ci
skip-character-set-client-handshake
2.修改/etc/my.cnf.d/client.cnf文件
命令:vi /etc/my.cnf.d/client.cnf
在[client]中添加
default-character-set=utf8mb4
3.修改/etc/my.cnf.d/mysql-clients.cnf文件
命令:vi /etc/my.cnf.d/mysql-clients.cnf
在[mysql]中添加
default-character-set=utf8mb4
4.全部配置完成,重启MariaDB
命令:systemctl restart mariadb
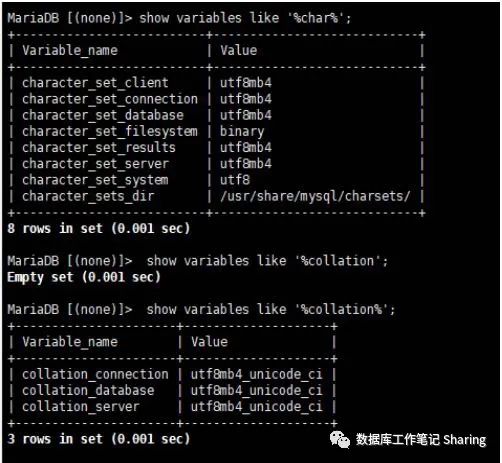
第八步:登陆MariaDB查看字符集
MariaDB [(none)]> show variables like “%character%”;show variables like “%collation%” ;
查询结果如下:
第九步、开启远程访问权限
Grant all privileges on *.* to ‘root’@’192.168.20.%’ identified by ‘123456’ with grant option;
Flush privileges
补充说明:
如果DB Server无法直连外网,也不能通过代理访问时,可采用离线方式安装
1. 找台能上外网的Server 配置好MariaDB.repo后下载依赖包:
sudo tee /etc/yum.repos.d/mariadb.repo<<EOF
[mariadb]
name = MariaDB
baseurl = http://yum.mariadb.org/10.5/centos7-amd64
gpgkey=https://yum.mariadb.org/RPM-GPG-KEY-MariaDB
gpgcheck=1
EOF
yum install --downloadonly --downloaddir=/tmp/db/ MariaDB-server MariaDB-client
2.将/tmp/db/ 中下载好的rpm包 copy到不能联网的服务器上执行:
yum install ./*
yum deplist MariaDB-server-10.5.5-1.el7.centos.x86_64.rpm
yum --nogpgcheck localinstall *rpm
详细过程不再赘述,小伙伴们可按照以上方法自行测试。
若有问题欢迎交流
