


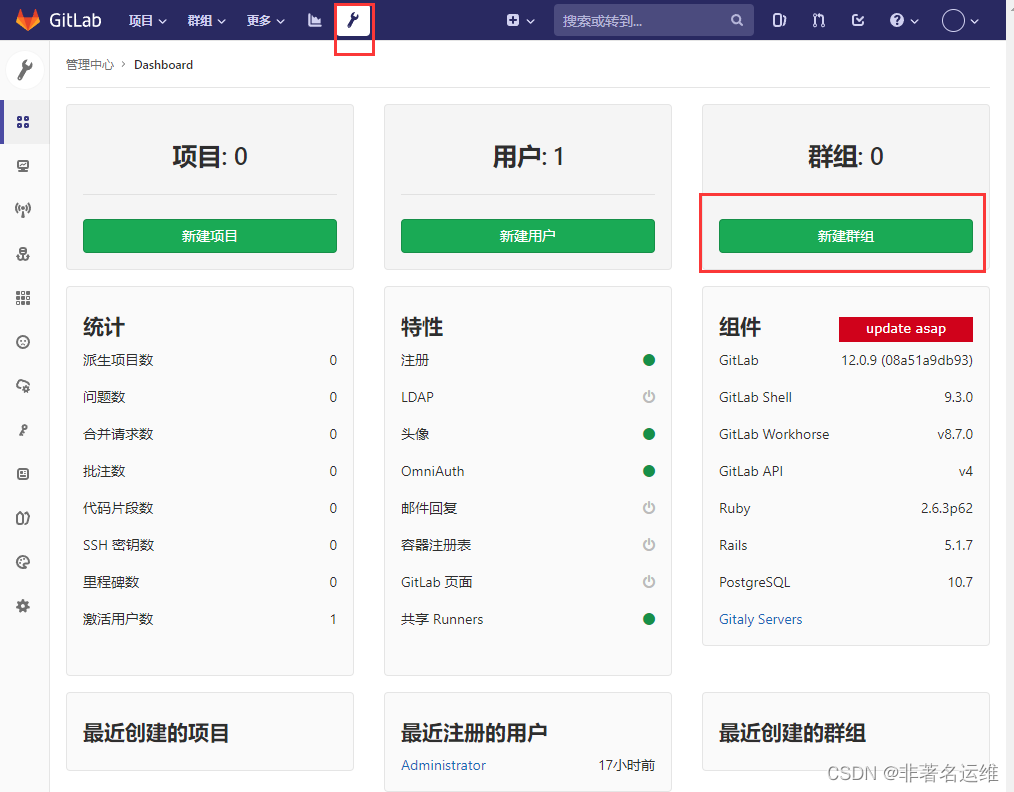
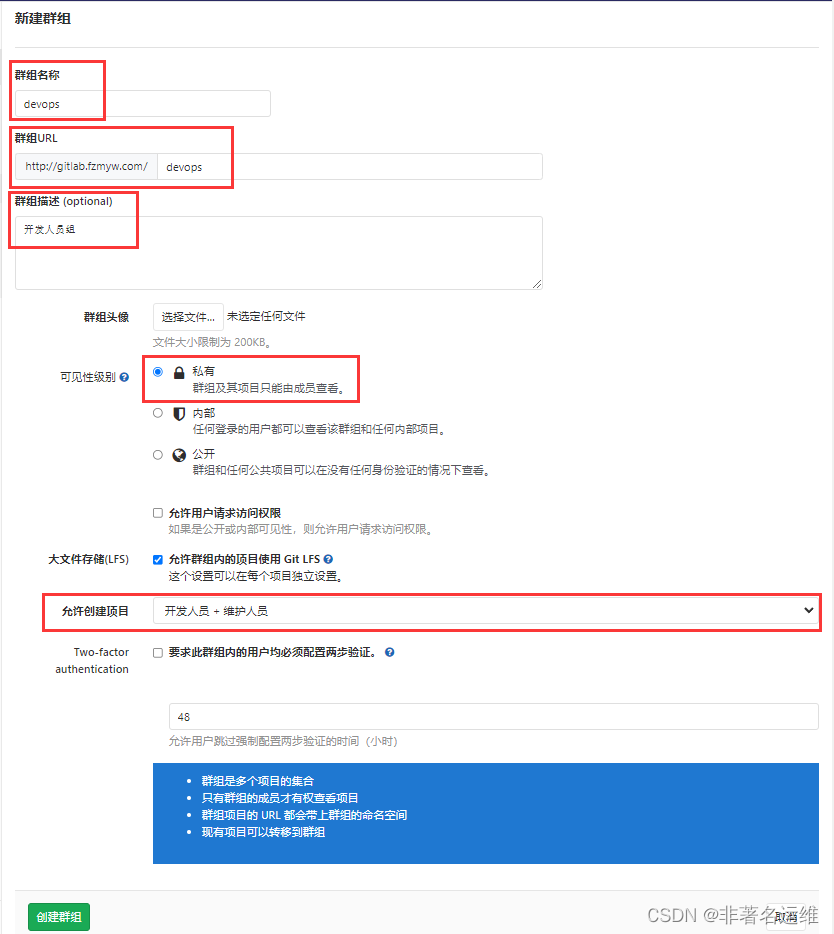
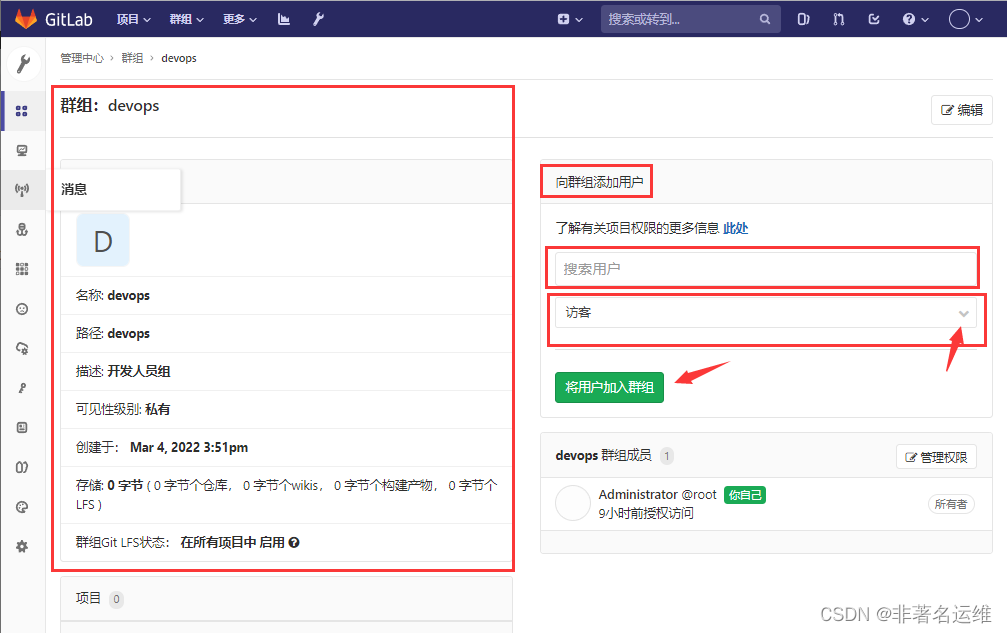
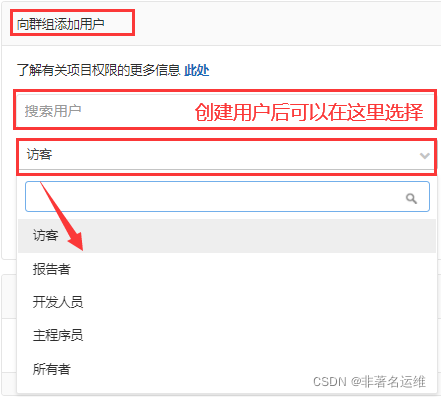
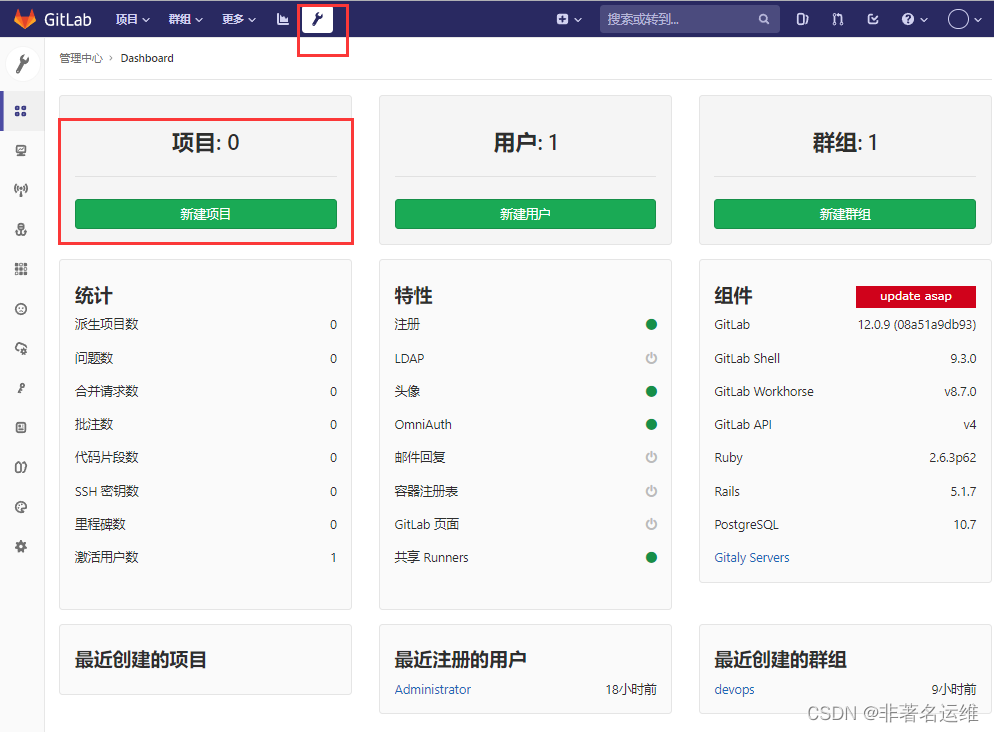
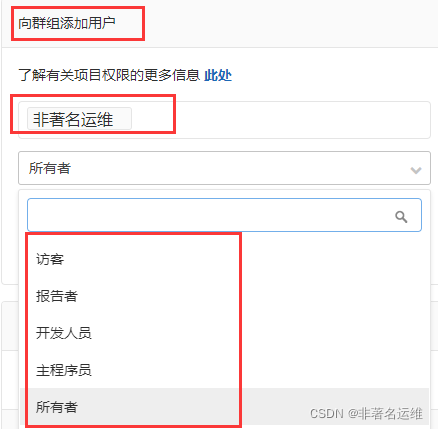
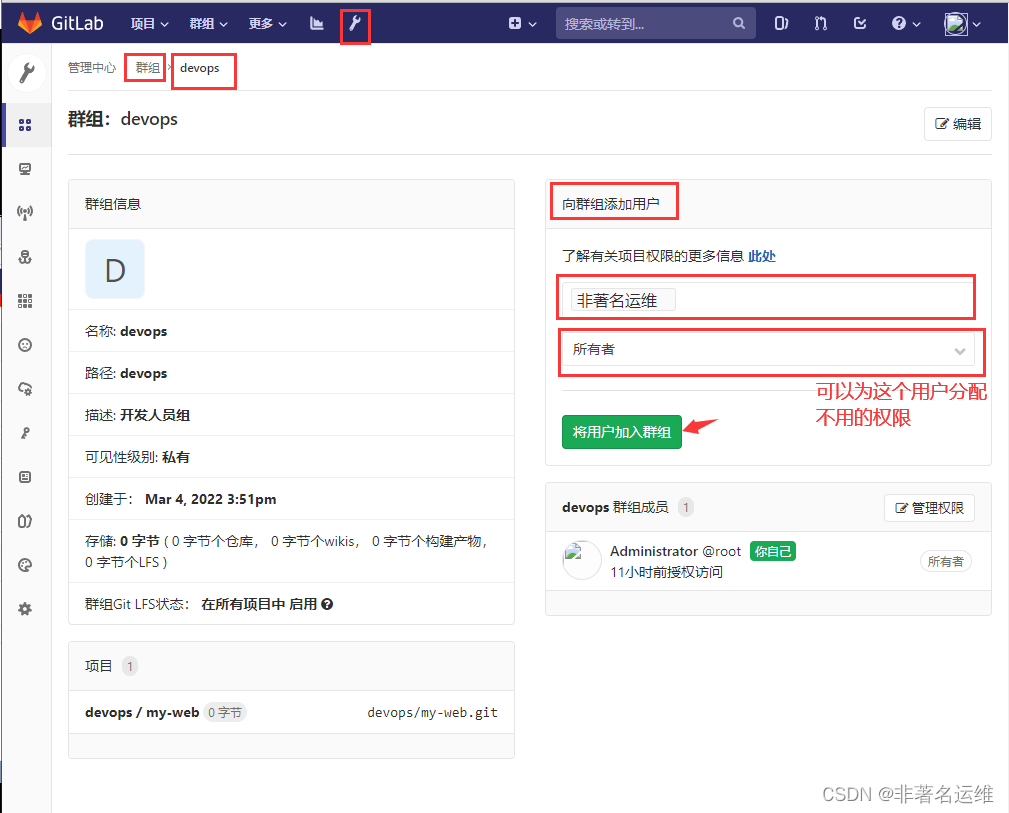
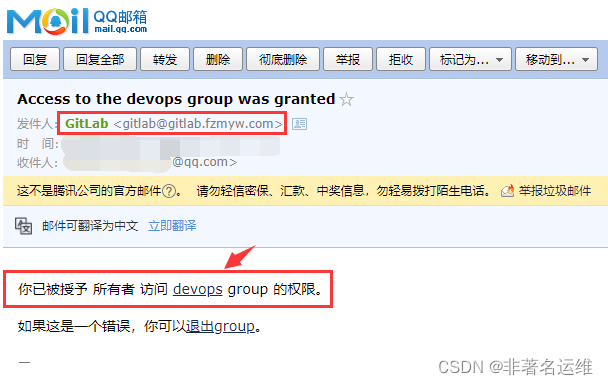
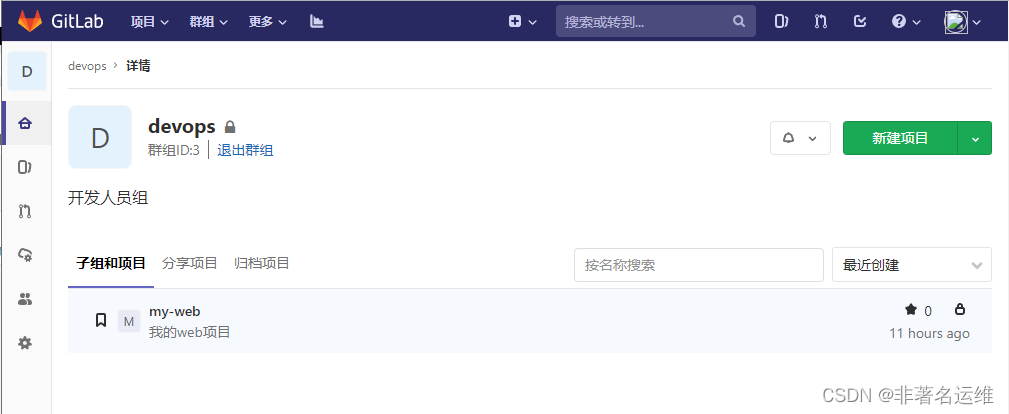
1.创建群组
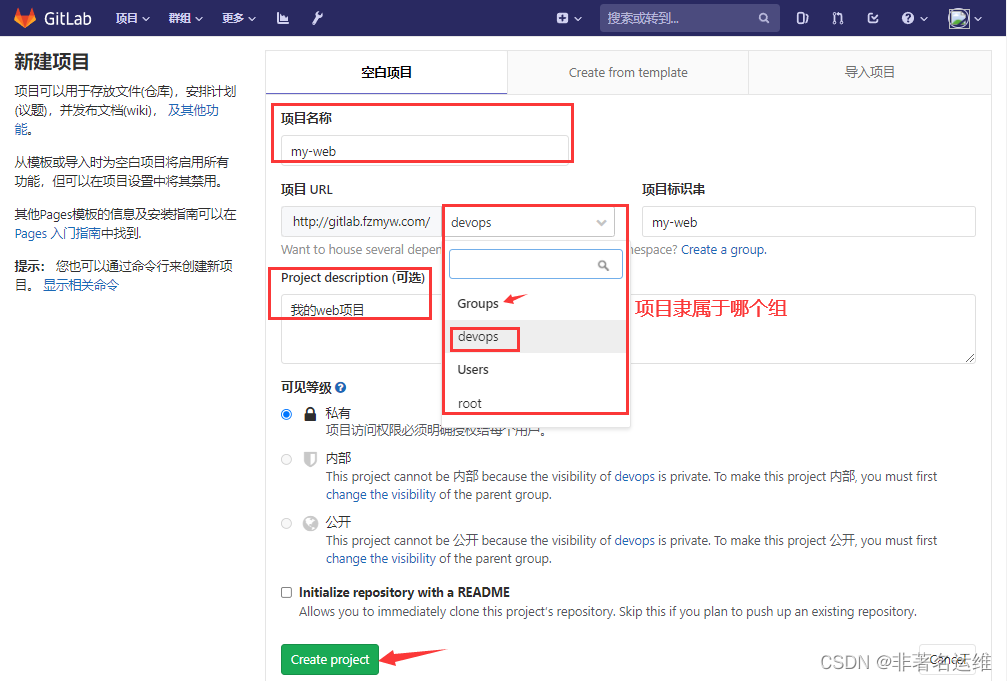
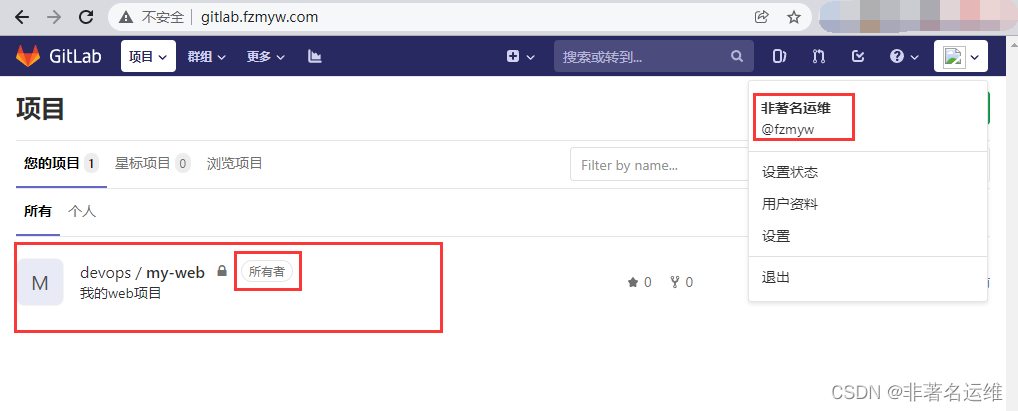
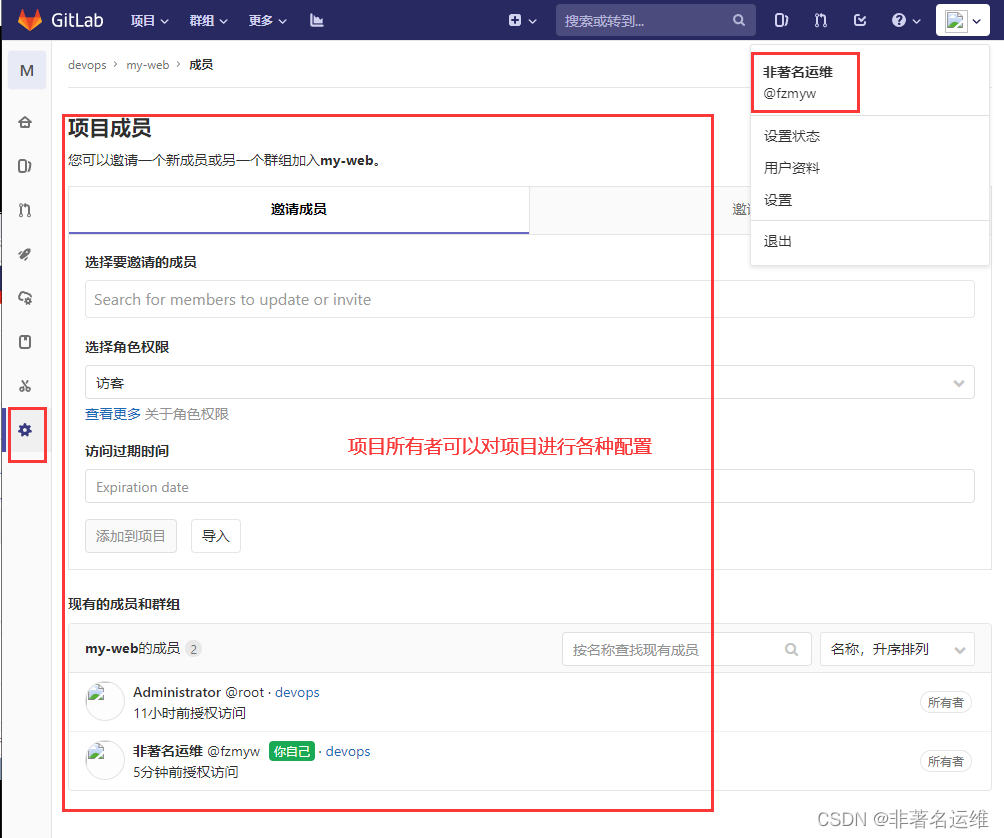
2.创建项目,配置项目隶属于某个群组

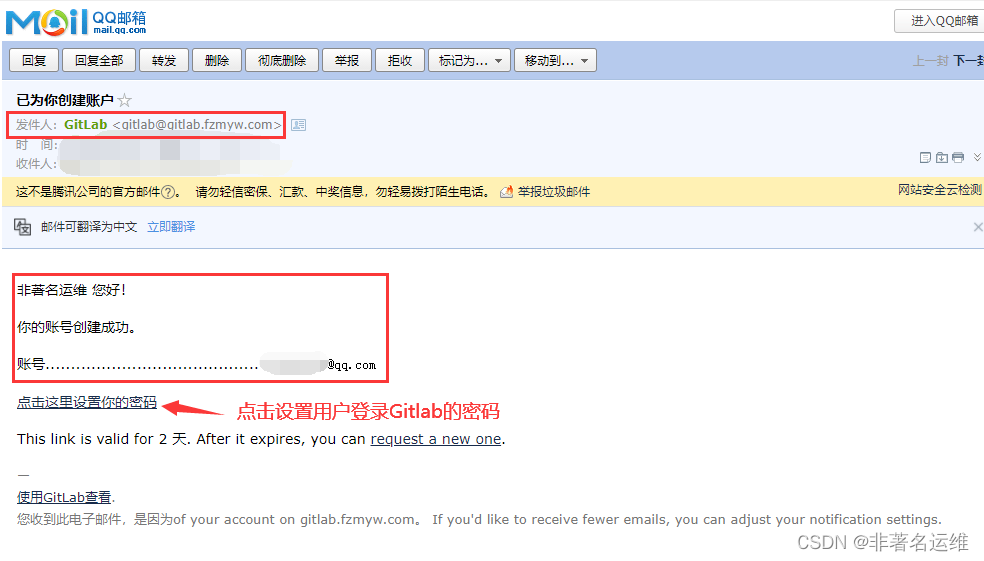
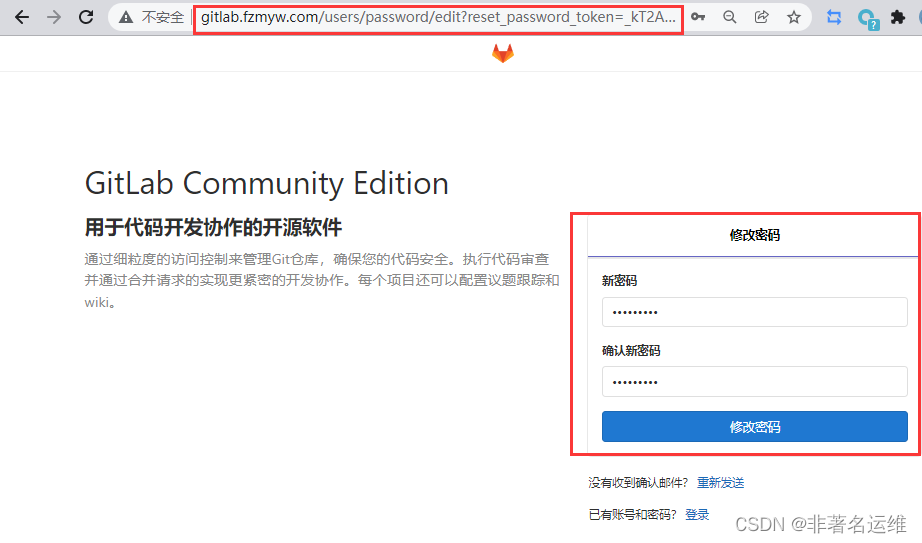

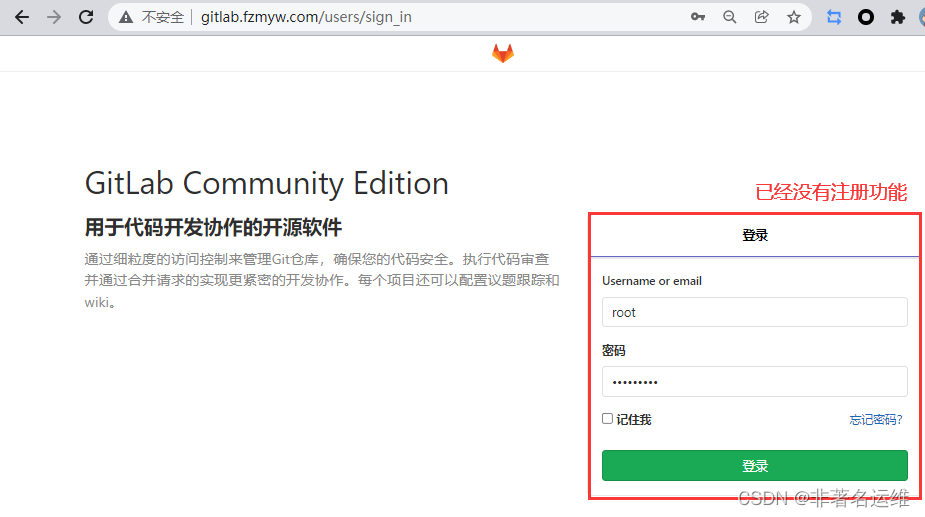
关闭注册功能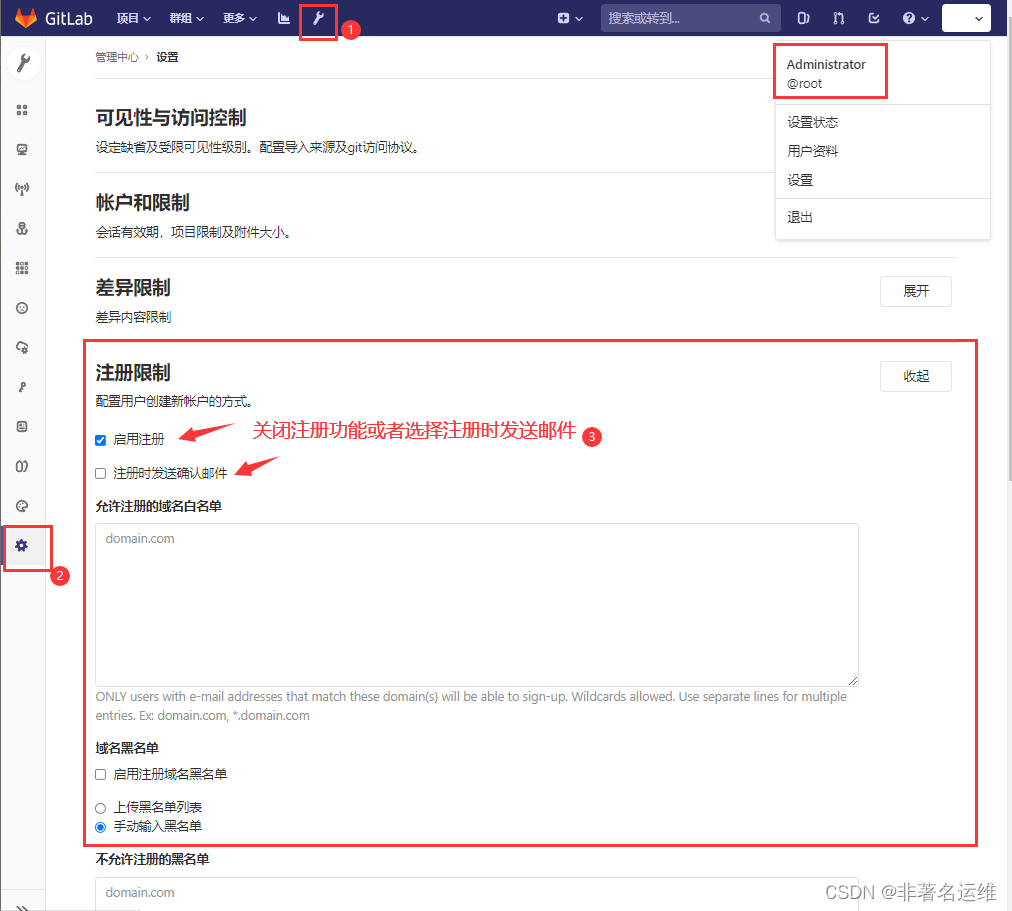

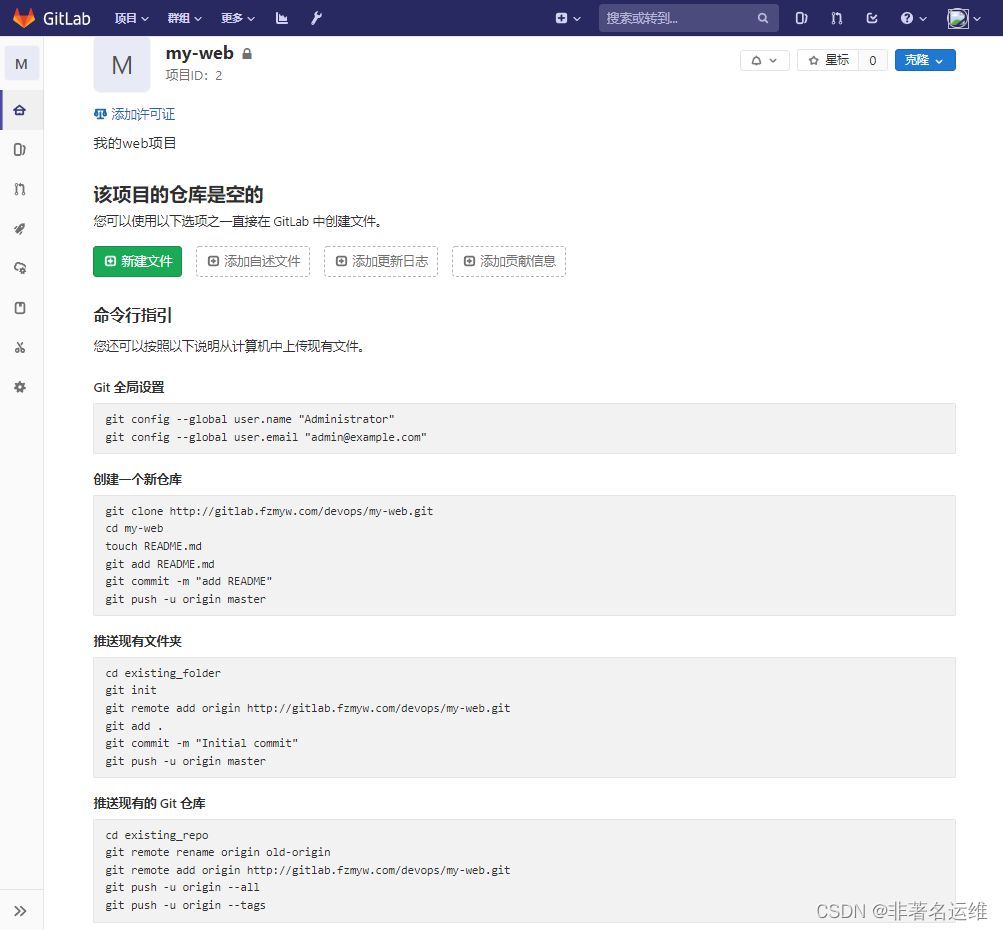
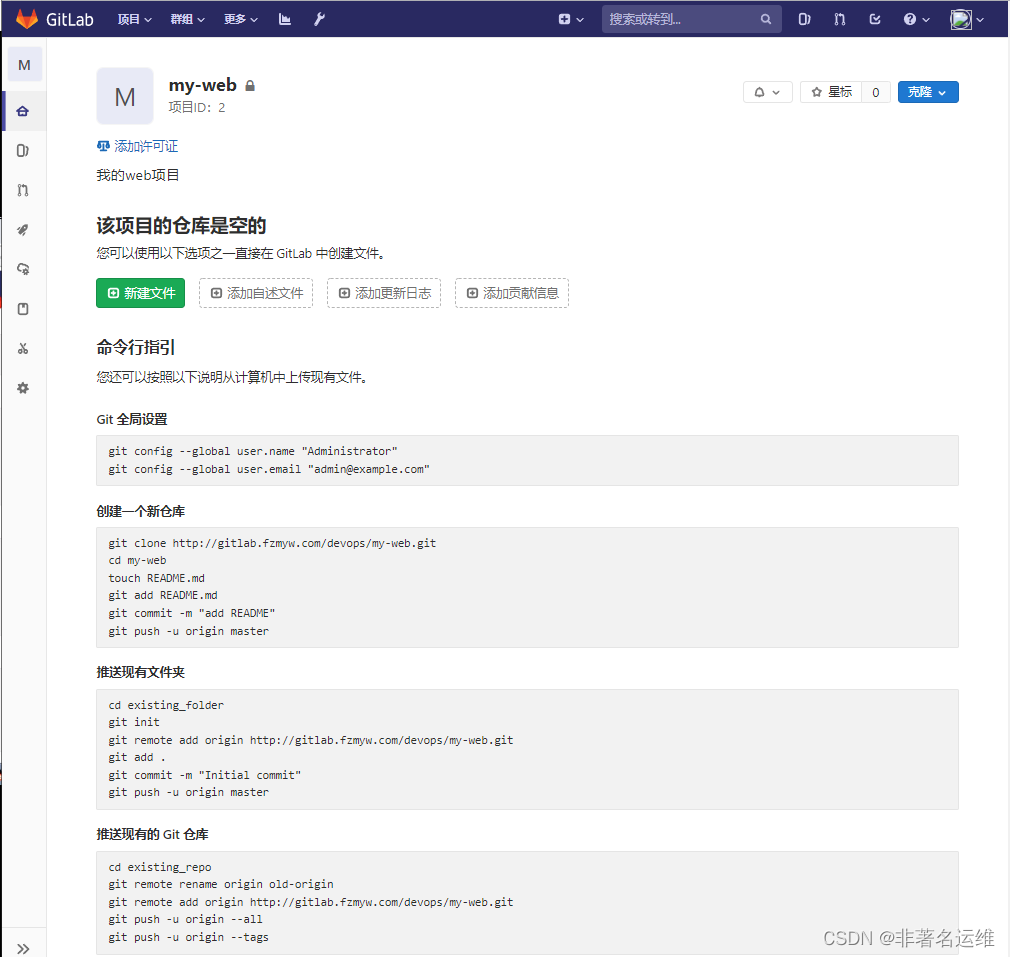
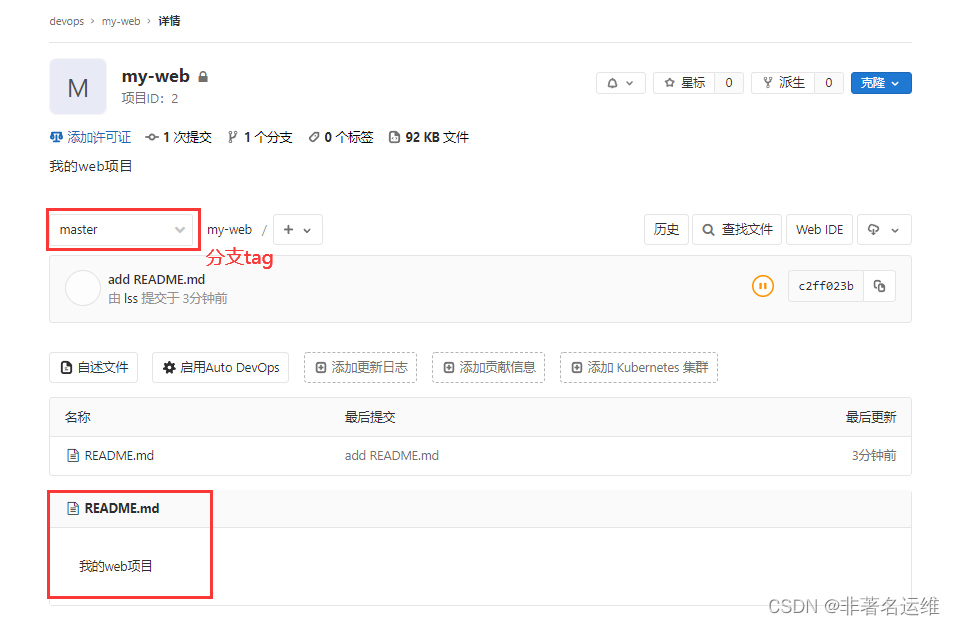
HTTP方式推送代码(root用户)[root@Gitlab ~]# yum -y install git #安装git命令[root@Gitlab ~]# git config --global user.name "lss"[root@Gitlab ~]# git config --global user.email "lss@yw.com"[root@Gitlab ~]# echo 192.168.1.31 gitlab.fzmyw.com >> /etc/hosts[root@Gitlab ~]# cat /etc/hosts #配置域名解析,不然无法解析这个域名127.0.0.1 localhost localhost.localdomain localhost4 localhost4.localdomain4::1 localhost localhost.localdomain localhost6 localhost6.localdomain6192.168.1.31 gitlab.fzmyw.com[root@Gitlab ~]# git clone http://gitlab.fzmyw.com/devops/my-web.git正克隆到 'my-web'...Username for 'http://gitlab.fzmyw.com': rootPassword for 'http://root@gitlab.fzmyw.com':warning: 您似乎克隆了一个空版本库。[root@Gitlab ~]# cd my-web/[root@Gitlab my-web]# touch README.md[root@Gitlab my-web]# echo 我的web项目 > README.md[root@Gitlab my-web]# cat README.md我的web项目[root@Gitlab my-web]# git add .[root@Gitlab my-web]# git commit -m "add README.md"[master(根提交) c2ff023] add README.md 1 file changed, 1 insertion(+) create mode 100644 README.md[root@Gitlab my-web]# git push -u origin masterUsername for 'http://gitlab.fzmyw.com': root #需要输入账号密码Password for 'http://root@gitlab.fzmyw.com':Counting objects: 3, done.Writing objects: 100% (3/3), 225 bytes | 0 bytes/s, done.Total 3 (delta 0), reused 0 (delta 0)To http://gitlab.fzmyw.com/devops/my-web.git * [new branch] master -> master分支 master 设置为跟踪来自 origin 的远程分支 master。复制
问题:
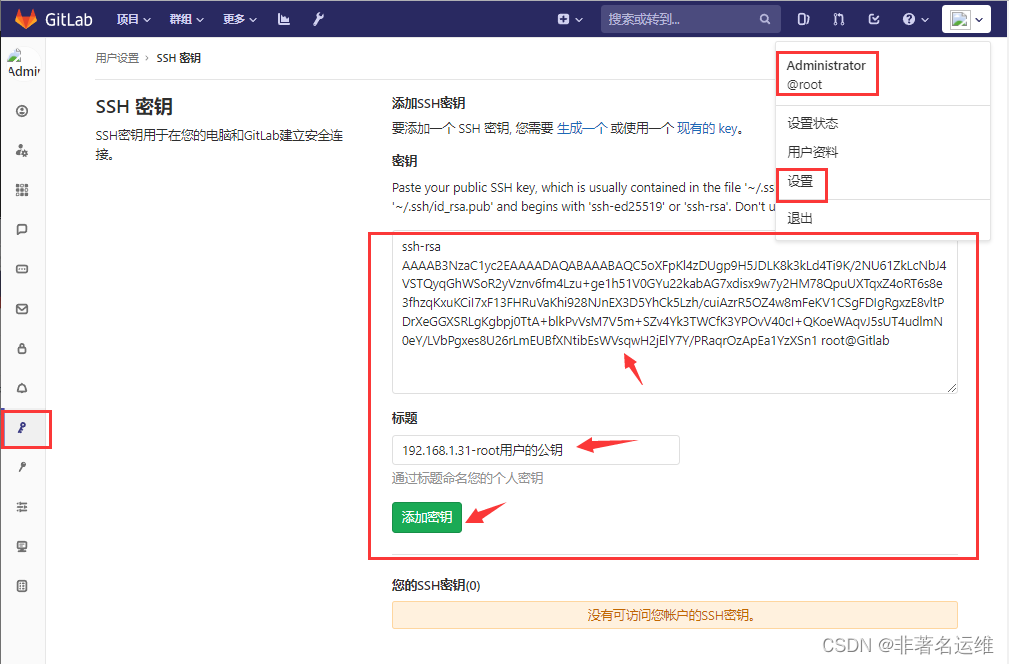
使用http方式推送代码每次都需要输入账号密码,所以推荐使用ssh方式推送代码,在Gitlab中添加ssh-key的方式就可以了!
SSH方式推送代码(root用户)
因为之前使用的是http方式推送的代码,所以要先删除本地指定的http远程推送地址。
[root@Gitlab my-web]# ssh-keygen -t rsaGenerating public/private rsa key pair.Enter file in which to save the key (/root/.ssh/id_rsa):Created directory '/root/.ssh'.Enter passphrase (empty for no passphrase):Enter same passphrase again:Your identification has been saved in /root/.ssh/id_rsa.Your public key has been saved in /root/.ssh/id_rsa.pub.The key fingerprint is:SHA256:PW9VyLlEC3L4SN3O/wOb/qCWJ5CKrzOCjBmYeznV6XQ root@GitlabThe key's randomart image is:+---[RSA 2048]----+| .oo.. || oo.+.+ || . o o* .|| .. ..oo ||.. . .S + o. ||+ . + Eo o o .||o+.o o... . +.+ .||+o+. +.. =.+...|| . ...=. ..+....|+----[SHA256]-----+[root@Gitlab my-web]# cat /root/.ssh/id_rsa.pub #查看root用户的公钥ssh-rsa AAAAB3NzaC1yc2EAAAADAQABAAABAQC5oXFpKl4zDUgp9H5JDLK8k3kLd4Ti9K/2NU61ZkLcNbJ4VSTQyqGhWSoR2yVznv6fm4Lzu+ge1h51V0GYu22kabAG7xdisx9w7y2HM78QpuUXTqxZ4oRT6s8e3fhzqKxuKCiI7xF13FHRuVaKhi928NJnEX3D5YhCk5Lzh/cuiAzrR5OZ4w8mFeKV1CSgFDIgRgxzE8vltPDrXeGGXSRLgKgbpj0TtA+blkPvVsM7V5m+SZv4Yk3TWCfK3YPOvV40cI+QKoeWAqvJ5sUT4udlmN0eY/LVbPgxes8U26rLmEUBfXNtibEsWVsqwH2jElY7Y/PRaqrOzApEa1YzXSn1 root@Gitlab复制
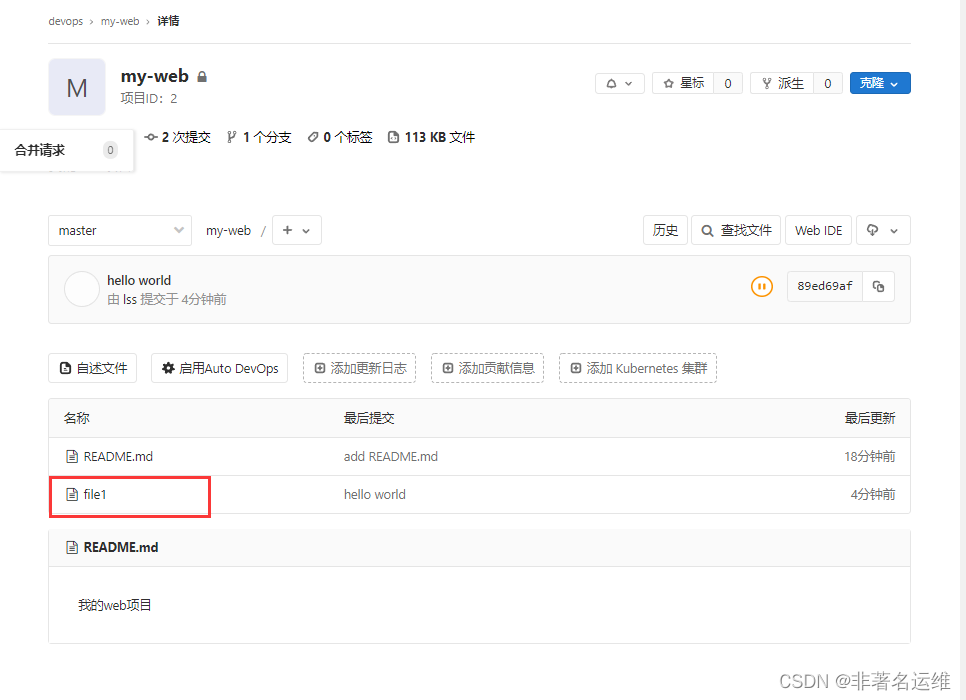
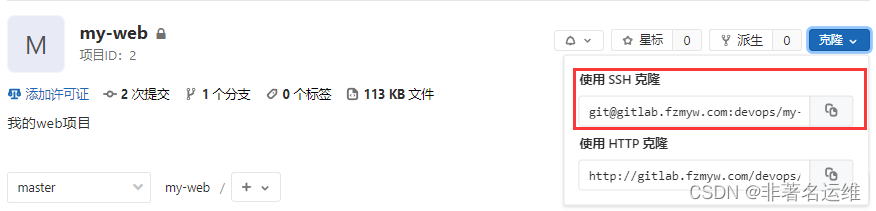
[root@Gitlab my-web]# echo hello world >> file1[root@Gitlab my-web]# git add .[root@Gitlab my-web]# git commit -m "hello world"[master 89ed69a] hello world 1 file changed, 1 insertion(+) create mode 100644 file1[root@Gitlab my-web]# git remote remove origin #删除本地指定的远程推送地址[root@Gitlab my-web]# git remote -v #查看本地添加了哪些远程地址[root@Gitlab my-web]# git remote add origin git@gitlab.fzmyw.com:devops/my-web.git #添加新的SSH方式的远程推送地址[root@Gitlab my-web]# git remote -vorigin git@gitlab.fzmyw.com:devops/my-web.git (fetch)origin git@gitlab.fzmyw.com:devops/my-web.git (push)[root@Gitlab my-web]# git push origin masterCounting objects: 4, done.Compressing objects: 100% (2/2), done.Writing objects: 100% (3/3), 272 bytes | 0 bytes/s, done.Total 3 (delta 0), reused 0 (delta 0)To git@gitlab.fzmyw.com:devops/my-web.git c2ff023..89ed69a master -> master复制
注意:
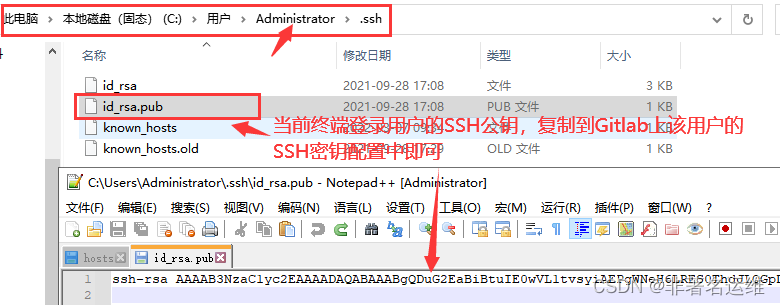
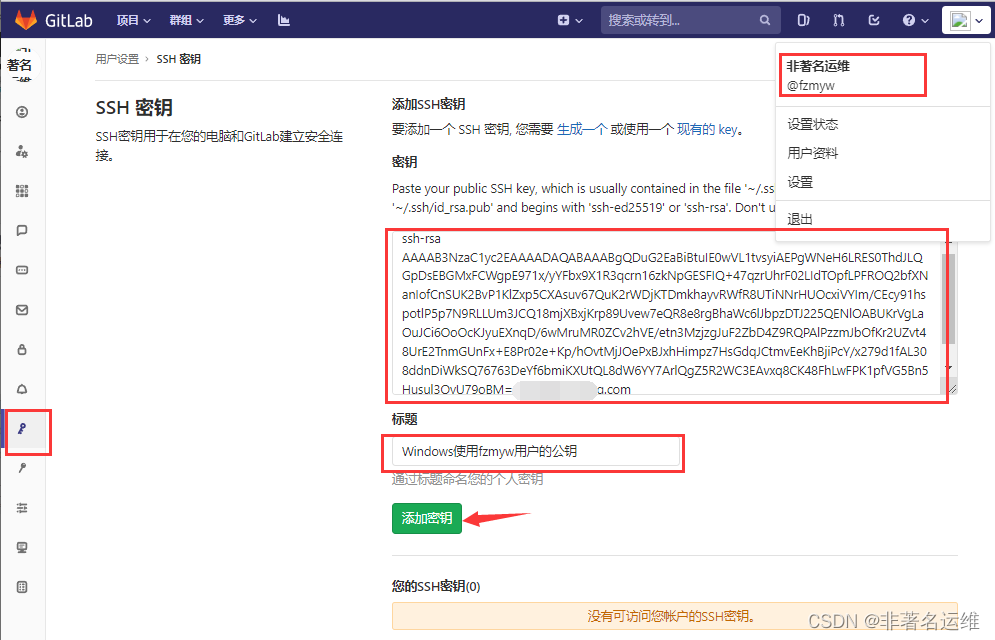
使用不同的Gitlab用户代码克隆链接(即使用不同的Gitlab用户)时需要将当前终端用户的ssh公钥添加至该Gitlab的SSH密钥配置中才能实现代码克隆推送免密。
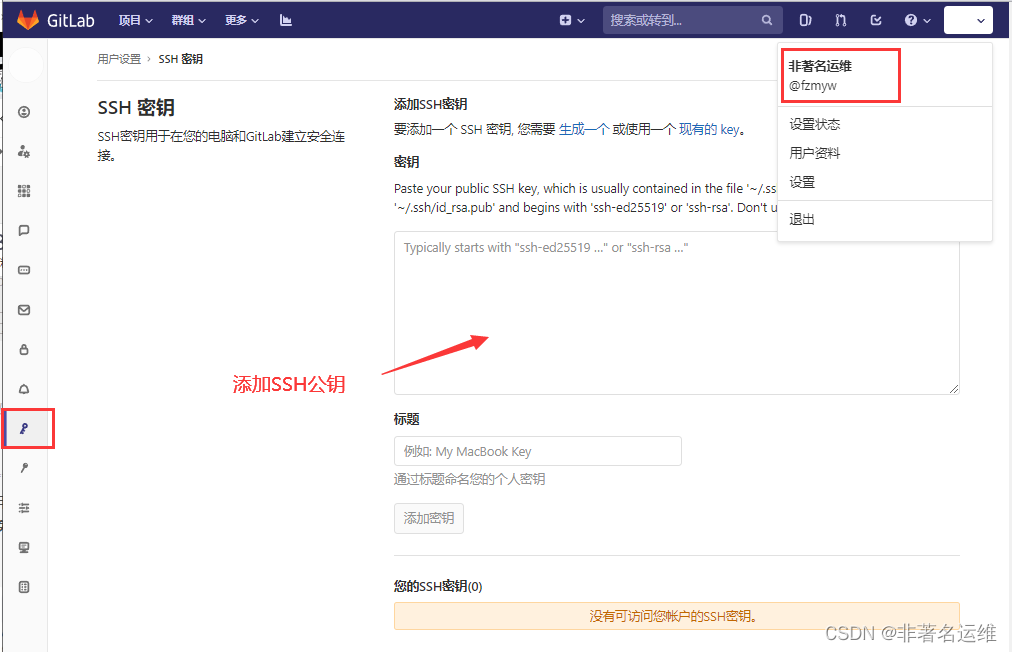
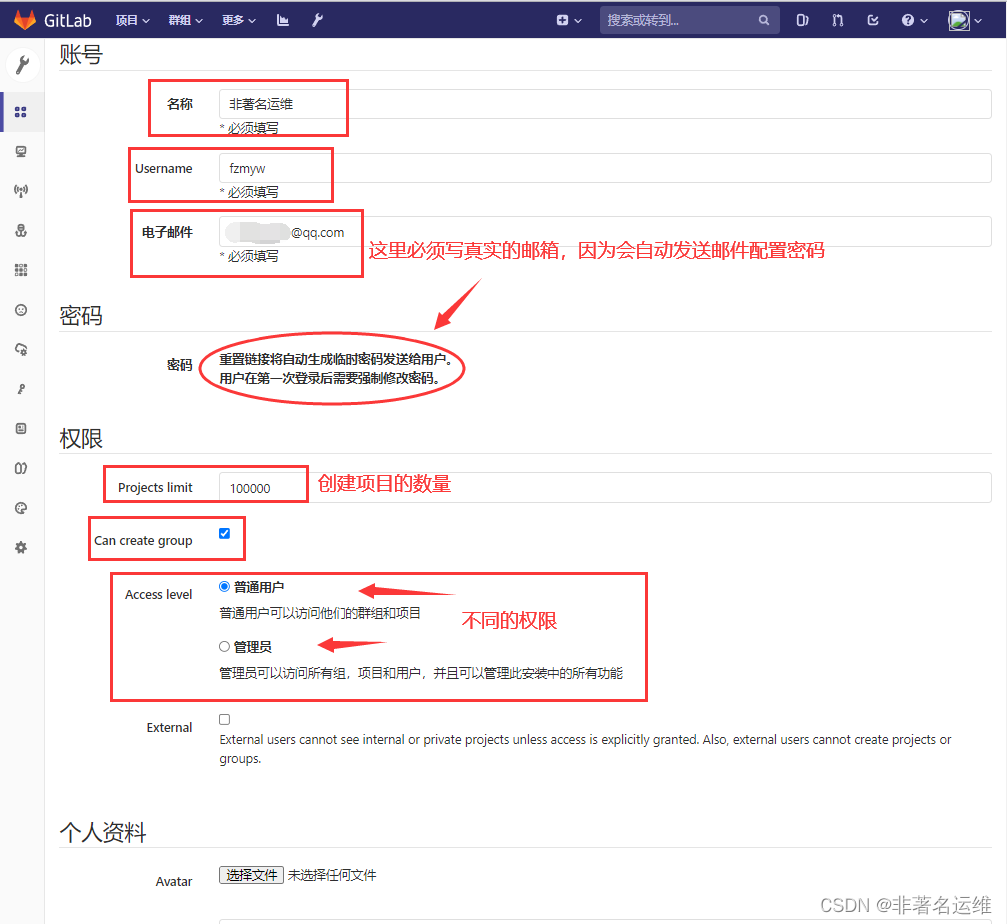
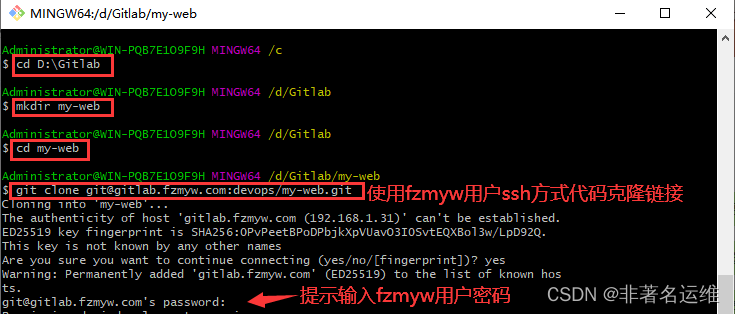
SSH方式推送代码(fzmyw用户)例:在Windwos系统上使用Gitlab上的fzmyw用户来开发代码并使用ssh方式克隆提交代码。

问题:
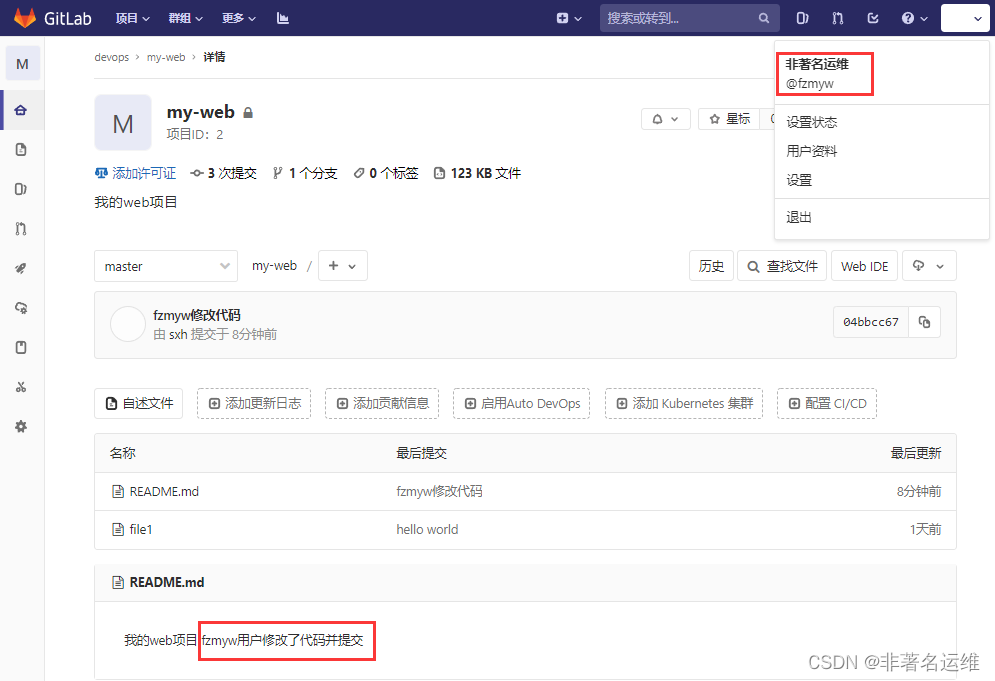
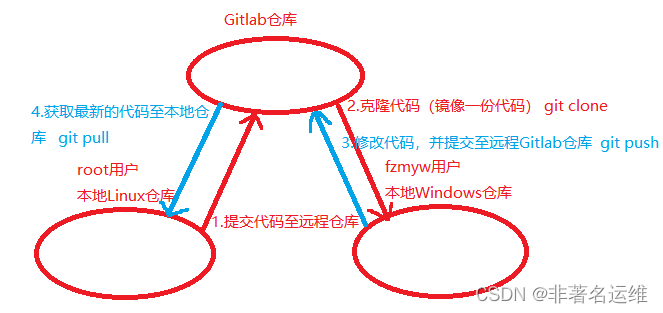
上面我们在Windows上使用fzmyw用户修改并提交了新的代码至Gitlab上,但是root用户本地仓库并不知道其他用户已经提交了新的代码,怎么才能所有用户同步更新最新的代码至本地仓库呢?
[root@Gitlab ~]# cd my-web/[root@Gitlab my-web]# lsfile1 README.md[root@Gitlab my-web]# cat README.md我的web项目[root@Gitlab my-web]# git pull origin master #获取最新的代码至本地仓库remote: Enumerating objects: 5, done.remote: Counting objects: 100% (5/5), done.remote: Compressing objects: 100% (3/3), done.remote: Total 3 (delta 0), reused 0 (delta 0)Unpacking objects: 100% (3/3), done.来自 gitlab.fzmyw.com:devops/my-web * branch master -> FETCH_HEAD更新 89ed69a..04bbcc6Fast-forward README.md | 1 + 1 file changed, 1 insertion(+)[root@Gitlab my-web]# cat README.md我的web项目fzmyw用户修改了代码并提交复制
8.Gitlab新建分支与合并分支
新建分支
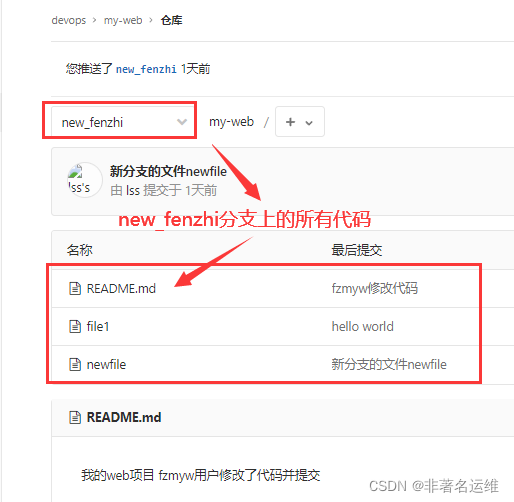
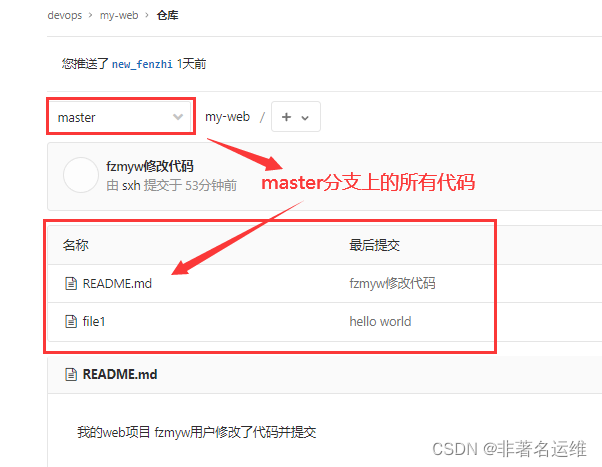
[root@Gitlab my-web]# pwd/root/my-web[root@Gitlab my-web]# lsfile1 README.md[root@Gitlab my-web]# git branch #列出分支* master[root@Gitlab my-web]# git branch new_fenzhi #创建new_fenzhi分支[root@Gitlab my-web]# git branch #列出所有分支* master new_fenzhi[root@Gitlab my-web]# git checkout new_fenzhi #切换分支至new_fenzhi分支上切换到分支 'new_fenzhi'[root@Gitlab my-web]# lsfile1 README.md[root@Gitlab my-web]# echo 这是一个新的分支 >> newfile #在new_fenzhi分支上创建文件[root@Gitlab my-web]# lsfile1 newfile README.md[root@Gitlab my-web]# git add . #提交代码至暂存区[root@Gitlab my-web]# git commit -m "新分支的文件newfile" #提交暂存区代码至本地仓库中[new_fenzhi dd6071e] 新分支的文件newfile 1 file changed, 1 insertion(+) create mode 100644 newfile[root@Gitlab my-web]# git push origin master #推送代码至master分支(因为刚才新建了new_fenzhi并切换到new_fenzhi分支上,所以本地提交的代码文件都在new_fenzhi分支中,需要推送到远程new_fenzhi分支上,而不是master分支)Everything up-to-date #已经是最新[root@Gitlab my-web]# git push origin new_fenzhi #推送new_fenzhi分支上的所有代码至远程new_分支上Counting objects: 4, done.Compressing objects: 100% (2/2), done.Writing objects: 100% (3/3), 348 bytes | 0 bytes/s, done.Total 3 (delta 0), reused 0 (delta 0)remote:remote: To create a merge request for new_fenzhi, visit:remote: http://gitlab.fzmyw.com/devops/my-web/merge_requests/new?merge_request%5Bsource_branch%5D=new_fenzhiremote:To git@gitlab.fzmyw.com:devops/my-web.git * [new branch] new_fenzhi -> new_fenzhi复制

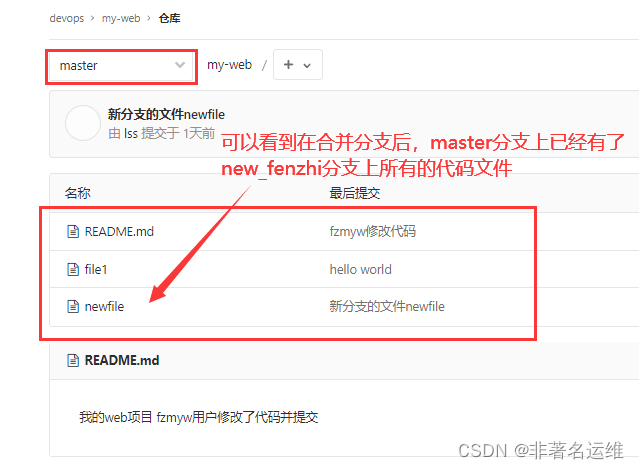
合并分支我们在上面创建了一个新分支new_fenzhi,并且在新分支中创建了代码文件并提交至远程仓库中,但是上面提交的代码都还是只属于new_fenzhi分支中的,如果new_fenzhi分支上的代码要合并到master主分支上去呢
[root@Gitlab my-web]# git branch #列出分支 master* new_fenzhi[root@Gitlab my-web]# lsfile1 newfile README.md[root@Gitlab my-web]# git merge master #在new_fenzhi分支上合并masterAlready up-to-date.[root@Gitlab my-web]# git checkout master #切换至master分支切换到分支 'master'[root@Gitlab my-web]# git branch* master new_fenzhi[root@Gitlab my-web]# git merge new_fenzhi #将new_fenzhi分支合并到master分支上更新 04bbcc6..dd6071eFast-forward newfile | 1 + 1 file changed, 1 insertion(+) create mode 100644 newfile[root@Gitlab my-web]# git push origin master #推送代码至远程master分支上Total 0 (delta 0), reused 0 (delta 0)To git@gitlab.fzmyw.com:devops/my-web.git 04bbcc6..dd6071e master -> master复制
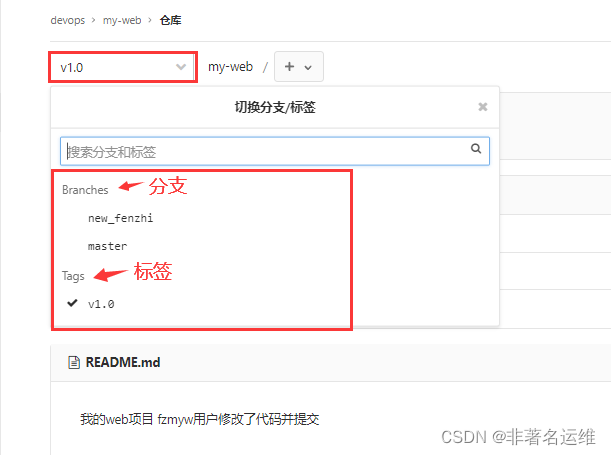
[root@Gitlab my-web]# git branch* master new_fenzhi[root@Gitlab my-web]# lsfile1 newfile README.md[root@Gitlab my-web]# git tag -a "v1.0" -m "new tag" #将当前master分支上所有代码打一个标签为v1.0(可以看做一个版本)[root@Gitlab my-web]# git tag #查看所有标签v1.0[root@Gitlab my-web]# git push origin v1.0 #推送标签v1.0至远程仓库Counting objects: 1, done.Writing objects: 100% (1/1), 147 bytes | 0 bytes/s, done.Total 1 (delta 0), reused 0 (delta 0)To git@gitlab.fzmyw.com:devops/my-web.git * [new tag] v1.0 -> v1.0复制
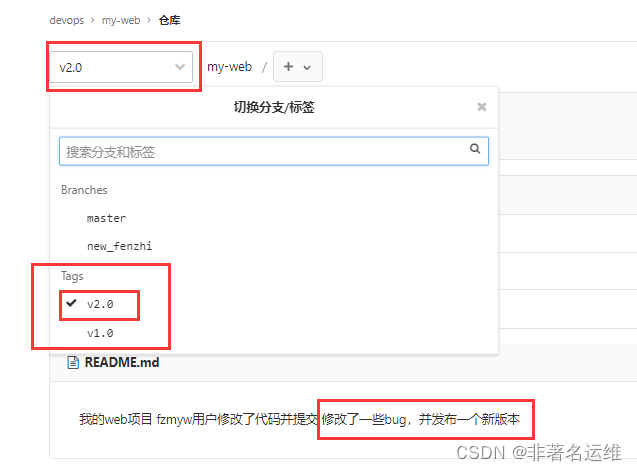
[root@Gitlab my-web]# git branch* master new_fenzhi[root@Gitlab my-web]# lsfile1 newfile README.md[root@Gitlab my-web]# echo 修改了一些bug,并发布一个新版本 >> README.md[root@Gitlab my-web]# cat README.md我的web项目fzmyw用户修改了代码并提交修改了一些bug,并发布一个新版本[root@Gitlab my-web]# git add .[root@Gitlab my-web]# git commit -m "修改了一些bug,并发布一个新版本"[master e179435] 修改了一些bug,并发布一个新版本 1 file changed, 1 insertion(+)[root@Gitlab my-web]# git push origin masterCounting objects: 5, done.Compressing objects: 100% (3/3), done.Writing objects: 100% (3/3), 440 bytes | 0 bytes/s, done.Total 3 (delta 0), reused 0 (delta 0)To git@gitlab.fzmyw.com:devops/my-web.git dd6071e..e179435 master -> master[root@Gitlab my-web]# git tag -a "v2.0" -m "v2.0新版本" #提交新的tag为v2.0[root@Gitlab my-web]# git tagv1.0v2.0[root@Gitlab my-web]# git push origin v2.0 #推送新标签(版本)v2.0至远程仓库Counting objects: 1, done.Writing objects: 100% (1/1), 161 bytes | 0 bytes/s, done.Total 1 (delta 0), reused 0 (delta 0)To git@gitlab.fzmyw.com:devops/my-web.git * [new tag] v2.0 -> v2.0复制
Gitlab备份
1.修改默认存放备份站点目录,然后进行重新加载配置文件。
[root@Gitlab ~]# vim /etc/gitlab/gitlab.rb...gitlab_rails['manage_backup_path'] = truegitlab_rails['backup_path'] = "/data/gitlab/backups" #备份路径修改(路径的空间要足够大)...gitlab_rails['backup_keep_time'] = 604800 #备份保留7天...[root@Gitlab ~]# gitlab-ctl reconfigure #重新加载gitlab配置文件复制
2.手动执行备份命令,会将备份的结果存储至/data/gitlab/backups目录中。
[root@Gitlab ~]# gitLab-rake gitlab:backup:create复制
3.当然也可以将备份命令写入定时任务每天进行自动备份。
[root@Gitlab ~]# crontab -l00 02 * * * /usr/bin/gitlab-rake gitlab:backup:create复制
4.查看备份文件
[ root@Gitlab ~]# ls /data/gitlab/backups/1566120123_2022_03_07_12.0.3_gitlab_backup.tar复制
Gitlab恢复
1.停止数据写入服务
[root@Gitlab ~]# gitlab-ctl stop unicorn[root@Gitlab ~]# gitlab-ctL stop sidekiq复制
2.通过gitlab-rake命令进行恢复,恢复时需要指定此前备份的名称(文件只需要写到时间戳就好(1566120123_2022_03_07_12.0.3),不需要写_gitlab_backup和.tar后缀
)
[root@Gitlab ~]# gitlab-rake gitlab:backup:restore BACKUP=1566120123_2022_03_07_12.0.3Before restoring the detabase, we will remove all existing tables to avoid future: upgrade problems. Be aware that if you have custom tables in the 6itLab database these tables and all data will beremoved.Do you want to continue (yes/no) ? yes #输入yes复制
3.重启gitlab,检测是否恢复
[root@Gitlab ~]# gitlab-ctL restart复制
Gitlab升级
1.关闭gitlab服务
[root@Gitlab ~]# gitlab-ctl stop unicorn[root@Gitlab ~]# gitlab-ctl stop sidekiq[root@Gitlab ~]# gitlab-ctl stop nginx复制
2.备份gitlab
[root@Gitlab ~]# gitlab-rake gitlab:backup:create复制
3.下载gitlab的RPM包并进行升级
清华大学源(gitlab-ce社区版 centos7下载):https://mirror.tuna.tsinghua.edu.cn/gitlab-ce/yum/el7/
汉化包各版本下载(上半部分gitlab处选择tag版本):https://gitlab.com/xhang/gitlab/-/tree/12-0-stable-zh
[root@Gitlab ~]# yum localinstall gitlab-ce-15.0.0-ce.0.el7.x86_64.rpm复制
4.启动并查看gitlab版本信息
[root@Gitlab ~]# gitlab-ctl reconfigure[root@Gitlab ~]# gitlab-ctl restart[root@Gitlab ~]# head -1 /opt/gitlab/version-manifest.txtgitlab-ce 15.0.0复制
温馨提示
如果您喜欢本文,就请动动您的发财手为本文留言转发在看,想获取更多运维相关内容,请记得关注我。
点个[在看],是对我最大的支持! 复制


