


环境情况
系统版本:CentOS7
系统环境:php 7.1.3 以上
软件版本:phpMyAdmin5.0.2
软件下载地址:https://www.phpmyadmin.net/
安装步骤
步骤一:关闭防火墙
systemctl stop firewalld.service #停止firewallsystemctl disable firewalld.service #禁止firewall开机启动
步骤二:SELinux 设置为0
setenforce 0 ##设置sed -i 's/SELINUX=enforcing/SELINUX=disabled/g' etc/selinux/config ##禁用cat /etc/selinux/config ##查看
步骤三:安装httpd
yum -y install httpd ##安装systemctl enable httpd ##开机启动systemctl start httpd ##启动
步骤四:查看系统php版本,看是否为 7.1.3以上
如果提示没有php指令。或者版本低于7.1.3,需要升级php版本
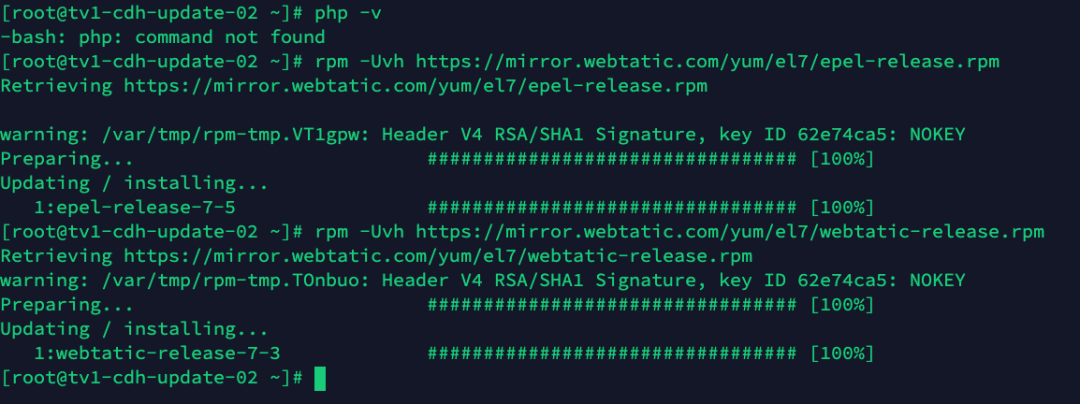
php -v ##指令查看。
步骤五:升级php版本(如果系统php高于7.1版本,可以忽略)
##升级仓库rpm -Uvh https://mirror.webtatic.com/yum/el7/epel-release.rpmrpm -Uvh https://mirror.webtatic.com/yum/el7/webtatic-release.rpm
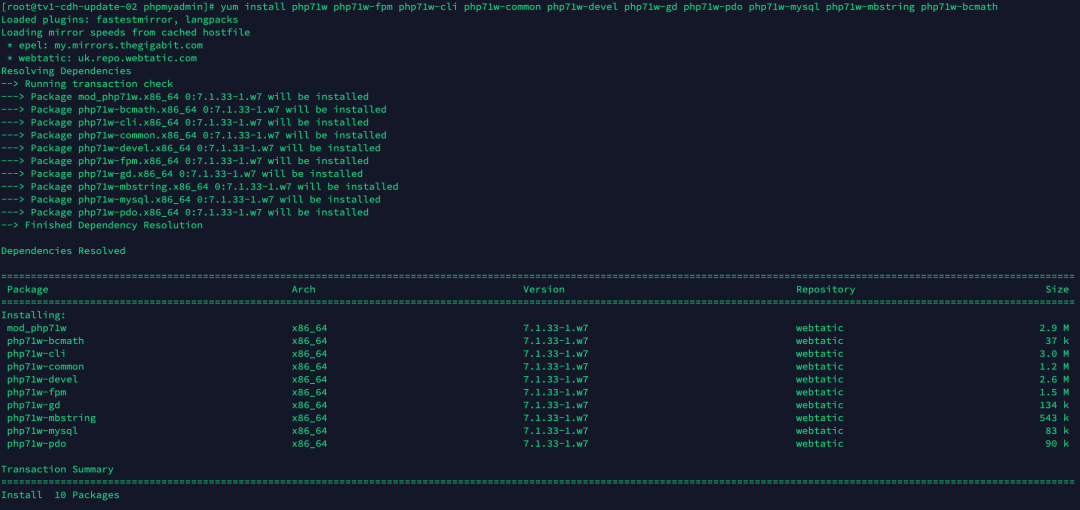
步骤六:安装php7.1版本(如果系统php高于7.1版本,可以忽略)
yum install -y php71w php71w-fpm php71w-cli php71w-common php71w-devel php71w-gd php71w-pdo php71w-mysql php71w-mbstring php71w-bcmathservice httpd restart ##重启httpdphp -v ##查看版本

步骤七:解压phpMyAdmin-5.0.2-all-languages.zip
将下载包放入 var/www/html 目录下
unzip phpMyAdmin-5.0.2-all-languages.zip ##解压到当前目录mv phpMyAdmin-5.0.2-all-languages phpmyadmin ##目录重命名

步骤八:配置多数据源模式
cd /var/www/html/phpmyadmin ##进入目录mv config.sample.inc.php config.inc.php ##重命名配置文件vim config.inc.php #编辑文件## 注释,并添加部分代码, 其它不动#####/*** Servers configuration*///$i = 0; 注释/*** First server*///$i++; 注释/* Authentication type *///$cfg['Servers'][$i]['auth_type'] = 'cookie'; 注释/* Server parameters *///$cfg['Servers'][$i]['host'] = 'localhost';注释//$cfg['Servers'][$i]['compress'] = false;注释//$cfg['Servers'][$i]['AllowNoPassword'] = false;注释// 添加$connect_hosts = array('1'=>array("host"=> "服务器ip",//服务器"port"=> "3306", //端口"user"=> "",//用户不用填"password" => "" //密码不用填),'2' => array("host"=> "服务器ip", 服务器"port"=> "3306", //端口"user"=> "", 用户不用填"password" => "" 密码不用填));for ($i=1;$i<=count($connect_hosts);$i++) {/* Authentication type */$cfg['Servers'][$i]['auth_type'] = 'cookie';/* Server parameters */$cfg['Servers'][$i]['host'] = $connect_hosts[$i]['host'];$cfg['Servers'][$i]['connect_type'] = 'tcp';$cfg['Servers'][$i]['compress'] = false;/* Select mysqli if your server has it */$cfg['Servers'][$i]['extension'] = 'mysql';$cfg['Servers'][$i]['AllowNoPassword'] = true;$cfg['Servers'][$i]['user'] = $connect_hosts[$i]['user'];$cfg['Servers'][$i]['password'] = $connect_hosts[$i]['password'];$cfg['Servers'][$i]['port'] = $connect_hosts[$i]['port'];/* rajk - for blobstreaming */$cfg['Servers'][$i]['bs_garbage_threshold'] = 50;$cfg['Servers'][$i]['bs_repository_threshold'] = '32M';$cfg['Servers'][$i]['bs_temp_blob_timeout'] = 600;$cfg['Servers'][$i]['bs_temp_log_threshold'] = '32M';}###########################################################################
步骤九:重启httpd
service httpd restart ##重启httpd
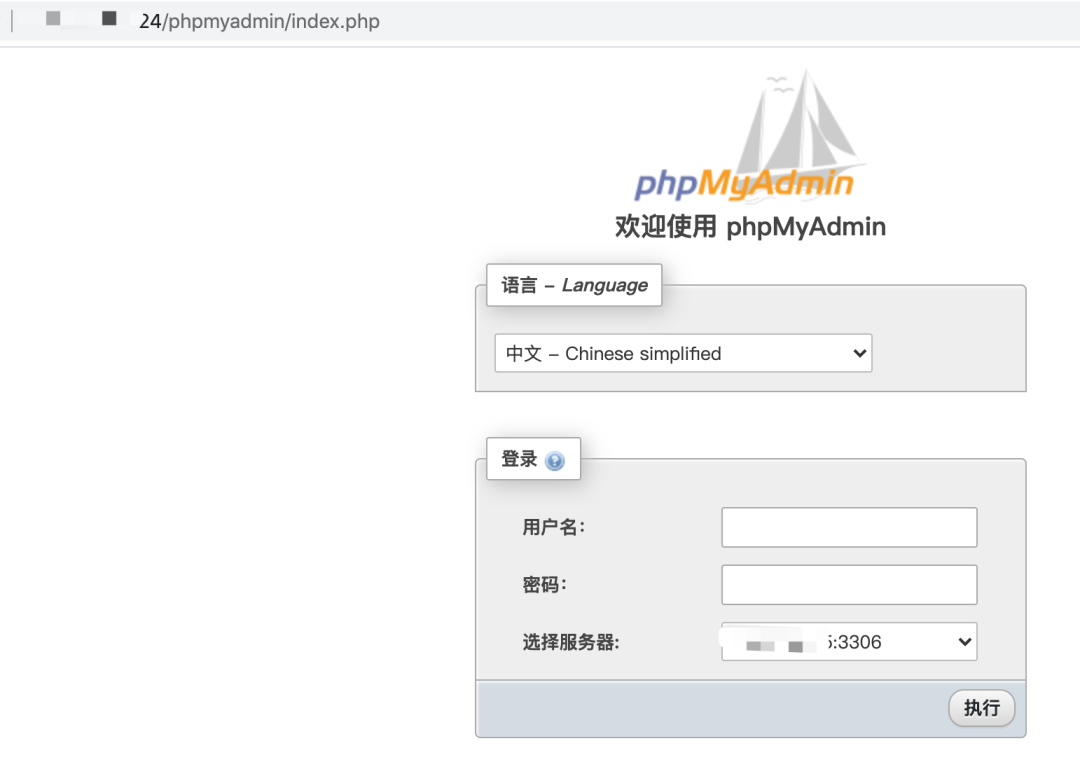
步骤十:通过web地址访问:http://ip/phpmyadmin/index.php
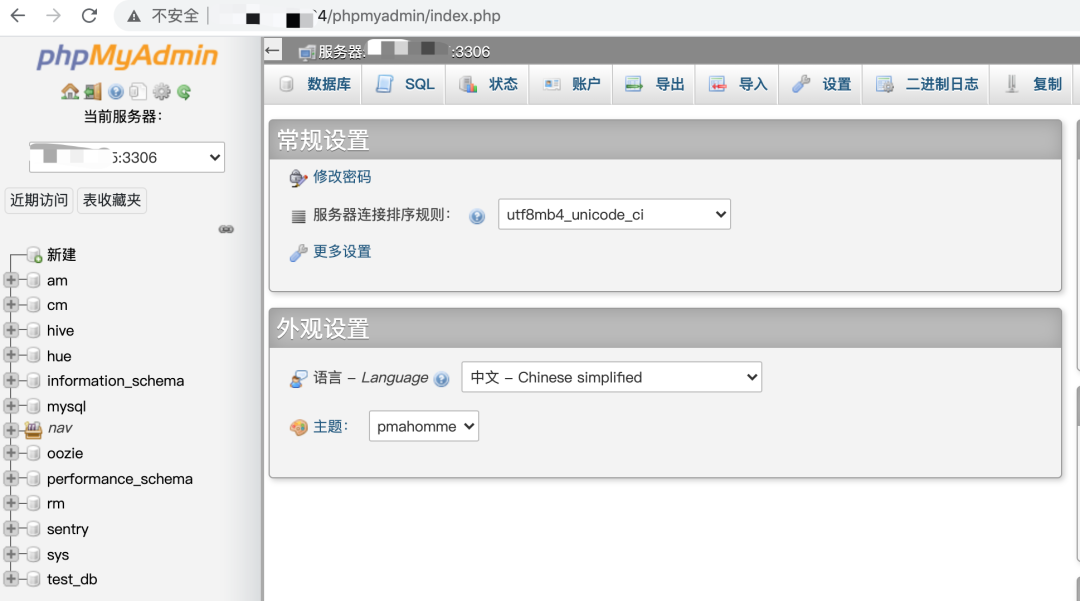
小结

文章转载自数据在此,如果涉嫌侵权,请发送邮件至:contact@modb.pro进行举报,并提供相关证据,一经查实,墨天轮将立刻删除相关内容。
