作者:马顺华
从事运维管理工作多年,目前就职于某科技有限公司,熟悉运维自动化、OceanBase部署运维、MySQL 运维以及各种云平台技术和产品。并已获得OceanBase认证OBCA、OBCP证书。
OBD 全称是 OceanBase Deployer,是 OceanBase 社区版的命令行下自动化部署软件。 OBD 同时也是包管理器,可以用来管理 OceanBase 所有的开源软件。根据中控机器能否连接公网,提供两个安装方法:离线和在线。二选一。
一、使用 RPM 包(Centos 7 及以上)(离线)安装
首先在中控机上部署 OBD 软件。如果中控机不能上网,则需要提前下载好 OBD 、 OBSERVER 和 OBPROXY 相关软件包。
1、下载相关软件包
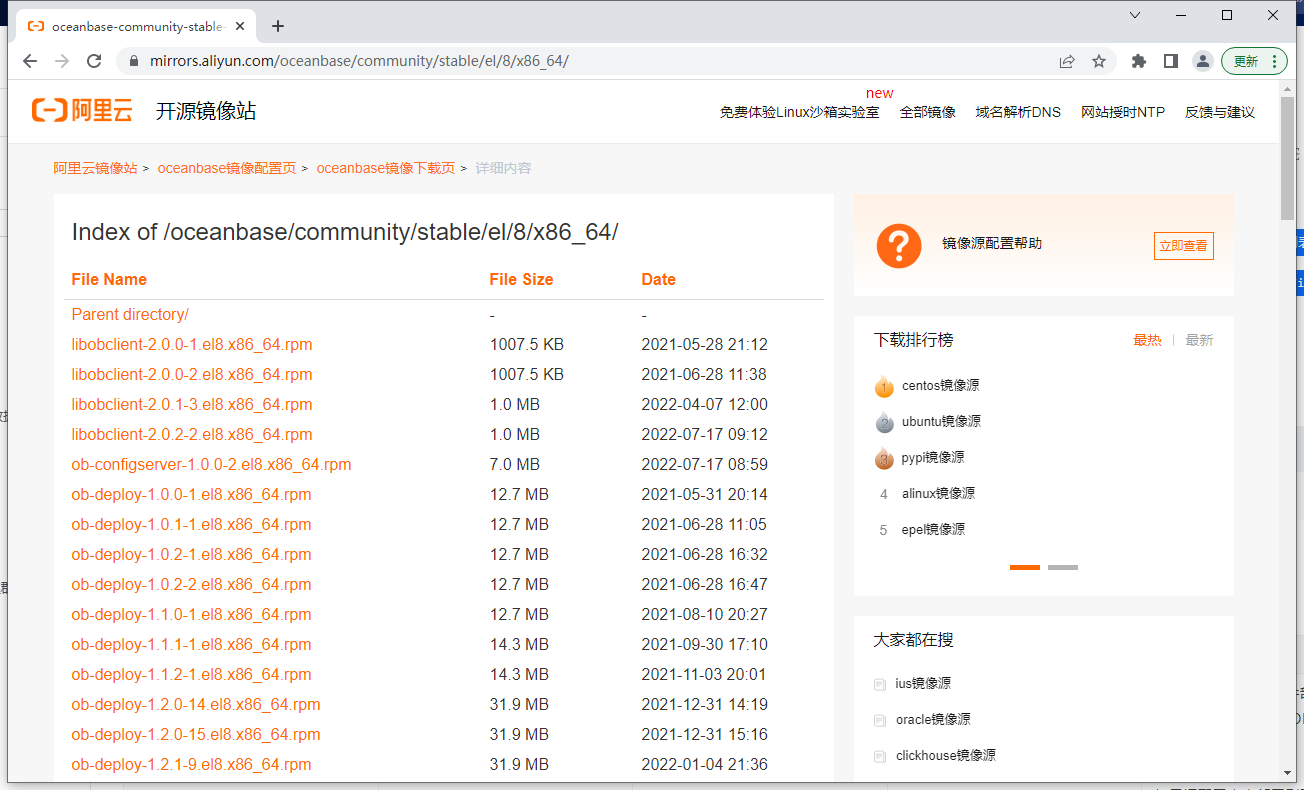
方式一,阿里云镜像站软件包地址下载,请根据 OS 版本自行选择。
阿里云镜像站 https://mirrors.aliyun.com/oceanbase/community/stable/el/8/x86_64/
方式二,wget下载
[root@CAIP131 soft]# ls
ocp-ce-3.1.1-bp1  Python-3.7.2.tar.xz  tsar  tsar-master  wget-log
[root@CAIP131 soft]# wget https://mirrors.aliyun.com/oceanbase/community/stable/el/8/x86_64/ob-deploy-1.2.1-9.el8.x86_64.rpm
--2022-10-31 10:20:44--  https://mirrors.aliyun.com/oceanbase/community/stable/el/8/x86_64/ob-deploy-1.2.1-9.el8.x86_64.rpm
Resolving mirrors.aliyun.com (mirrors.aliyun.com)... 27.128.222.203, 103.15.99.114, 27.128.222.198, ...
Connecting to mirrors.aliyun.com (mirrors.aliyun.com)|27.128.222.203|:443... connected.
HTTP request sent, awaiting response... 200 OK
Length: 33472368 (32M) [application/x-rpm]
Saving to: ‘ob-deploy-1.2.1-9.el8.x86_64.rpm’

100%[=====================================================================================================>] 33,472,368   326KB/s   in 1m 43s

2022-10-31 10:22:27 (318 KB/s) - ‘ob-deploy-1.2.1-9.el8.x86_64.rpm’ saved [33472368/33472368]

[root@CAIP131 soft]# ls
ob-deploy-1.2.1-9.el8.x86_64.rpm  ocp-ce-3.1.1-bp1  Python-3.7.2.tar.xz  tsar  tsar-master  wget-log
[root@CAIP131 soft]#

2、上传文件到中控机上临时/soft目录。
[root@CAIP131 soft]# ls
gcc-9.3.0         ob-deploy-1.5.0-12.el8.x86_64.rpm  Python-3.9.5      tsar         wget-log
gcc-9.3.0.tar.gz  ocp-ce-3.1.1-bp1                   Python-3.9.5.tgz  tsar-master
[root@CAIP131 soft]#

3、离线安装 OBD
[root@CAIP131 soft]# rpm -ivh ob-deploy-1.5.0-12.el8.x86_64.rpm
Preparing...                          ################################# [100%]
Updating / installing...
   1:ob-deploy-1.5.0-12.el8           ################################# [100%]
Installation of obd finished successfully
Please source /etc/profile.d/obd.sh to enable it
[root@CAIP131 soft]#

4、让配置生效
Please source /etc/profile.d/obd.sh to enable it
[root@CAIP131 soft]# source /etc/profile.d/obd.sh
[root@CAIP131 soft]#

ob
5、查看安装目录
ob-deploy 软件默认安装在 /usr/obd 下。不同版本可能有点变化。
可以通过下面命令查看位置。
[root@CAIP131 soft]# rpm -ql `rpm -qa|grep ob-deploy`
[root@CAIP131 soft]# which obd
/bin/obd

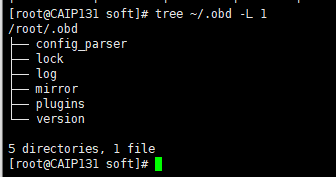
但是 OBD 工作的文件都在当前用户 HOME 目录下:~/.obd/
6、将软件包加到离线仓库
首先要删除远程仓库,使用下面命令。 注意:下面命令要在部署运行 OBD 的操作系统用户下操作。建议使用 admin 。
[root@CAIP131 ~]# /bin/rm -rf ~/.obd/mirror/remote/OceanBase.repo

然后将前面的软件包都复制到本地仓库,使用下面命令。
[root@CAIP131 soft]# obd mirror clone ob-deploy-1.5.0-12.el8.x86_64.rpm
name: ob-deploy
version: 1.5.0
release:12.el8
arch: x86_64
md5: da0a5e025b775ecce6b11b5a536624dd7f578eba
add ob-deploy-1.5.0-12.el8.x86_64.rpm to local mirror

查看仓库的 RPM 列表。
[root@CAIP131 soft]# obd mirror list local
+-----------------------------------------------------------------------------------+
|                                 local Package List                                |
+-----------+---------+---------+--------+------------------------------------------+
| name      | version | release | arch   | md5                                      |
+-----------+---------+---------+--------+------------------------------------------+
| ob-deploy | 1.5.0   | 12.el8  | x86_64 | da0a5e025b775ecce6b11b5a536624dd7f578eba |
+-----------+---------+---------+--------+------------------------------------------+

二、安装 OBD 软件(在线)
首先在中控机上部署 OBD 软件。如果中控机能上网,则可以直接添加 OceanBase 的仓库,使用 YUM 安装。
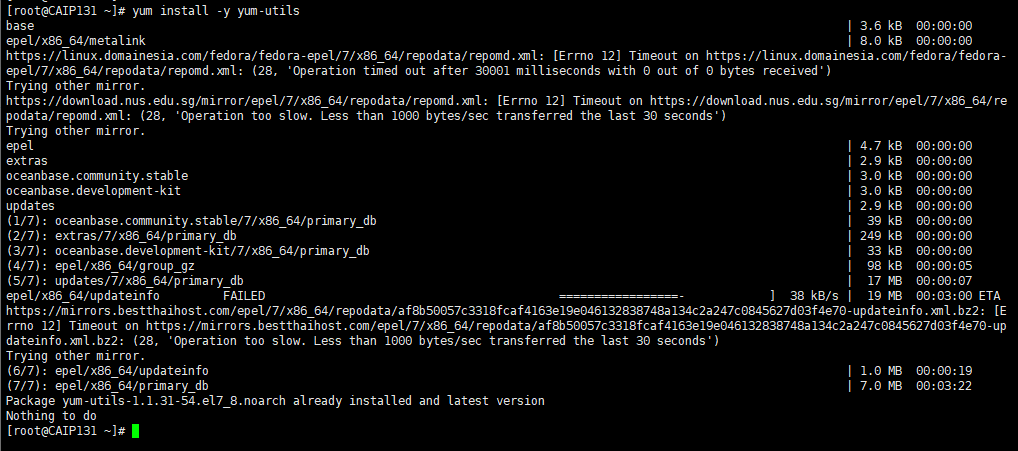
1、安装依赖
[root@CAIP131 ~]# yum install -y yum-utils
2、增加 yum 镜像源
[root@CAIP131 ~]# yum-config-manager --add-repo https://mirrors.aliyun.com/oceanbase/OceanBase.repo
adding repo from: https://mirrors.aliyun.com/oceanbase/OceanBase.repo
grabbing file https://mirrors.aliyun.com/oceanbase/OceanBase.repo to /etc/yum.repos.d/OceanBase.repo
repo saved to /etc/yum.repos.d/OceanBase.repo
[root@CAIP131 ~]#

3、安装 OBD
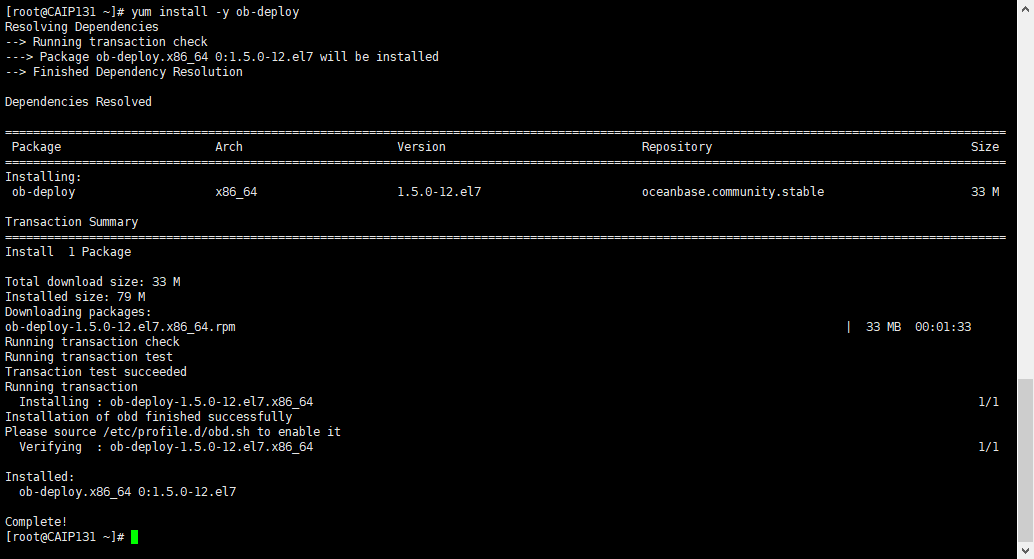
[root@CAIP131 ~]# yum install -y ob-deploy
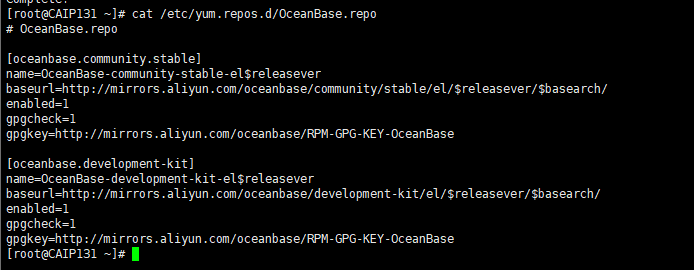
4、查看一下 OceanBase.repo 内容。
[root@CAIP131 ~]# cat /etc/yum.repos.d/OceanBase.repo
输出:
[root@CAIP131 ~]# cat /etc/yum.repos.d/OceanBase.repo
# OceanBase.repo

[oceanbase.community.stable]
name=OceanBase-community-stable-el$releasever
baseurl=http://mirrors.aliyun.com/oceanbase/community/stable/el/$releasever/$basearch/
enabled=1
gpgcheck=1
gpgkey=http://mirrors.aliyun.com/oceanbase/RPM-GPG-KEY-OceanBase

[oceanbase.development-kit]
name=OceanBase-development-kit-el$releasever
baseurl=http://mirrors.aliyun.com/oceanbase/development-kit/el/$releasever/$basearch/
enabled=1
gpgcheck=1
gpgkey=http://mirrors.aliyun.com/oceanbase/RPM-GPG-KEY-OceanBase
[root@CAIP131 ~]#
三、使用 OBD 快速部署启动 OceanBase 数据库
安装 OBD 后,您可以使用 root 用户执行下文命令快速启动本地单节点 OceanBase 数据库。 在此之前您需要确认以下信息:
当前用户为 root。
2882 和 2883 端口没有被占用。
您的机器内存不低于 8 G。
您的机器 CPU 数目不低于 2。
此处为了方便使用 root,OBD 和 OceanBase 数据库没有对运行用户做出任何限制,我们不建议生产环境中直接使用 root。
1、部署单机版OB
运行以下命令部署集群,其中,参数 deploy_name 为部署集群名称,可以理解为配置文件的别名。此命令会检查 home_path 和 data_dir 指向的目录是否为空。若目录不为空,则报错。此时可以加上 -f 选项,强制清空。在您执行了 obd cluster deploy 命令之后,OBD 将检查您的目标机器是否有 OceanBase 数据库安装包。如果没有安装包,OBD 将自动从 yum 源获取。如果您的机器不能访问公网,您可以从 OceanBase 官网下载安装包。
obd cluster deploy <deploy_name> -c <deploy_config_path>
部署使用命令:obd cluster deploy [集群名] -c 集群配置文件或目录 。
[admin@obce00 ~]$ obd cluster deploy obce-single -c obce-single.yaml
obd cluster deploy c1 -c example/mini-local-example.yaml
这里的集群名是配置文件在 OBD 里的唯一标识,可以跟配置文件中的集群名相同,也可以跟文件名相同,不作要求。
OBD 针对不同的部署场景提供了不同的配置文件。这些配置文件示例放在目录 /usr/obd/example/ 下。请根据您的资源条件选择正确的配置文件。
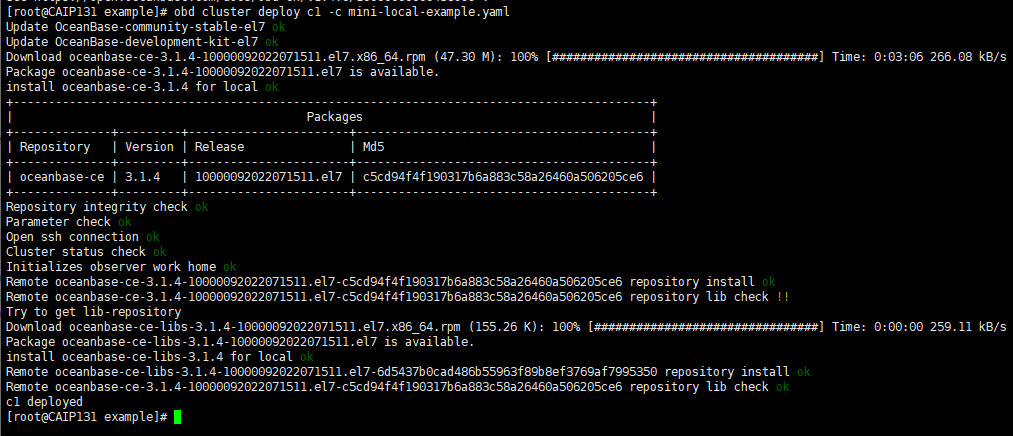
[root@CAIP131 example]# obd cluster deploy c1 -c mini-local-example.yaml
2、查看部署状态
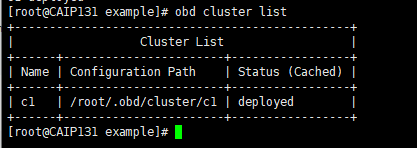
[admin@obce00 ~]$ obd cluster list
[root@CAIP131 example]# obd cluster list
+------------------------------------------------+
|                  Cluster List                  |
+------+-----------------------+-----------------+
| Name | Configuration Path    | Status (Cached) |
+------+-----------------------+-----------------+
| c1   | /root/.obd/cluster/c1 | deployed        |
+------+-----------------------+-----------------+
[root@CAIP131 example]#
3、启动和初始化集群boostrap
上一步骤中 deploy 操作只安装了软件和准备初始化目录,还需使用 obd cluster start 命令启动集群节点并初始化集群。
[root@CAIP131 example]# obd cluster list
+------------------------------------------------+
|                  Cluster List                  |
+------+-----------------------+-----------------+
| Name | Configuration Path    | Status (Cached) |
+------+-----------------------+-----------------+
| c1   | /root/.obd/cluster/c1 | deployed        |
+------+-----------------------+-----------------+
[root@CAIP131 example]# obd cluster start c1
Get local repositories ok
Search plugins ok
Open ssh connection ok
Load cluster param plugin ok
Check before start observer ok
[WARN] (127.0.0.1) clog and data use the same disk (/)

Start observer ok
observer program health check ok
Connect to observer ok
Initialize cluster
Cluster bootstrap ok
Wait for observer init ok
+---------------------------------------------+
|                   observer                  |
+-----------+---------+------+-------+--------+
| ip        | version | port | zone  | status |
+-----------+---------+------+-------+--------+
| 127.0.0.1 | 3.1.4   | 2881 | zone1 | active |
+-----------+---------+------+-------+--------+

c1 running
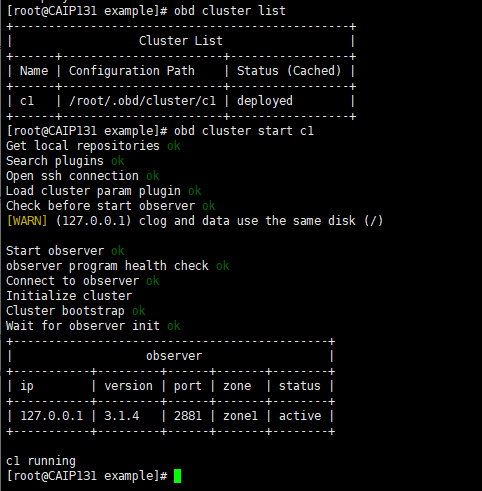
第一次运行 start 命令会对集群进行初始化(boostrap),以后再使用 start 命令就只会启动集群中节点进程。
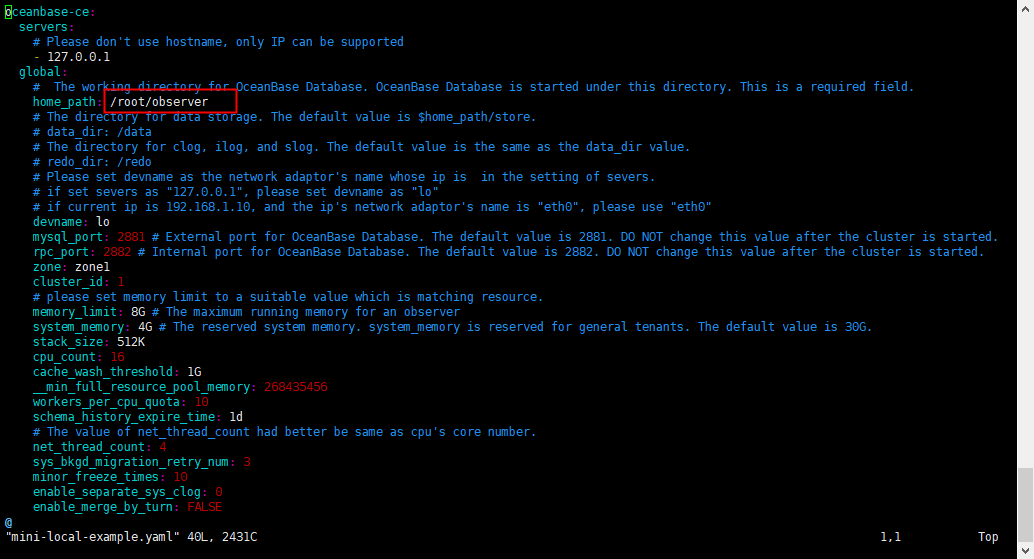
此处提示WARN
[WARN] (127.0.0.1) clog and data use the same disk (/)
不建议安装目录和数据目录在同一硬盘同一目录,测试可以忽略,生产环境需要将安装目录和数据日志目录分开存放。
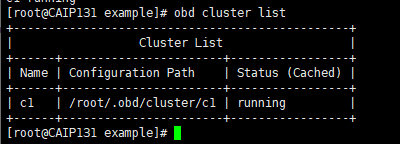
4、再次检查
[root@CAIP131 example]# obd cluster list
+------------------------------------------------+
|                  Cluster List                  |
+------+-----------------------+-----------------+
| Name | Configuration Path    | Status (Cached) |
+------+-----------------------+-----------------+
| c1   | /root/.obd/cluster/c1 | running         |
+------+-----------------------+-----------------+
5、使用 MySQL 客户端链接到到 OceanBase 数据库。
[root@CAIP131 example]# mysql -h127.1 -uroot -P2881
Welcome to the MySQL monitor.  Commands end with ; or \g.
Your MySQL connection id is 3221487706
Server version: 5.7.25 OceanBase 3.1.4 (r10000092022071511-b4bfa011ceaef428782dcb65ae89190c40b78c2f) (Built Jul 15 2022 11:45:14)

Copyright (c) 2000, 2016, Oracle and/or its affiliates. All rights reserved.

Oracle is a registered trademark of Oracle Corporation and/or its
affiliates. Other names may be trademarks of their respective
owners.

Type 'help;' or '\h' for help. Type '\c' to clear the current input statement.

mysql>

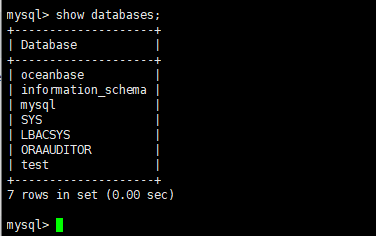
6、查询数据库
mysql> show databases;
+--------------------+
| Database           |
+--------------------+
| oceanbase          |
| information_schema |
| mysql              |
| SYS                |
| LBACSYS            |
| ORAAUDITOR         |
| test               |
+--------------------+
7 rows in set (0.00 sec)

mysql>
四、OBD 常用命令
OBD 有多级命令,您可以在每个层级中使用 -h/–help 选项查看子命令的帮助信息。
OBD 集群命令操作的最小单位为一个部署配置。部署配置是一份 yaml 文件,里面包含各个整个部署的全部配置信息,包括服务器登录信息、组件信息、组件配置信息和组件服务器列表等。
在使用 OBD 启动一个集群之前,您需要先注册这个集群的部署配置到 OBD 中。您可以使用 obd cluster edit-config 创建一个空的部署配置,或使用 obd cluster deploy -c config 导入一个部署配置。
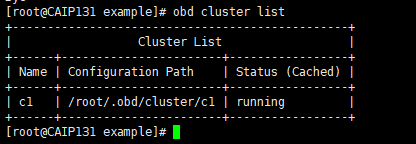
1、obd cluster list
显示当前 OBD 内注册的全部集群(deploy name)的状态。
[root@CAIP131 example]# obd cluster list
+------------------------------------------------+
|                  Cluster List                  |
+------+-----------------------+-----------------+
| Name | Configuration Path    | Status (Cached) |
+------+-----------------------+-----------------+
| c1   | /root/.obd/cluster/c1 | running         |
+------+-----------------------+-----------------+
2、obd cluster display
展示指定集群的状态。
[root@CAIP131 example]# obd cluster display c1
Get local repositories and plugins ok
Open ssh connection ok
Cluster status check ok
Connect to observer ok
Wait for observer init ok
+---------------------------------------------+
|                   observer                  |
+-----------+---------+------+-------+--------+
| ip        | version | port | zone  | status |
+-----------+---------+------+-------+--------+
| 127.0.0.1 | 3.1.4   | 2881 | zone1 | active |
+-----------+---------+------+-------+--------+

[root@CAIP131 example]#
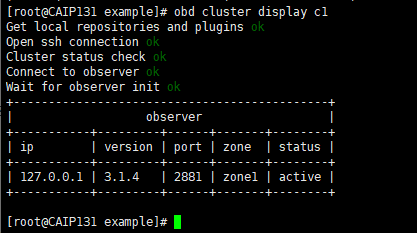
参数 c1 为部署集群名,可以理解为配置文件的别名。
3、obd cluster reload
重载一个运行中集群。当您使用 edit-config 修改一个运行的集群的配置信息后,可以通过 reload 命令应用修改。
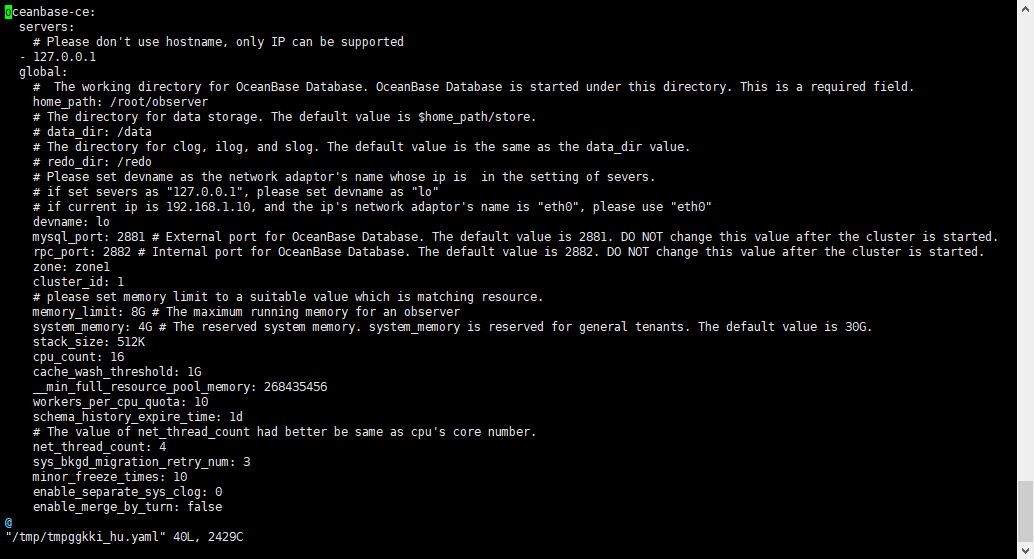
[root@CAIP131 example]# obd cluster edit-config c1
Search param plugin and load ok
Search param plugin and load ok
Parameter check ok
Deploy "c1" config unchange
[root@CAIP131 example]# obd cluster reload c1
Deploy config is UNCHNAGE

4、obd cluster stop
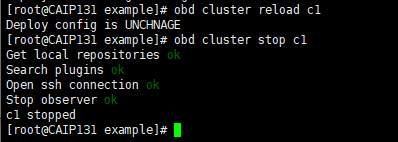
停止一个运行中的集群。
[root@CAIP131 example]# obd cluster reload c1
Deploy config is UNCHNAGE
[root@CAIP131 example]# obd cluster stop c1
Get local repositories ok
Search plugins ok
Open ssh connection ok
Stop observer ok
c1 stopped
[root@CAIP131 example]#
5、obd cluster destroy
删除并销毁已部署的集群。如果集群处于运行中的状态,该命令会先尝试执行 stop,成功后再执行 destroy。
[root@CAIP131 example]# obd cluster destroy c1 -f
Get local repositories ok
Search plugins ok
Open ssh connection ok
Cluster status check ok
observer work dir cleaning ok
c1 destroyed
[root@CAIP131 example]#

快速部署OB出错
[root@CAIP131 ~]# obd cluster deploy c1 -c ./example/mini-local-example.yaml
[ERROR] copy error: [Errno 2] No such file or directory: './example/mini-local-example.yaml'
[ERROR] Failed to create deploy: c1. please check you configuration file
See https://open.oceanbase.com/docs/obd-cn/V1.4.0/10000000000436999 .

解决方法
OBD 针对不同的部署场景提供了不同的配置文件。这些配置文件示例放在目录 /usr/obd/example/ 下。请根据您的资源条件选择正确的配置文件,再次执行安装即可解决。


