


LAMP: Linux+Apache+Mysql/MariaDB+Perl/PHP/Python一组常用来搭建动态网站或者服务器的开源软件,本身都是各自独立的程序,但是因为常被放在一起使用,拥有了越来越高的兼容度,共同组成了一个强大的Web应用程序平台。随着开源潮流的蓬勃发展,开放源代码的LAMP已经与J2EE和.Net商业软件形成三足鼎立之势,并且该软件开发的项目在软件方面的投资成本较低,因此受到整个IT界的关注。从网站的流量上来说,70%以上的访问流量是LAMP来提供的,LAMP是最强大的网站解决方案.--百度百科
上面是百度百科上对LAMP的介绍,LAMP是目前国际非常流行的Web框架,关于LAMP更多的信息,可以查看相关的网站,本文不做赘述。
本文将介绍如何在Oracle公有云上安装和配置LAMP。
首先,我们需要一个Linux实例,用来部署LAMP。在Oracle云上创建OL7.2实例是个不错的选择。如何在Oracle云上创建Oracle Linux 7的实例,参见文章《在Oracle云上创建Oracle Linux实例》
Step 1 —安装和配置MariaDB
使用yum工具安装MariaDB
# yum install mariadb-server
启动MariaDB服务
# systemctl start mariadb
查看MariaDB服务状态
# systemctl status mariadb
● mariadb.service - MariaDB database server
Loaded: loaded (/usr/lib/systemd/system/mariadb.service; disabled; vendor preset: disabled)
Active: active (running) since Thu 2017-08-17 11:24:21 EDT; 6s ago
Process: 12318 ExecStartPost=/usr/libexec/mariadb-wait-ready $MAINPID (code=exited, status=0/SUCCESS)
Process: 12238 ExecStartPre=/usr/libexec/mariadb-prepare-db-dir %n (code=exited, status=0/SUCCESS)
Main PID: 12317 (mysqld_safe)
CGroup: /system.slice/mariadb.service
├─12317 bin/sh /usr/bin/mysqld_safe --basedir=/usr
└─12480 /usr/libexec/mysqld --basedir=/usr --datadir=/var/lib/mysql --plugin-dir=/usr/lib64/mysql/plugin --log-error=/var/log/mariadb/mariadb.l...
<省略若干输出>
Aug 17 11:24:21 d0e662 systemd[1]: Started MariaDB database server.
配置MariaDB服务自启动
# systemctl enable mariadb
Created symlink from /etc/systemd/system/multi-user.target.wants/mariadb.service to /usr/lib/systemd/system/mariadb.service.
加固MariaDB
# mysql_secure_installation
NOTE: RUNNING ALL PARTS OF THIS SCRIPT IS RECOMMENDED FOR ALL MariaDB
SERVERS IN PRODUCTION USE! PLEASE READ EACH STEP CAREFULLY!
In order to log into MariaDB to secure it, we'll need the current
password for the root user. If you've just installed MariaDB, and
you haven't set the root password yet, the password will be blank,
so you should just press enter here.
Enter current password for root (enter for none): 直接回车
OK, successfully used password, moving on...
Setting the root password ensures that nobody can log into the MariaDB
root user without the proper authorisation.
Set root password? [Y/n] y
New password: Welcome1!
Re-enter new password: Welcome1!
Password updated successfully!
Reloading privilege tables..
... Success!
By default, a MariaDB installation has an anonymous user, allowing anyone
to log into MariaDB without having to have a user account created for
them. This is intended only for testing, and to make the installation
go a bit smoother. You should remove them before moving into a
production environment.
Remove anonymous users? [Y/n] y
... Success!
Disallow root login remotely? [Y/n] y
... Success!
Remove test database and access to it? [Y/n] y
... Success!
Reload privilege tables now? [Y/n] y
... Success!
Cleaning up...
All done! If you've completed all of the above steps, your MariaDB
installation should now be secure.
Thanks for using MariaDB!
<省略若干输出>
注:加固数据库,主要是修改root密码、删除匿名用户、禁止root用户远程登录、删除test数据库、重加载特权表等操作。
测试MariaDB状态
# mysqladmin -u root -p version
Enter password:
mysqladmin Ver 9.0 Distrib 5.5.56-MariaDB, for Linux on x86_64
Copyright (c) 2000, 2017, Oracle, MariaDB Corporation Ab and others.
Server version 5.5.56-MariaDB
Protocol version 10
Connection Localhost via UNIX socket
UNIX socket /var/lib/mysql/mysql.sock
Uptime: 3 min 22 sec
Threads: 1 Questions: 25 Slow queries: 0 Opens: 1 Flush tables: 2 Open tables: 27 Queries per second avg: 0.123
Step 2 —安装和配置Apache
用yum工具安装Apache
# yum install httpd
启动Apache服务
# systemctl start httpd.service
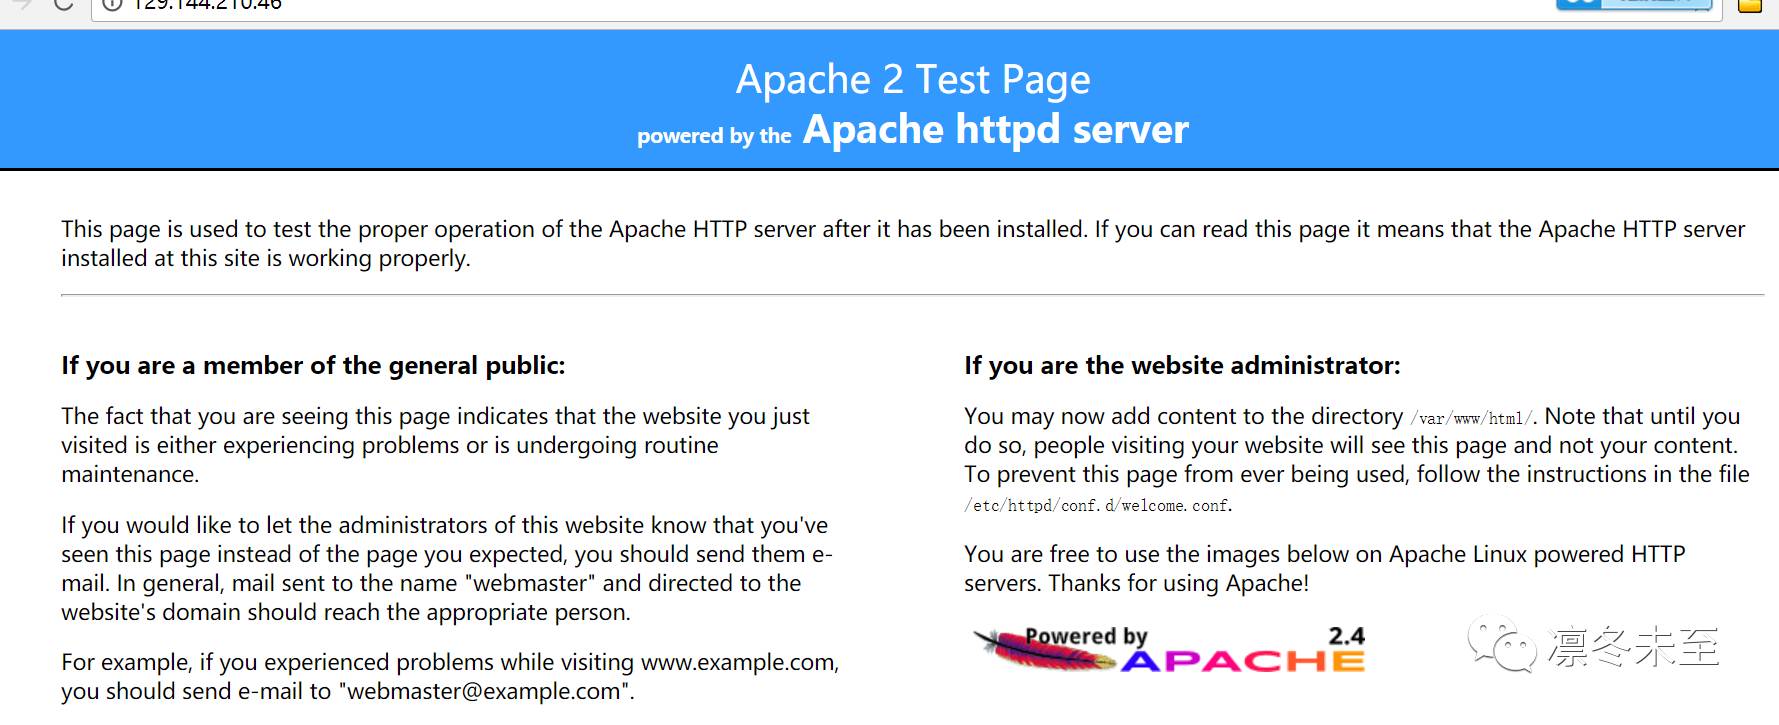
访问Apache网页,查看Apache状态
http://your_server_IP_address/
配置Apache服务自启动
# systemctl enable httpd.service
Step 3 —安装和配置PHP
使用yum安装PHP
# yum install php -y
PHP安装完毕后,需要重启Apache Web Server,确保Apache能与PHP一起工作。
# systemctl restart http.service
安装PHP模块
为了增强PHP的功能,我们可以选择安装一些PHP的附加模块。通过以下命令查看可用的PHP模块:
# yum search php-
Loaded plugins: ulninfo
… …
php-cli.x86_64 : Command-line interface for PHP
php-common.x86_64 : Common files for PHP
php-gd.x86_64 : A module for PHP applications for using the gd graphics library
php-ldap.x86_64 : A module for PHP applications that use LDAP
php-mysql.x86_64 : A module for PHP applications that use MySQL databases
php-odbc.x86_64 : A module for PHP applications that use ODBC databases
php-pdo.x86_64 : A database access abstraction module for PHP applications
php-pear.noarch : PHP Extension and Application Repository framework
php-pecl-memcache.x86_64 : Extension to work with the Memcached caching daemon
php-pgsql.x86_64 : A PostgreSQL database module for PHP
php-process.x86_64 : Modules for PHP script using system process interfaces
php-recode.x86_64 : A module for PHP applications for using the recode library
php-soap.x86_64 : A module for PHP applications that use the SOAP protocol
php-xml.x86_64 : A module for PHP applications which use XML
php-xmlrpc.x86_64 : A module for PHP applications which use the XML-RPC protocol
… …
以上显示的组件,都是可以安装的PHP相关的模块。
可以通过下面的命令获得特定模块的详细信息,根据这些信息决定是否安装此模块。
# yum info package_name
示例:
# yum info php-mysql
Loaded plugins: ulninfo
Installed Packages
Name : php-mysql
Arch : x86_64
Version : 5.4.16
Release : 42.el7
Size : 232 k
Repo : installed
From repo : ol7_latest
Summary : A module for PHP applications that use MySQL databases
URL : http://www.php.net/
License : PHP
Description : The php-mysql package contains a dynamic shared object that will add
: MySQL database support to PHP. MySQL is an object-relational database
: management system. PHP is an HTML-embeddable scripting language. If
: you need MySQL support for PHP applications, you will need to install
: this package and the php package.
建议安装包 php-mysql
# yum install php-mysql -y
至此,LAMP堆栈安装配置完成,还剩最后一步。
Step 4 — 在Web服务器上测试PHP处理
首先,先创建一个简单的PHP脚本,用来测试PHP是否运行正常。
在目录/var/www/html/中新建一个测试脚本info.php。
# vi /var/www/html/info.php
输入以下PHP代码并保存:
<?php phpinfo(); ?>
这段简单的PHP代码是用来获取服务器上PHP的相关信息。
通过web界面访问刚刚编辑的PHP页面,查看PHP页面的显示结果是否正确。
使用浏览器访问下面的url地址
http://your_server_IP_address/info.php
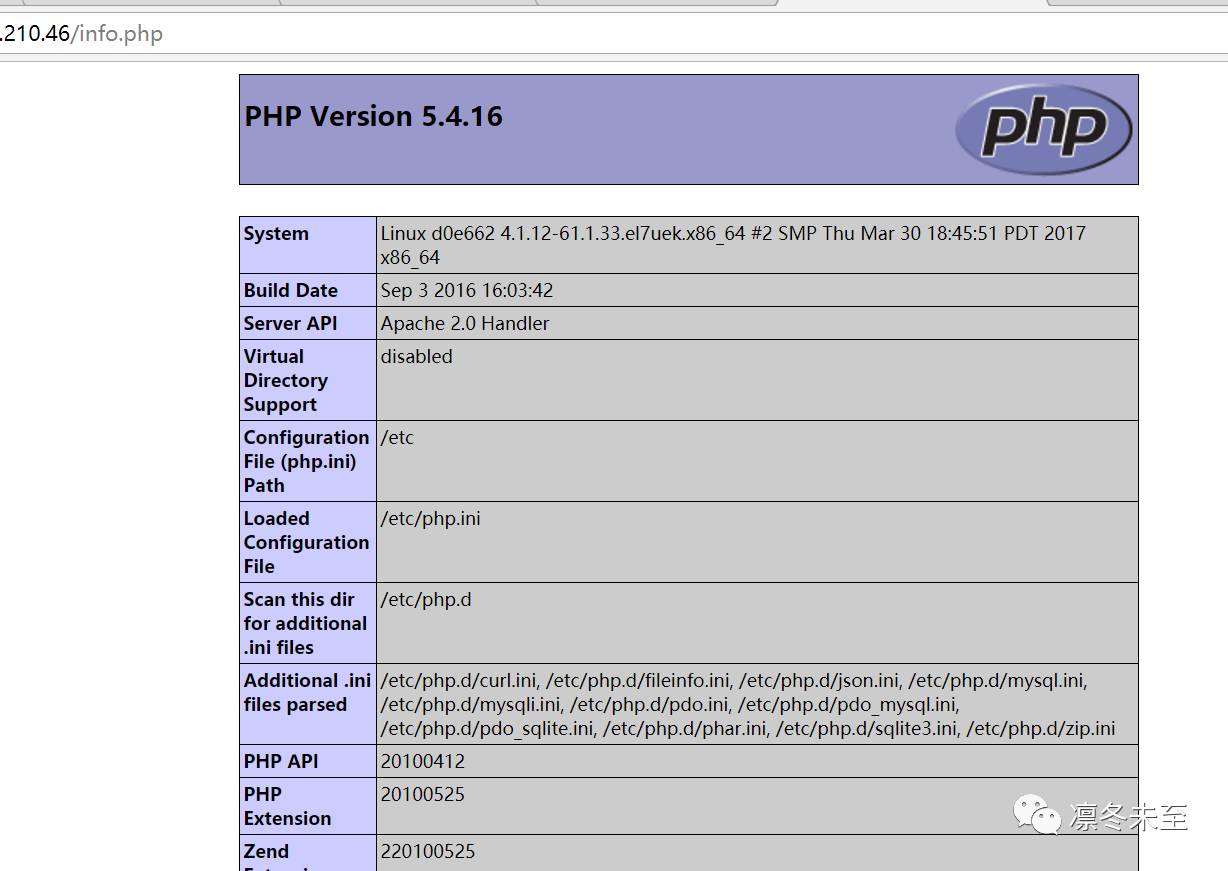
显示正常,表明Web 服务器能正常是处理PHP页面。
至此,LAMP堆栈已经成功的部署到Oracle云上,后续我们可以尝试将一些热门的应用部署到LAMP平台上。请大家持续关注本公众号,更多的技术分享,敬请期待!
