


在体验oracle 23C时,用过openEuler 2203,https://www.modb.pro/db/623913,rpm方式安装还是挺顺利的。有伙伴在安装19c HOME时有坑,便决定踩一下。
本环境用vbox+openEuler2003sp3,从安装操作系统开始记录。
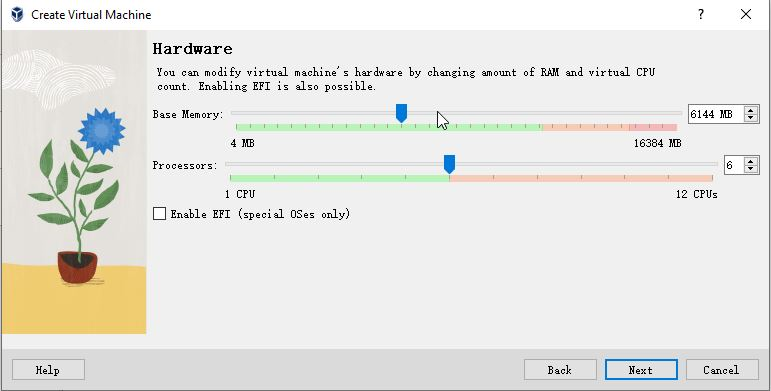
1.新建虚拟机,分配内存和VCPU
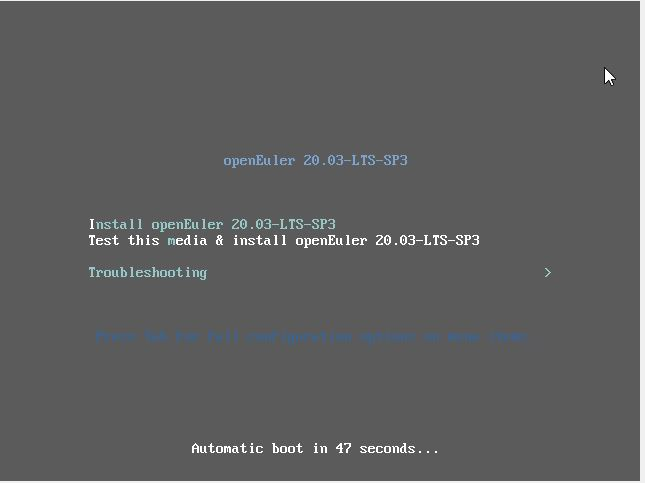
2.启动虚拟机,进行安装过程
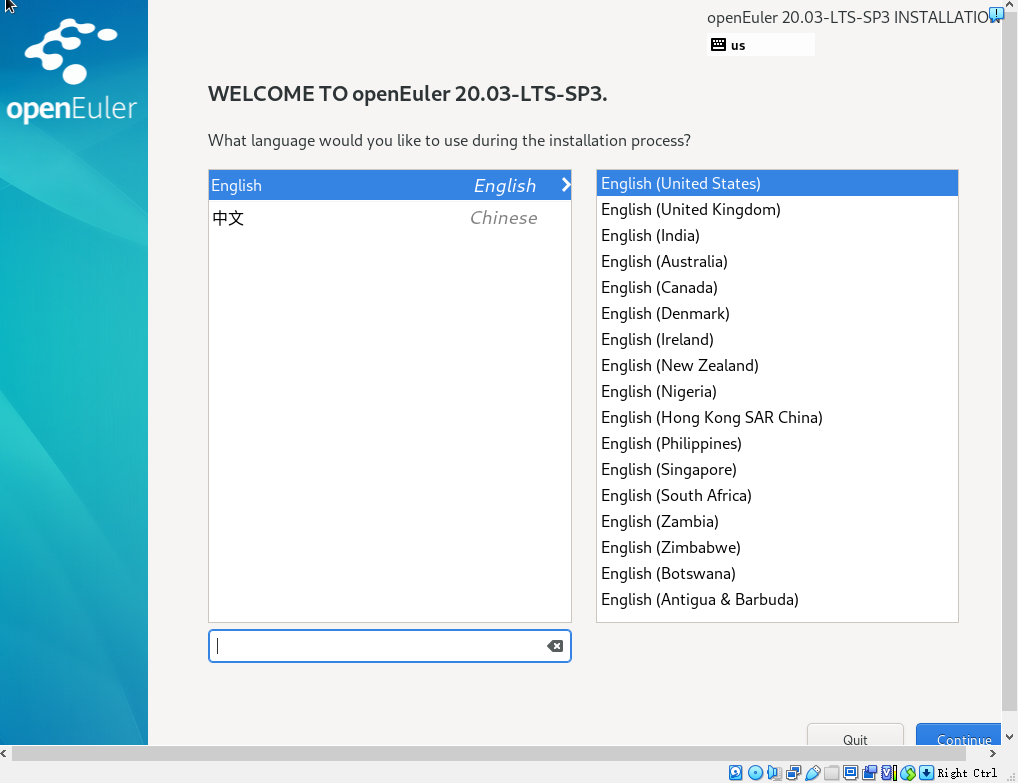
选择安装用语言
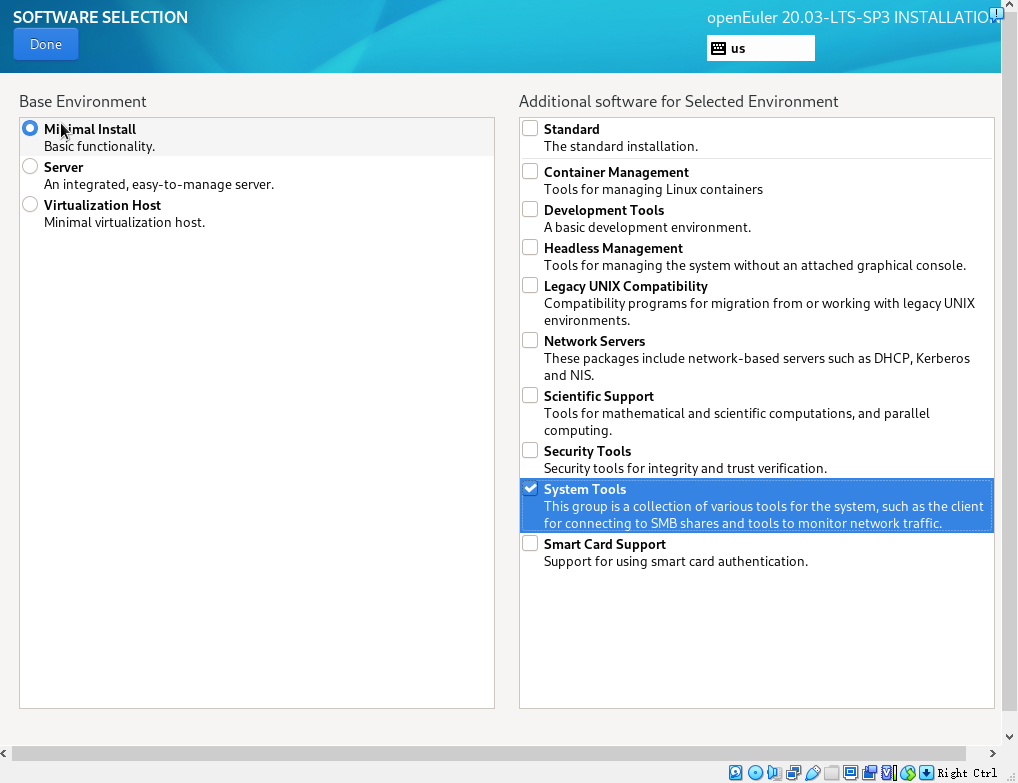
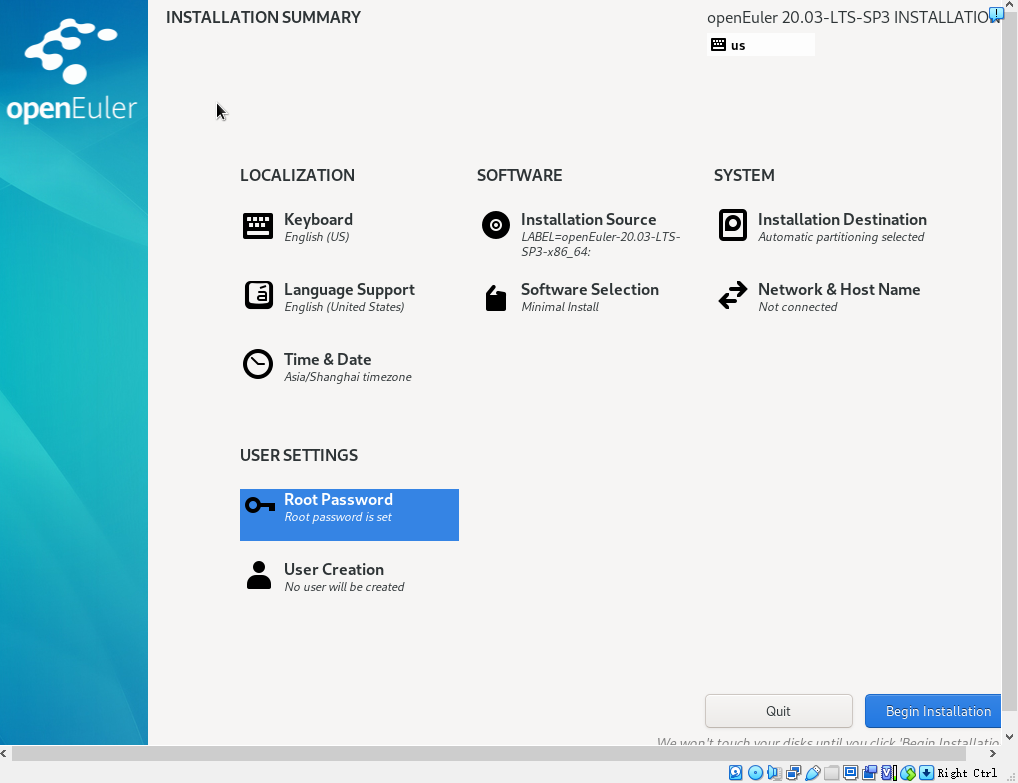
最小化安装
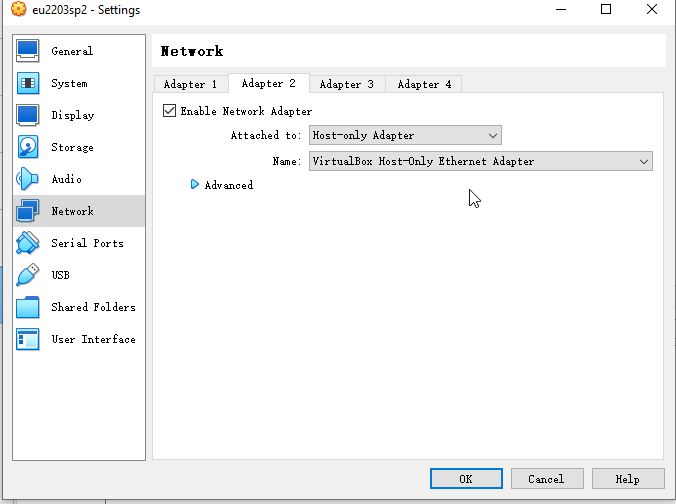
选择使用两个网卡
开始安装
安装完成重启
3.对操作系统进行设置,以符合oracle的要求
重启后,关闭防火墙
systemctl stop firewalld
systemctl disable firewalld
关闭selinux
sed -i ‘s/SELINUX=enforcing/SELINUX=disabled/g’ /etc/selinux/config
重启操作系统
根据oracle官方要求,安装必要的软件包
dnf install -y bc dnf install -y binutils dnf install -y elfutils-libelf dnf install -y elfutils-libelf-devel dnf install -y fontconfig-devel dnf install -y glibc dnf install -y glibc-devel dnf install -y ksh dnf install -y libaio dnf install -y libaio-devel dnf install -y libXrender dnf install -y libX11 dnf install -y libXau dnf install -y libXi dnf install -y libXtst dnf install -y libgcc dnf install -y libnsl dnf install -y librdmacm dnf install -y libstdc++ dnf install -y libstdc++-devel dnf install -y libxcb dnf install -y libibverbs dnf install -y make dnf install -y policycoreutils dnf install -y policycoreutils-python-utils dnf install -y smartmontools dnf install -y sysstat dnf install -y psmisc dnf install -y xorg-x11-utils dnf install -y lsof dnf install -y libnsl libnsl2 dnf install -y vim dnf install -y net-tools dnf install -y openssl-devel dnf install -y glibc-compat-2.17 dnf install -y unixODBC unixODBC-devel dnf install -y libXrender-devel dnf install -y libXtst-devel dnf install -y librdmacm-devel dnf install -y xorg-x11-utils dnf install -y nfs-utils dnf install -y tigervnc-server复制
下载openEuler没有的两个包
wget https://yum.oracle.com/repo/OracleLinux/OL7/latest/x86_64/getPackage/compat-libcap1-1.10-7.el7.x86_64.rpm wget https://yum.oracle.com/repo/OracleLinux/OL7/latest/x86_64/getPackage/compat-libstdc++-33-3.2.3-72.el7.x86_64.rpm复制
[root@ora19c srv]# rpm -vih compat-libcap1-1.10-7.el7.x86_64.rpm compat-libstdc++-33-3.2.3-72.el7.x86_64.rpm warning: compat-libcap1-1.10-7.el7.x86_64.rpm: Header V3 RSA/SHA256 Signature, key ID ec551f03: NOKEY Verifying... ################################# [100%] Preparing... ################################# [100%] Updating / installing... 1:compat-libstdc++-33-3.2.3-72.el7 ################################# [ 50%] 2:compat-libcap1-1.10-7.el7 ################################# [100%]复制
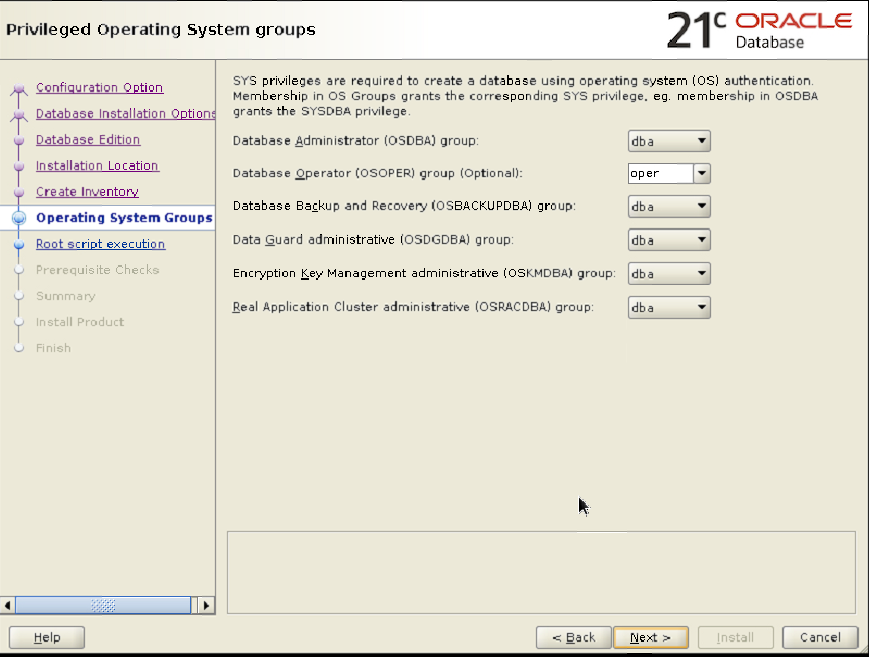
建oracle用户
groupadd oinstall groupadd dba groupadd oper useradd -g oinstall -G dba,oper oracle passwd oracle复制
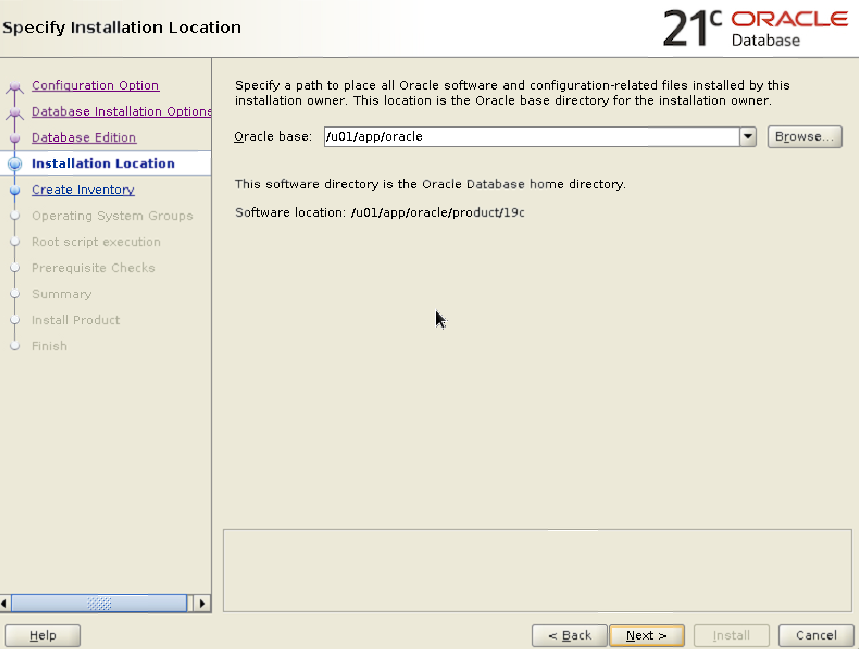
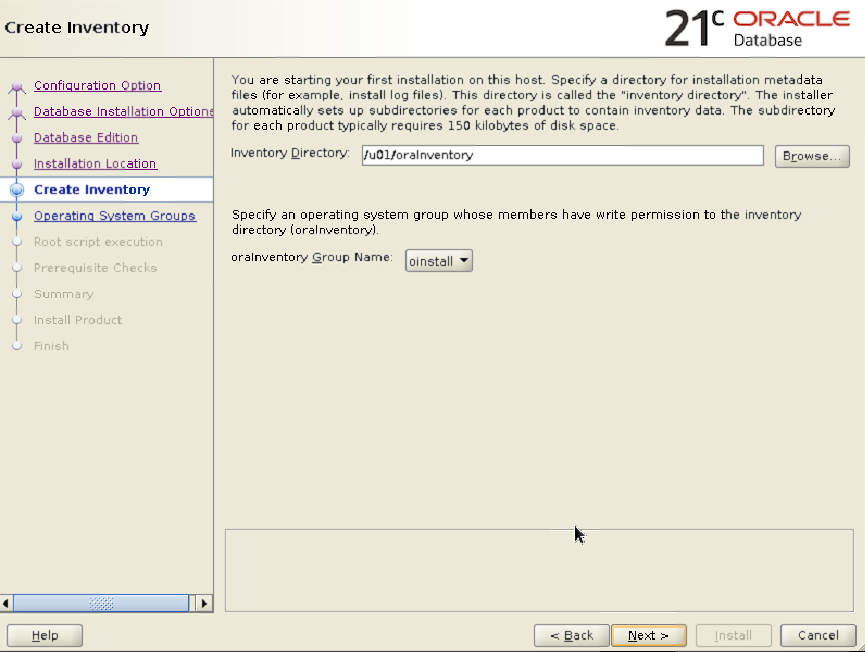
规划安装路径
mkdir /u01 chown -R oracle:oinstall /u01 su - oracle cd /u01 mkdir app oraInventory cd app mkdir oracle/product/19c -p cd oracle/product/19c/复制
配置环境变量
vim ~/.bash_profile # Source /root/.bashrc if user has one [ -f ~/.bashrc ] && . ~/.bashrc export TMP=/tmp export TMPDIR=$TMP export ORACLE_SID=orcl export ORACLE_BASE=/u01/app/oracle export ORACLE_HOME=$ORACLE_BASE/product/19c export INVENTORY_LOCATION=/u01/oraInventory export TNS_ADMIN=$ORACLE_HOME/network/admin export LD_LIBRARY_PATH=$ORACLE_HOME/lib:/usr/lib64:/usr/lib export LD_LIBRARY_PATH=${LD_LIBRARY_PATH}:$ORACLE_HOME/oracm/lib export LD_LIBRARY_PATH=${LD_LIBRARY_PATH}:/lib:/usr/lib:/usr/local/lib export NLS_LANG="AMERICAN_AMERICA.AL32UTF8" export LC_ALL="en_US" export LANG="en_US" export NLS_DATE_FORMAT="YYYY-MM-DD HH24:MI:SS" export PATH=$ORACLE_HOME/bin:/bin:/usr/bin:/usr/sbin:/usr/local/bin:/usr/X11R6/bin:$PATH:$HOME/bin export PATH=$PATH:$ORACLE_HOME/OPatch #export CV_ASSUME_DISTID=OL7 export CV_ASSUME_DISTID=RHEL7.6 export THREADS_FLAG=native export CLASSPATH=$ORACLE_HOME/JRE export CLASSPATH=${CLASSPATH}:$ORACLE_HOME/jlib export CLASSPATH=${CLASSPATH}:$ORACLE_HOME/rdbms/jlib export CLASSPATH=${CLASSPATH}:$ORACLE_HOME/network/jlib export DISPLAY=:0.0复制
source ~/.bash_profile
解压安装包
cd $ORACLE_HOME
unzip /srv/LINUX.X64_193000_db_home.zip
启动vncserver
vncserver :0
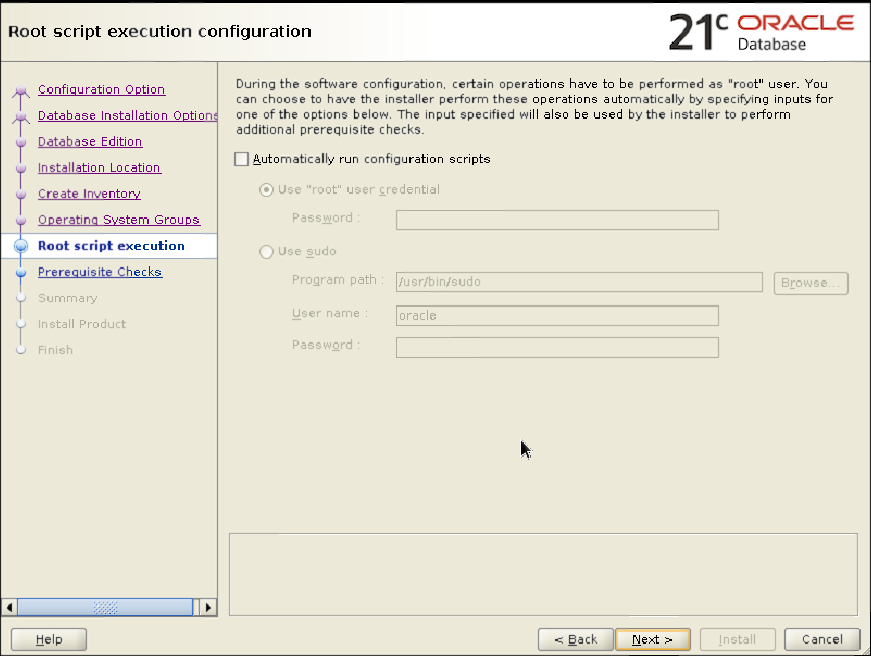
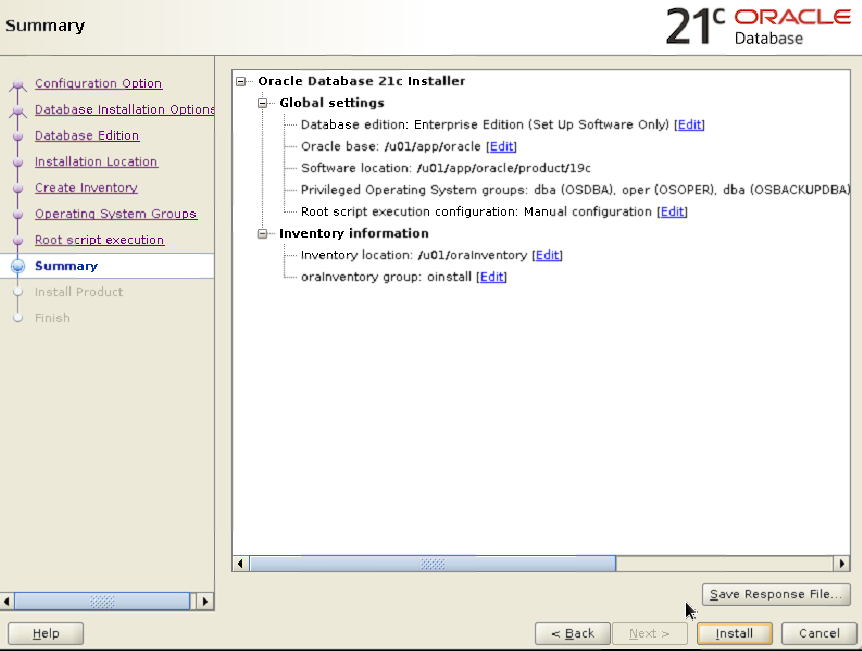
进入安装,
./runInstaller
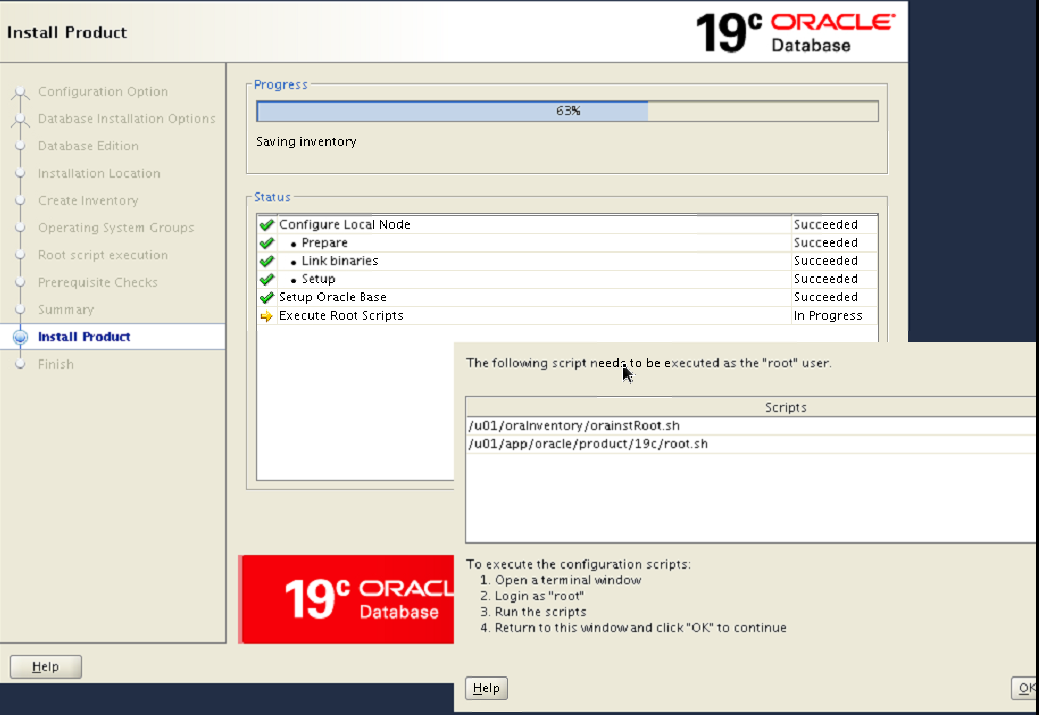
以root在另一窗口中执行上述两脚本
[root@ora19c ~]# /u01/oraInventory/orainstRoot.sh Changing permissions of /u01/oraInventory. Adding read,write permissions for group. Removing read,write,execute permissions for world. Changing groupname of /u01/oraInventory to oinstall. The execution of the script is complete. [root@ora19c ~]# /u01/app/oracle/product/19c/root.sh Performing root user operation. The following environment variables are set as: ORACLE_OWNER= oracle ORACLE_HOME= /u01/app/oracle/product/19c Enter the full pathname of the local bin directory: [/usr/local/bin]: Copying dbhome to /usr/local/bin ... Copying oraenv to /usr/local/bin ... Copying coraenv to /usr/local/bin ... Creating /etc/oratab file... Entries will be added to the /etc/oratab file as needed by Database Configuration Assistant when a database is created Finished running generic part of root script. Now product-specific root actions will be performed. Oracle Trace File Analyzer (TFA - Standalone Mode) is available at : /u01/app/oracle/product/19c/bin/tfactl Note : 1. tfactl will use TFA Service if that service is running and user has been granted access 2. tfactl will configure TFA Standalone Mode only if user has no access to TFA Service or TFA is not installed 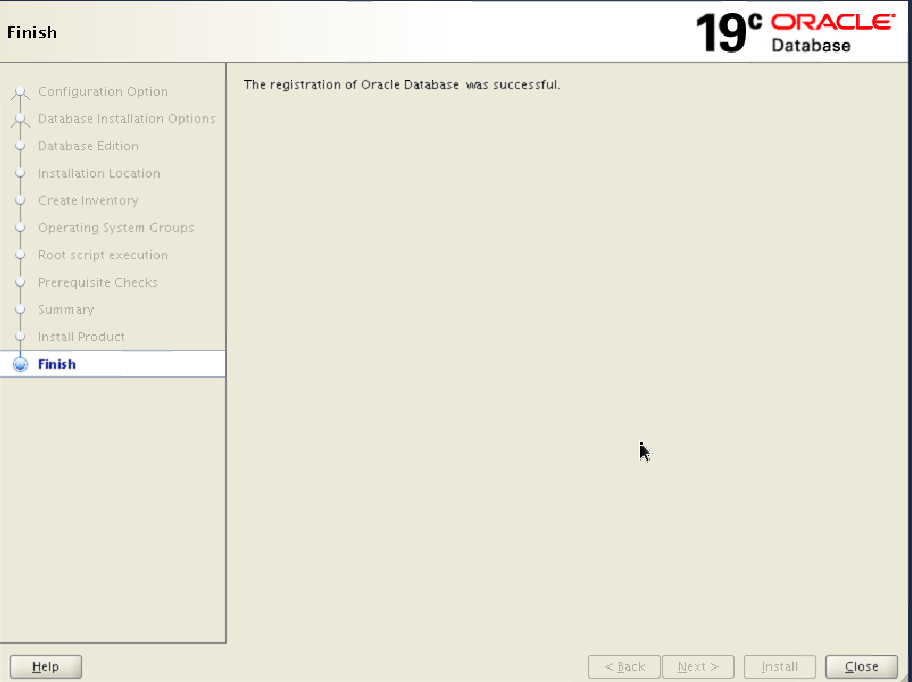复制
完成安装。
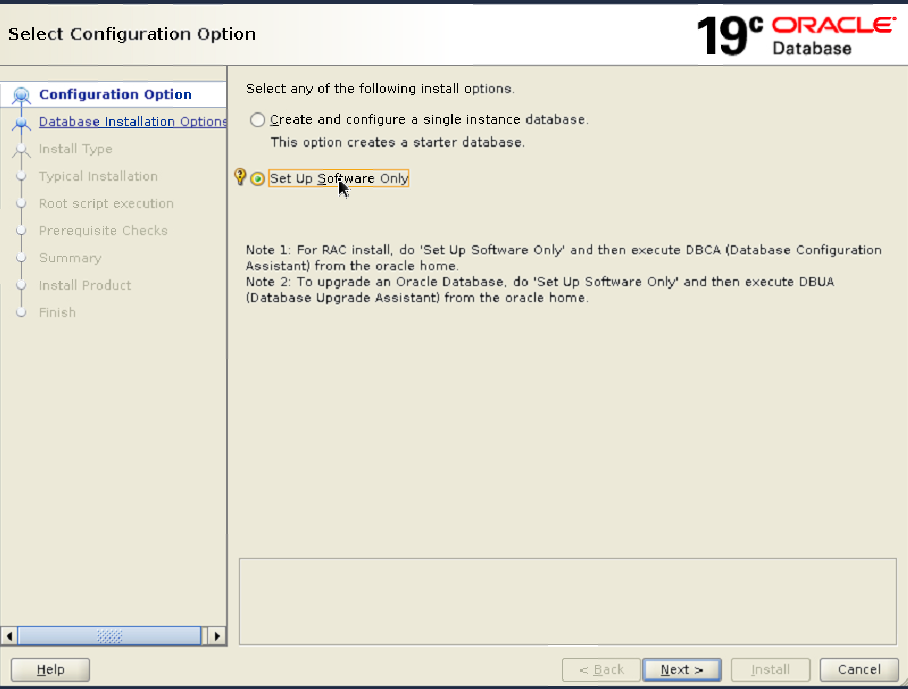
先打补丁再建库。
升级补丁工具opatch
unzip /srv/p6880880_122010_Linux-x86-64_12.2.0.1.39_20230718.zip [oracle@ora19c 19c]$ opatch version OPatch Version: 12.2.0.1.39 OPatch succeeded.复制
解压补丁包,不在oracle_home下
cd /srv
unzip p35320081_190000_Linux-x86-64_19.20.0.0.0_20230718.zip
进行补丁安装前检查
cd 35320081 [oracle@ora19c 35320081]$ opatch prereq CheckConflictAgainstOHWithDetail -ph ./ Oracle Interim Patch Installer version 12.2.0.1.39 Copyright (c) 2023, Oracle Corporation. All rights reserved. PREREQ session Oracle Home : /u01/app/oracle/product/19c Central Inventory : /u01/oraInventory from : /u01/app/oracle/product/19c/oraInst.loc OPatch version : 12.2.0.1.39 OUI version : 12.2.0.7.0 Log file location : /u01/app/oracle/product/19c/cfgtoollogs/opatch/opatch2023-07-27_10-00-46AM_1.log Invoking prereq "checkconflictagainstohwithdetail" Prereq "checkConflictAgainstOHWithDetail" passed. OPatch succeeded.复制
检查通过,可以应用补丁
opatch apply . Patching component oracle.jdk, 1.8.0.201.0... Patch 35320081 successfully applied. Sub-set patch [29517242] has become inactive due to the application of a super-set patch [35320081]. Please refer to Doc ID 2161861.1 for any possible further required actions. Log file location: /u01/app/oracle/product/19c/cfgtoollogs/opatch/opatch2023-07-27_10-28-26AM_1.log OPatch succeeded.复制
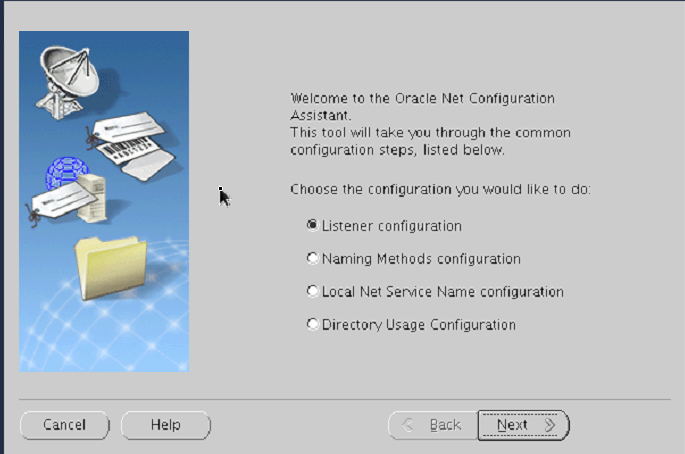
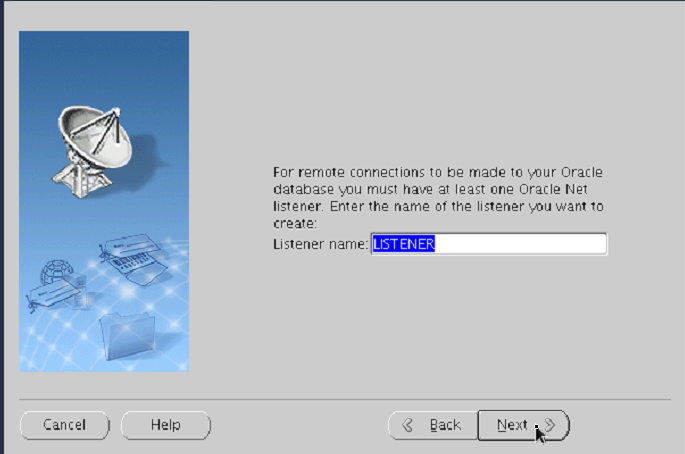
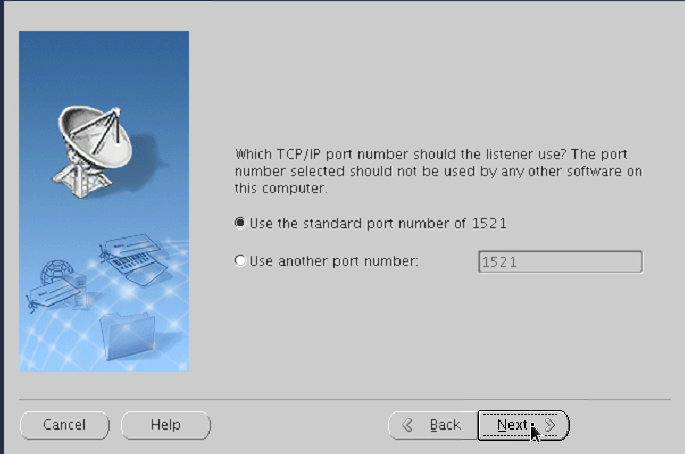
建监听
netca
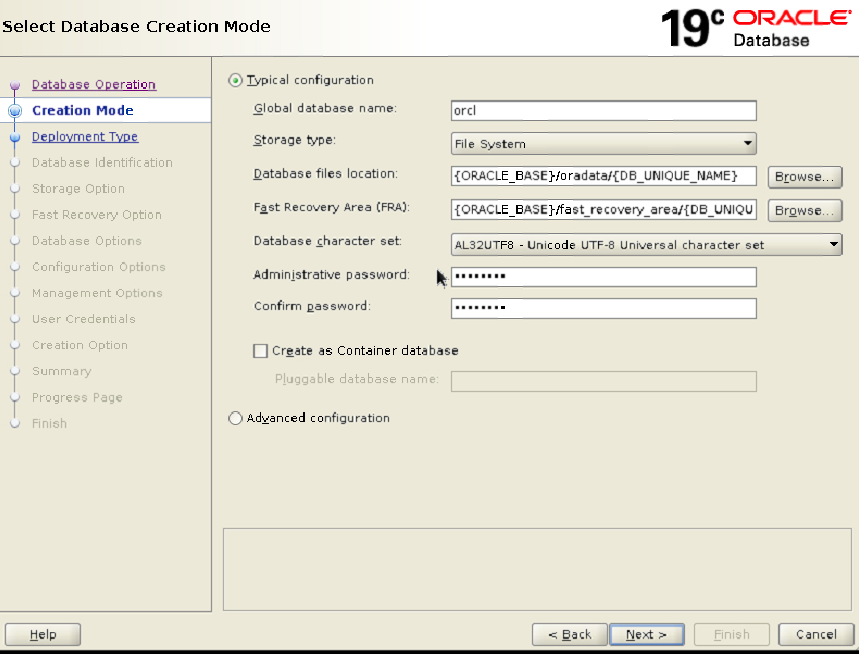
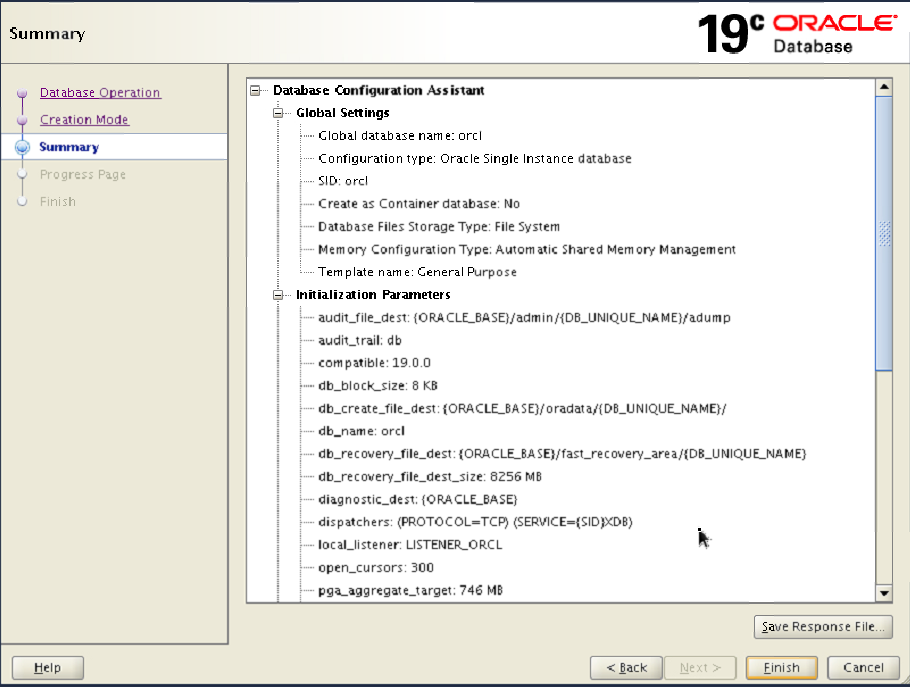
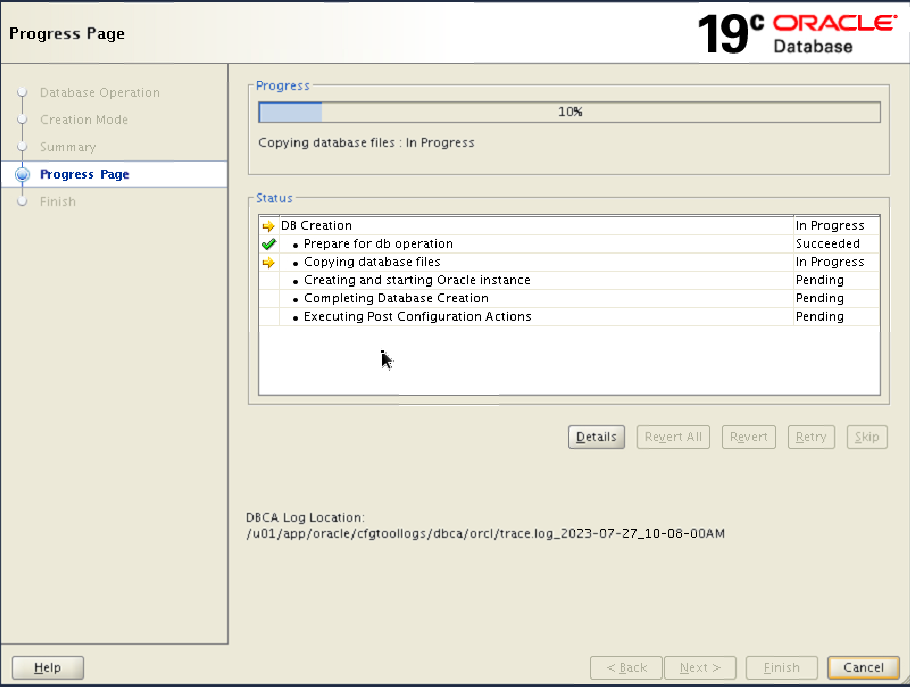
用dbca建库
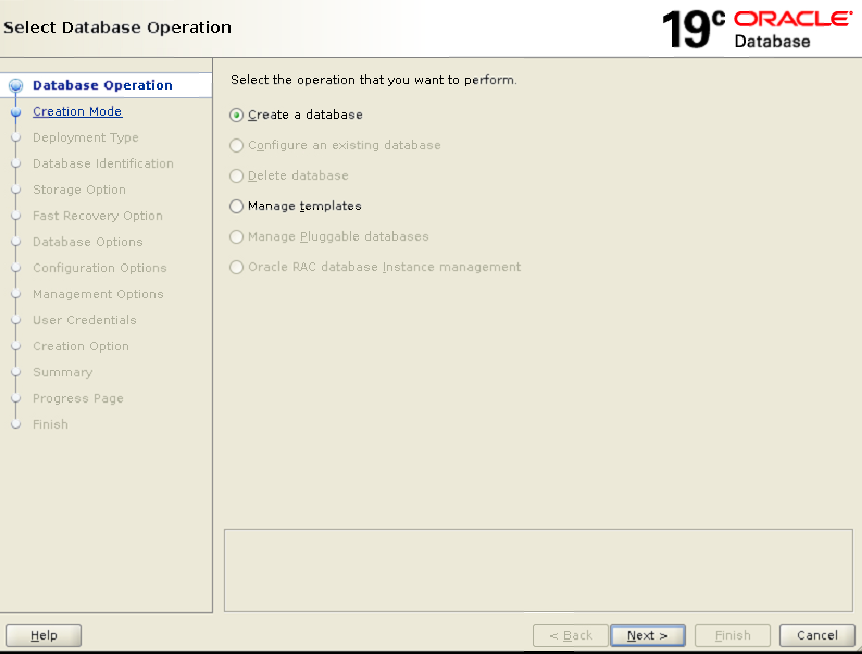
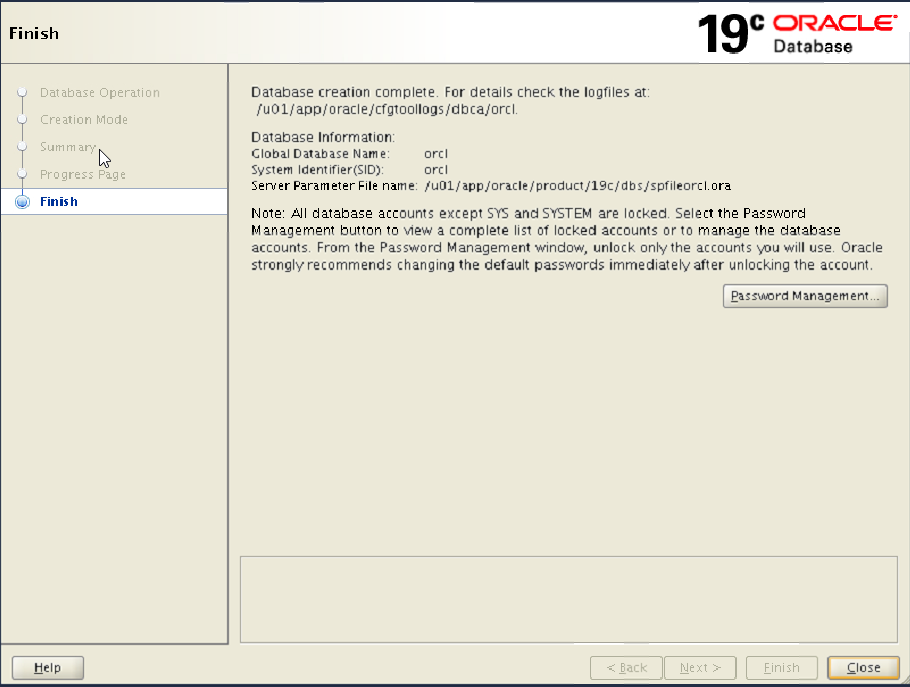
建库成功,登录测试
[oracle@ora19c 35320081]$ sqlplus -V
SQL*Plus: Release 19.0.0.0.0 - Production
Version 19.20.0.0.0
[oracle@ora19c 35320081]$ sqlplus /nolog
SQL*Plus: Release 19.0.0.0.0 - Production on Thu Jul 27 11:22:01 2023
Version 19.20.0.0.0
Copyright © 1982, 2022, Oracle. All rights reserved.
SQL> conn / as sysdba
Connected.
现在的版本为19.20
在openEuler 2203LTSsp2上安装时,生成的oracle文件字节数为0,需要从其他系统复制过来才可以,不然在建库阶段提示DBT-05509。
评论

 0 点赞
0 点赞