


点击上方“IT那活儿”,关注后了解更多内容,不管IT什么活儿,干就完了!!!
1
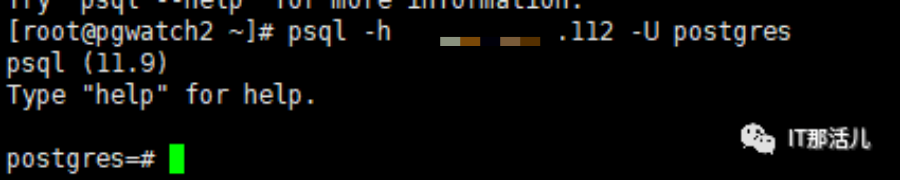
使用postgresql11.9版本操作
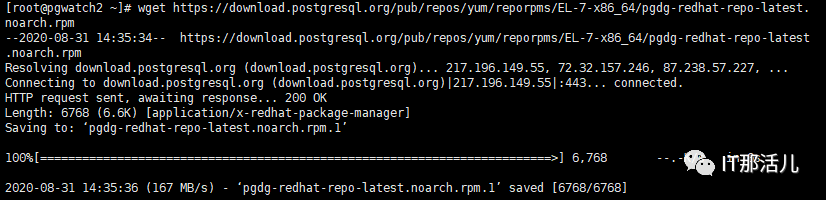
rpm -ivh pgdg-redhat-repo-latest.noarch.rpm复制

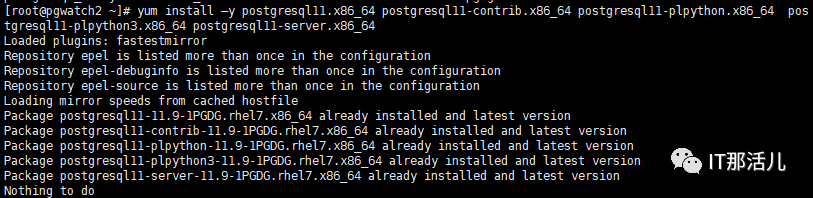
yum install –y postgresql11.x86_64 postgresql11-contrib.x86_64 postgresql11-plpython.x86_64 postgresql11-plpython3.x86_64 postgresql11-server.x86_64复制
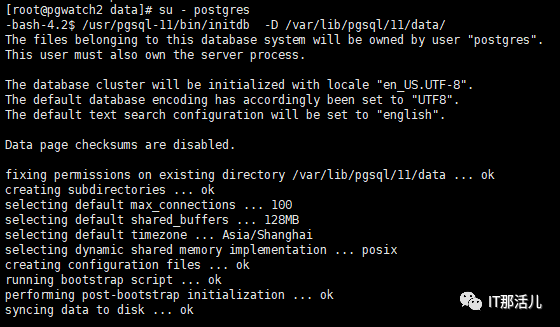
su - postgres/usr/pgsql-11/bin/initdb -D /var/lib/pgsql/11/data/复制

/usr/pgsql-11/bin/pg_ctl -D /var/lib/pgsql/11/data/ -l logfile start复制

wget https://github.com/cybertec-postgresql/pgwatch2/releases/download/v1.8.0/pgwatch2_v1.8.0-SNAPSHOT-064fdaf_linux_64-bit.tar.gz复制

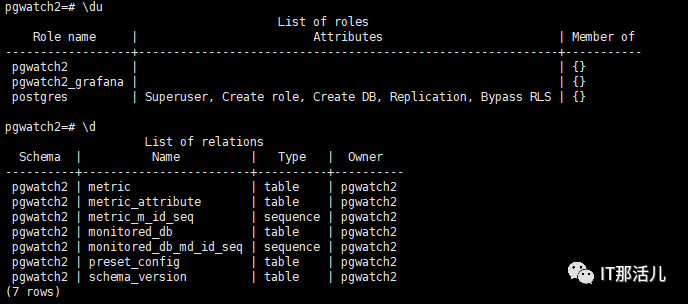
vi create.shpsql -c "create user pgwatch2_grafana password 'jkl'";psql -c "create database pgwatch2_grafana owner pgwatch2_grafana";psql -c "create user pgwatch2 password 'jkl'";psql -c "create database pgwatch2 owner pgwatch2";psql -f /var/lib/pgsql/pgwatch2/pgwatch2/sql/config_store/config_store.sql pgwatch2psql -f /var/lib/pgsql/pgwatch2/pgwatch2/sql/config_store/metric_definitions.sql pgwatch2复制
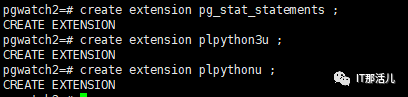
vi /var/lib/pgsql/11/data/postgresql.confshared_preload_libraries = 'pg_stat_statements'track_io_timing = onvi /var/lib/pgsql/11/data/pg_hba.conf复制
2
安装influxdb

yum localinstall influxdb-1.8.2.x86_64.rpm复制

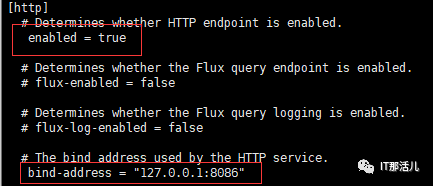
vi /etc/influxdb/influxdb.conf[http]enabled = truebind-address = "127.0.0.1:8086"复制
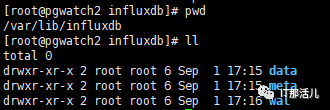
mkdir -p /var/lib/influxdb/datamkdir -p /var/lib/influxdb/metamkdir -p /var/lib/influxdb/walchown -R influxdb:influxdb /var/lib/influxdb复制
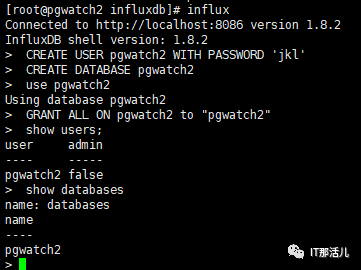
influxCREATE USER pgwatch2 WITH PASSWORD 'jkl'CREATE DATABASE pgwatch2use pgwatch2GRANT ALL ON pgwatch2 to "pgwatch2"show users;show databases复制

3
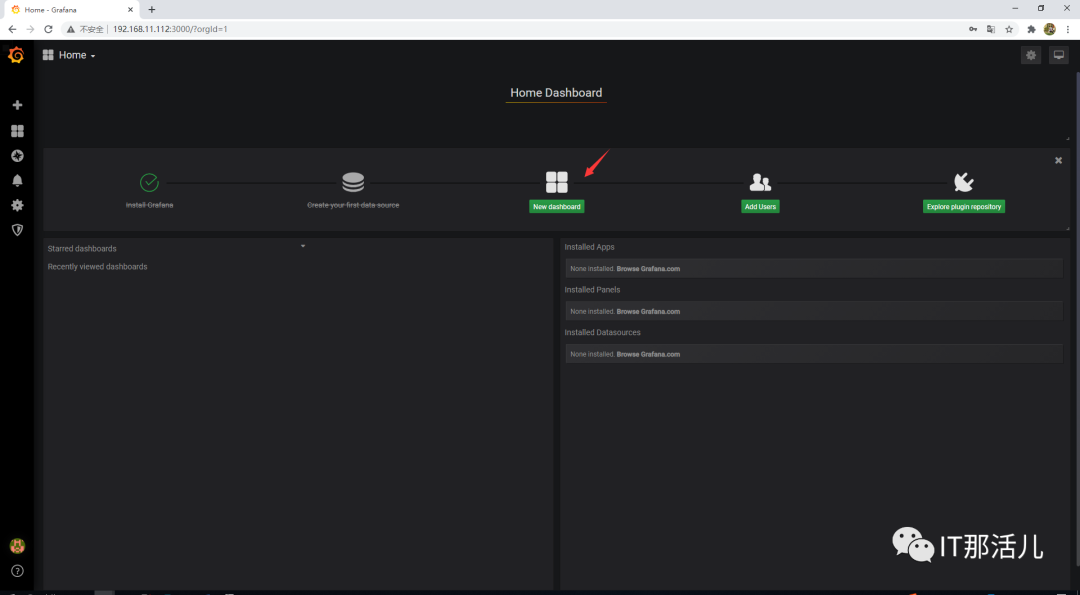
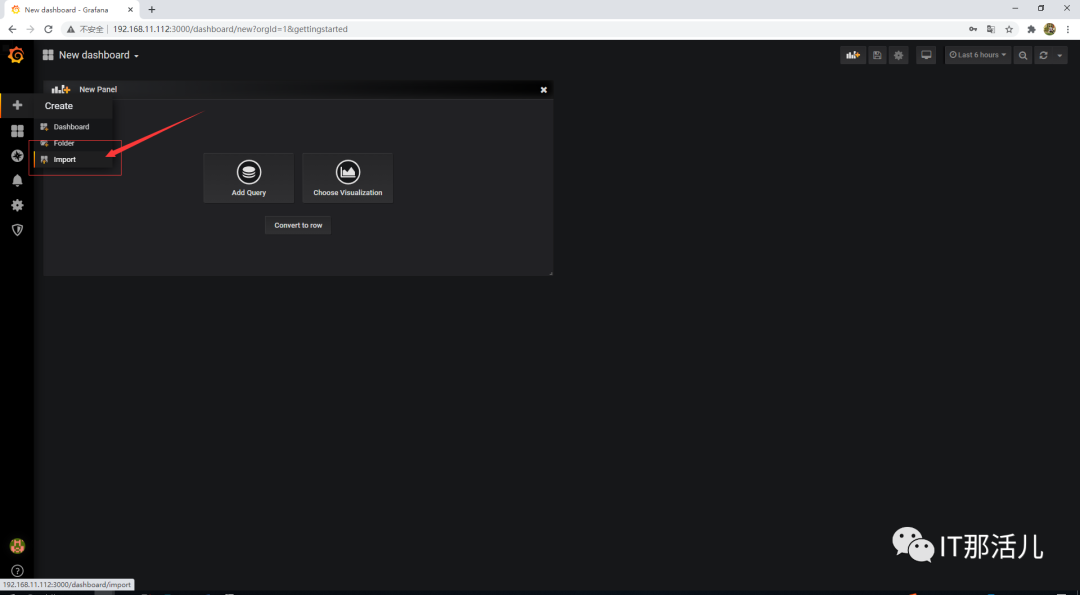
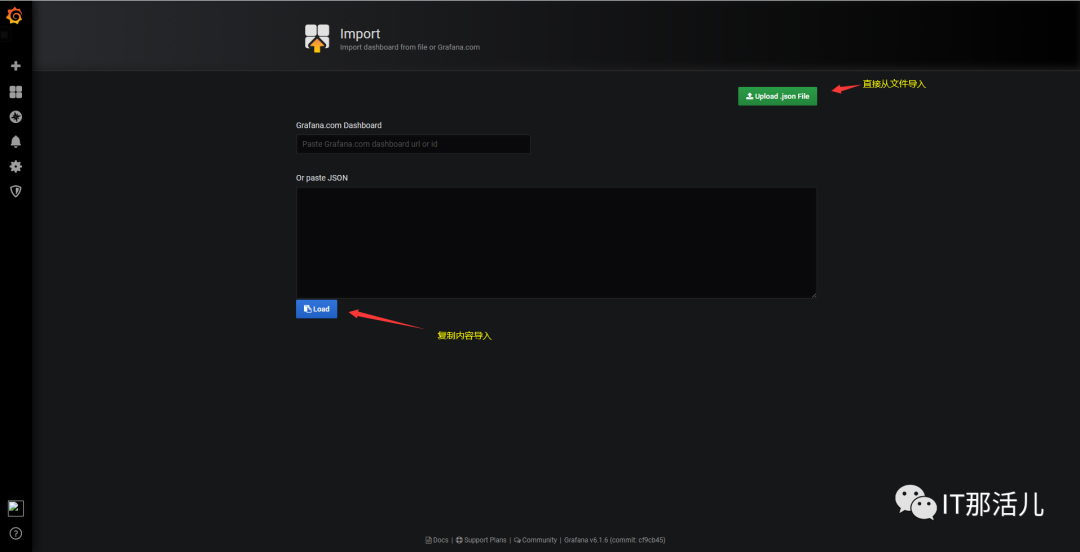
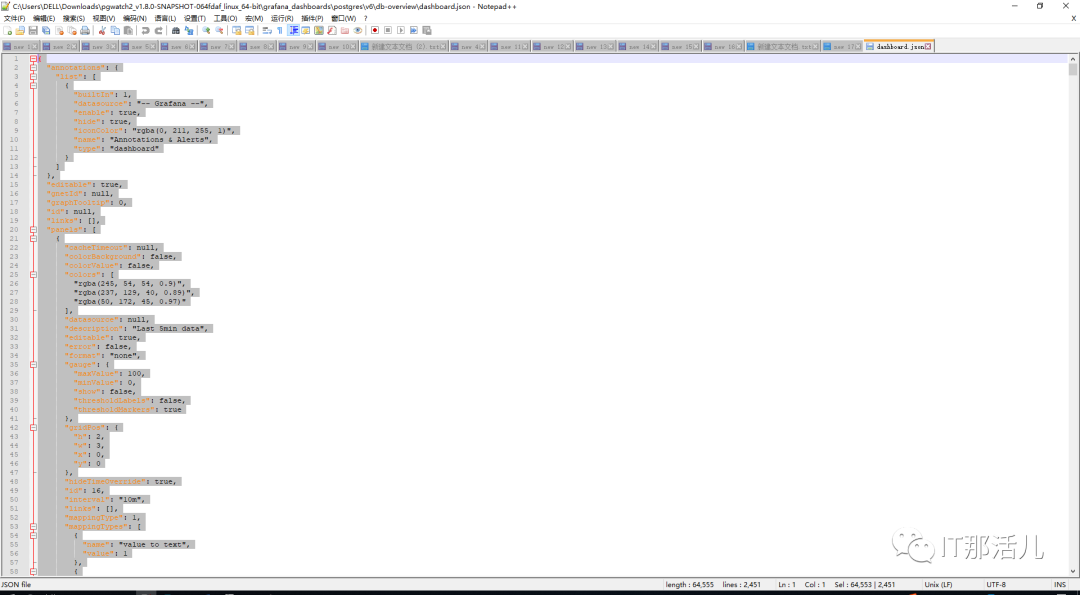
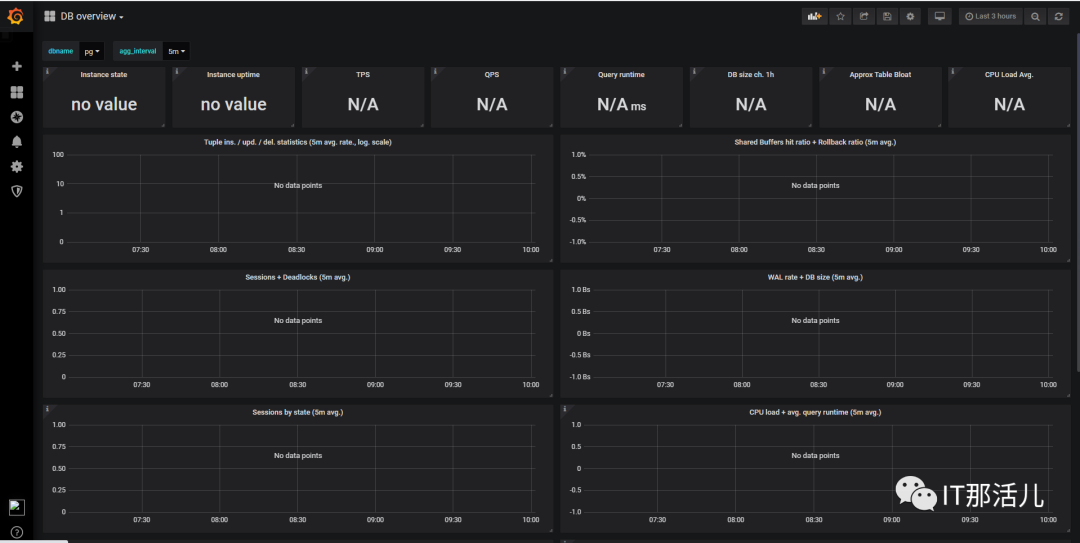
安装grafana

yum localinstall grafana-6.3.7-1.x86_64.rpm复制

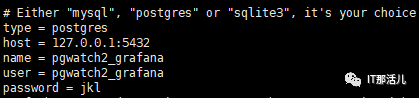
vi /etc/grafana/grafana.initype = postgreshost = 127.0.0.1:5432name = pgwatch2_grafanauser = pgwatch2_grafanapassword = jkl复制
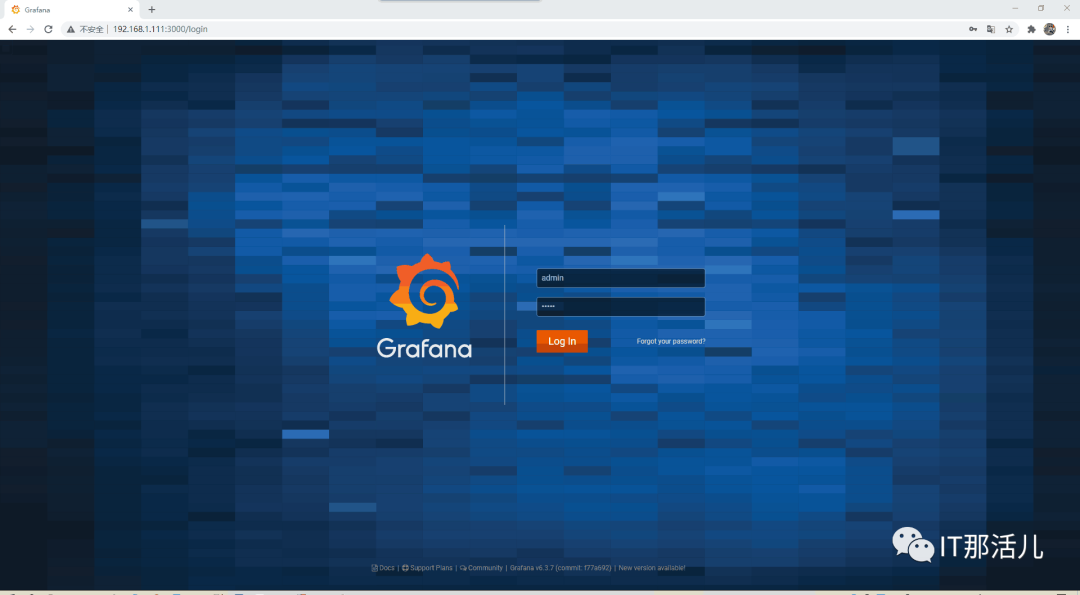
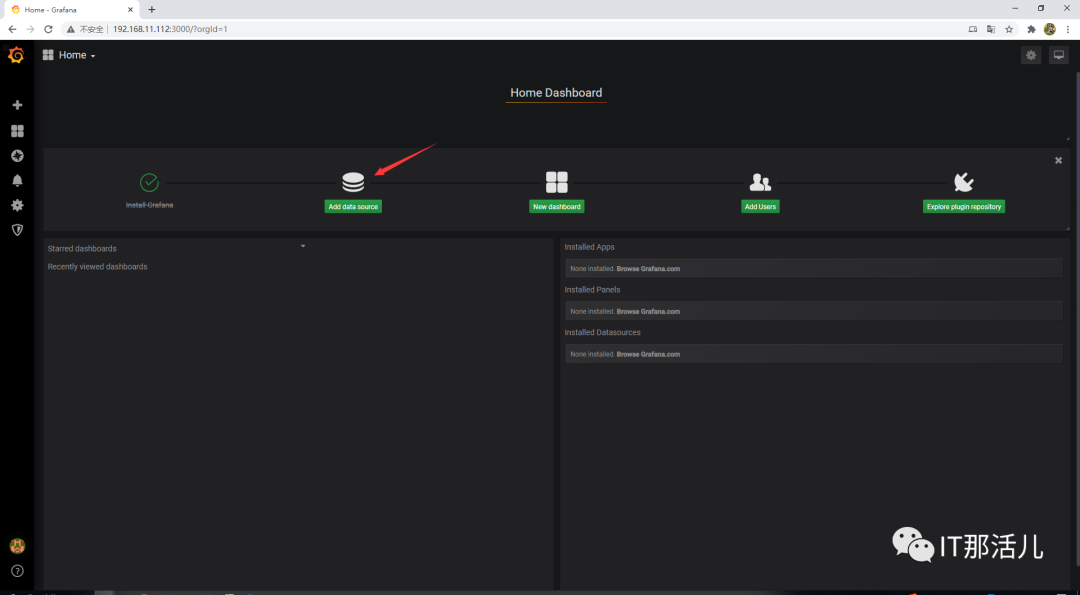
systemctl start grafana-server.servicesystemctl status grafana-server.service复制


4
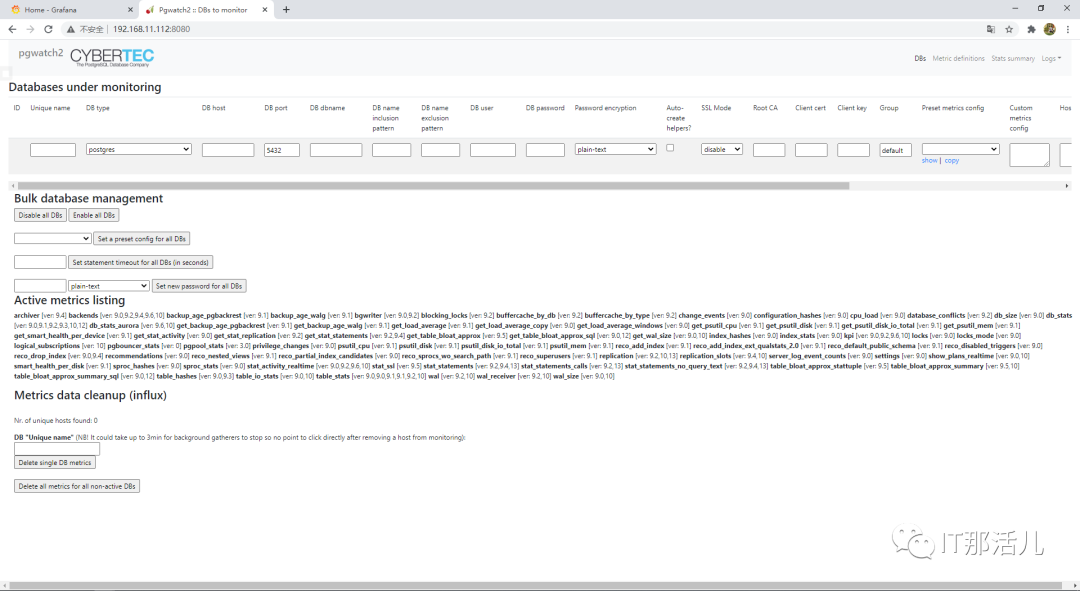
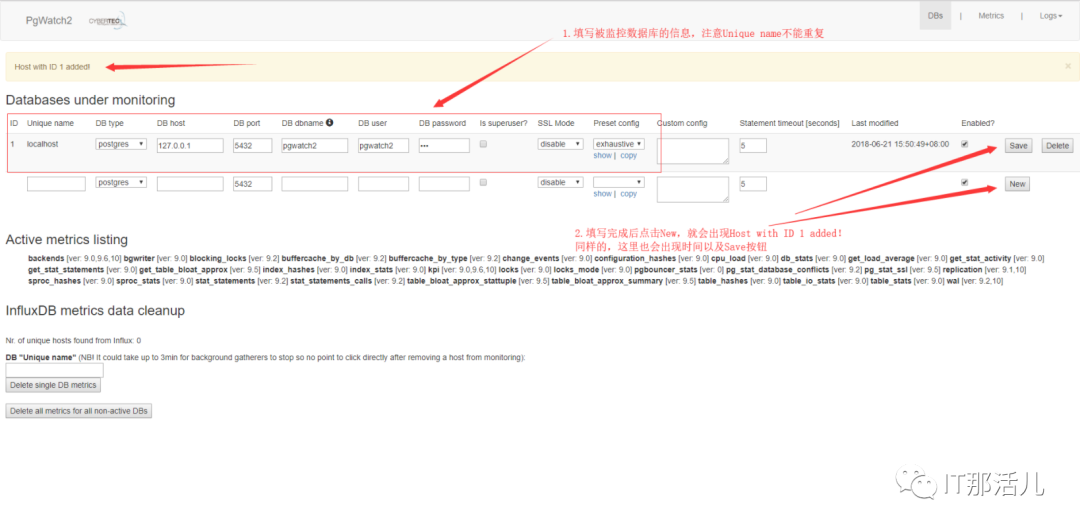
安装Python
yum install -y python3.x86_64yum install -y python3-devel.x86_64复制
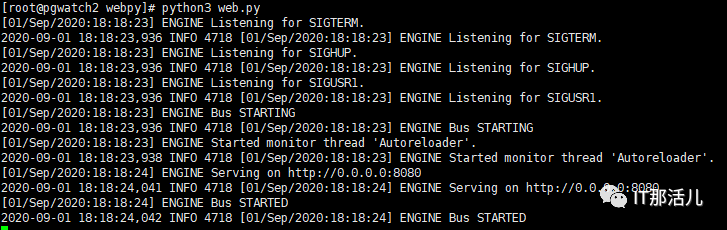
pip3 install -U -r webpy/requirements.txt复制

python3 web.py复制
psql -f pgwatch2/metrics/00_helpers/get_psutil_disk/9.1/metric.sql pgwatch2psql -f pgwatch2/metrics/00_helpers/get_psutil_disk/9.1/metric.sql pgwatch2psql -f pgwatch2/metrics/00_helpers/get_psutil_cpu/9.1/metric.sql pgwatch2psql -f pgwatch2/metrics/00_helpers/get_psutil_mem/9.1/metric.sql pgwatch2psql -f pgwatch2/metrics/00_helpers/get_stat_activity/9.2/metric.sql pgwatch2psql -f pgwatch2/metrics/00_helpers/get_stat_statements/9.4/metric.sql pgwatch2psql -f pgwatch2/metrics/00_helpers/get_wal_size/10/metric.sql pgwatch2复制

5
安装go
yum install -y go复制


本文作者:陈辉耀
本文来源:IT那活儿(上海新炬王翦团队)

文章转载自IT那活儿,如果涉嫌侵权,请发送邮件至:contact@modb.pro进行举报,并提供相关证据,一经查实,墨天轮将立刻删除相关内容。
评论
相关阅读
玩一玩系列——玩玩pg_mooncake(PostgreSQL的高性能列存新贵)
小满未满、
512次阅读
2025-03-03 17:18:03
王炸!OGG 23ai 终于支持从PostgreSQL备库抽取数据了
曹海峰
389次阅读
2025-03-09 12:54:06
玩一玩系列——玩玩login_hook(一款即将停止维护的PostgreSQL登录插件)
小满未满、
371次阅读
2025-03-08 18:19:28
明明想执行的SQL是DELETE、UPDATE,但为什么看到的是SELECT(FDW的实现原理解析)
小满未满、
347次阅读
2025-03-19 23:11:26
PostgreSQL初/中/高级认证考试(3.15)通过考生公示
开源软件联盟PostgreSQL分会
297次阅读
2025-03-20 09:50:36
IvorySQL 4.4 发布 - 基于 PostgreSQL 17.4,增强平台支持
通讯员
184次阅读
2025-03-20 15:31:04
套壳论
梧桐
179次阅读
2025-03-09 10:58:17
命名不规范,事后泪两行
xiongcc
168次阅读
2025-03-13 14:26:08
版本发布| IvorySQL 4.4 发布
IvorySQL开源数据库社区
110次阅读
2025-03-13 09:52:33
宝藏PEV,助力你成为SQL优化高手
xiongcc
102次阅读
2025-03-09 23:34:23


