


热衷于分享各种干货知识,大家有想看或者想学的可以评论区留言,秉承着“开源知识来源于互联网,回归于互联网”的理念,分享一些日常工作中能用到或者比较重要的内容,希望大家能够喜欢,不足之处请大家多提宝贵地意见,我们一起提升,守住自己的饭碗。
正文开始
一、环境准备
大家可以准备一台配置为 4 核 CPU、8GB 内存的 Linux 服务器,我选用的是 CentOS 7.9 系统。安装包在《小周的数据库进阶之路》公众号后台回复 “ds离线安装包”领取 。
二、安装ollma
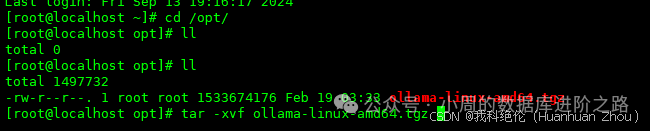
[root@localhost ~]# cd opt/上传离线安装包[root@localhost opt]# tar -xvf ollama-linux-amd64.tgz复制
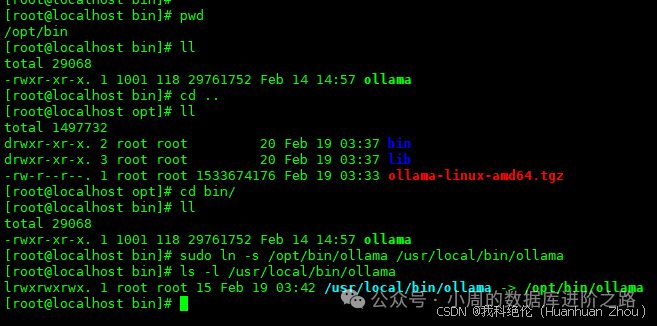
 设置软连接
设置软连接
[root@localhost opt]# cd bin/[root@localhost bin]# ll[root@localhost bin]# sudo ln -s /opt/bin/ollama usr/local/bin/ollama[root@localhost bin]# ls -l /usr/local/bin/ollama复制
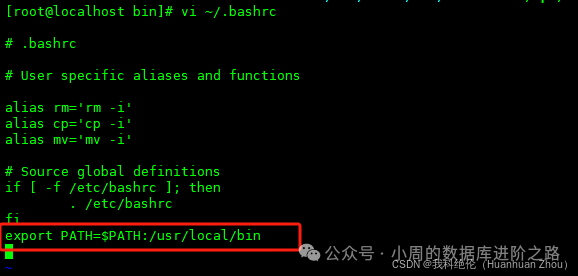
 设置环境变量
[root@localhost bin]# vi ~/.bashrc添加export PATH=$PATH:/usr/local/bin复制
[root@localhost bin]# source ~/.bashrc复制
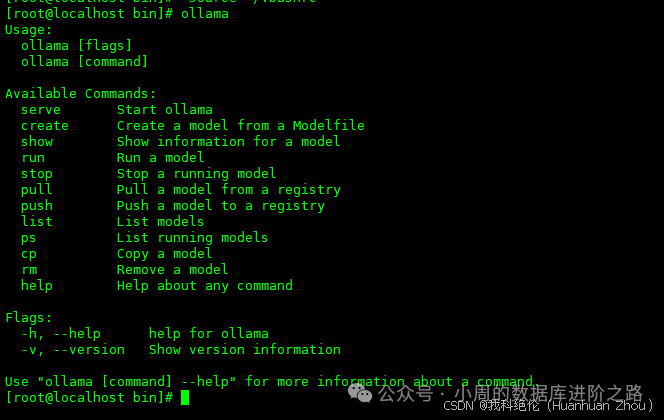
输入ollama,验证是否安装成功。
[root@localhost bin]# ollama复制
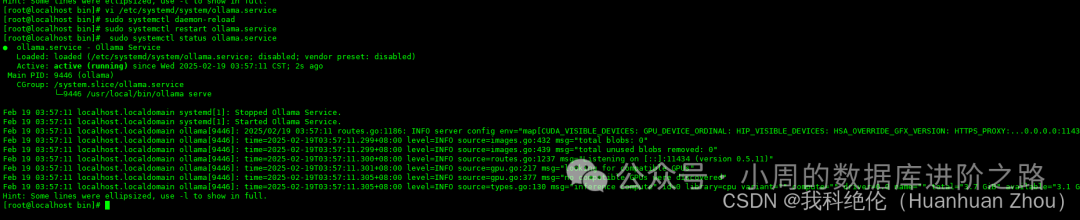
 设置服务开机自启动 配置ollama的配置文件
[root@localhost bin]# vi /etc/systemd/system/ollama.service添加以下内容:[Unit]Description=Ollama ServiceAfter=network-online.target[Service]ExecStart=/usr/local/bin/ollama serveUser=rootGroup=rootRestart=alwaysRestartSec=3Environment="OLLAMA_HOST=0.0.0.0:11434"[Install]WantedBy=default.target
[root@localhost bin]# sudo systemctl daemon-reload[root@localhost bin]# sudo systemctl enable ollama.service[root@localhost bin]# sudo systemctl restart ollama.service[root@localhost bin]# sudo systemctl status ollama.service复制
 查看端口是否开启
[root@localhost bin]# ss -anlp|grep 11434复制
 ollama 下载deepseek-r1:1.5b
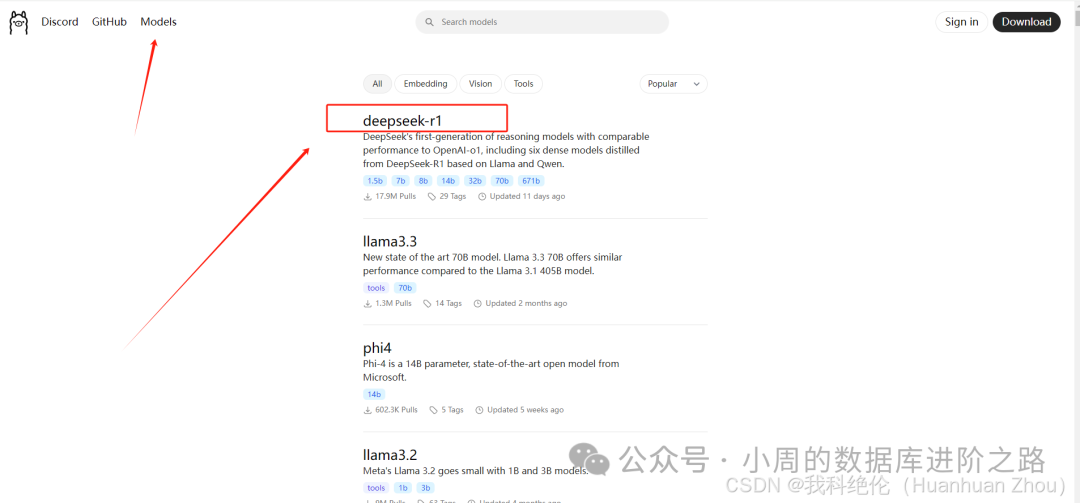 跟进需求和实际情况选择
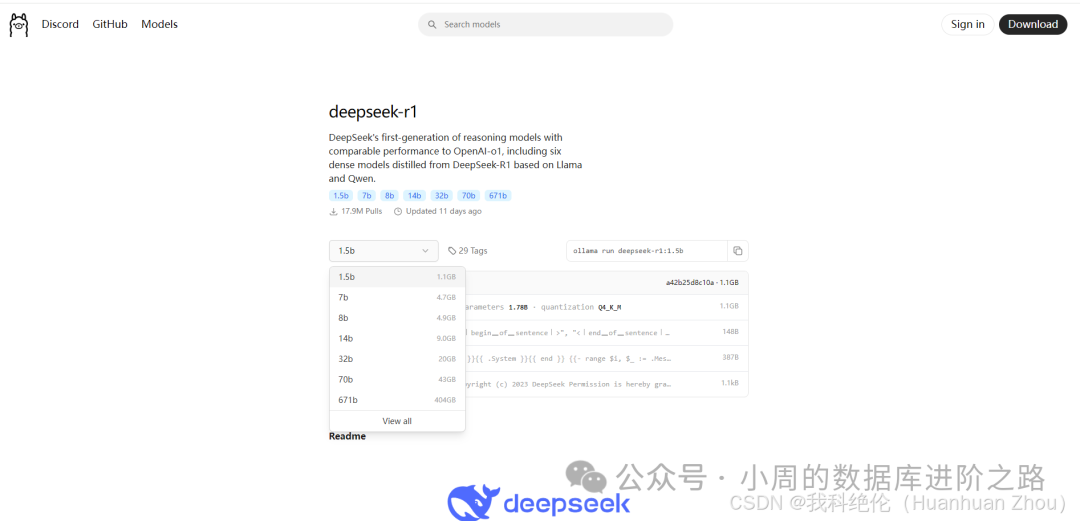 复制命令到操作系统运行即可,这里大家根据需要进行选择。
[root@localhost bin]# ollama run deepseek-r1:1.5b复制
离线的需要把.ollama下的这4文件复制到服务器的路径下即可,这里我再不演示。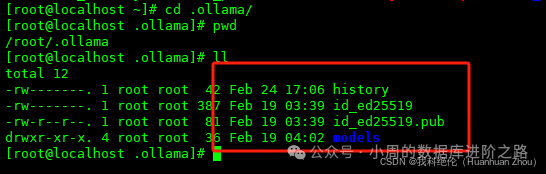
[root@localhost ~]# tar -cvf 1.5B.tar .ollama/ #将1.5B.tar复制到服务器解压即可。复制
出现以下界面即为安装成功。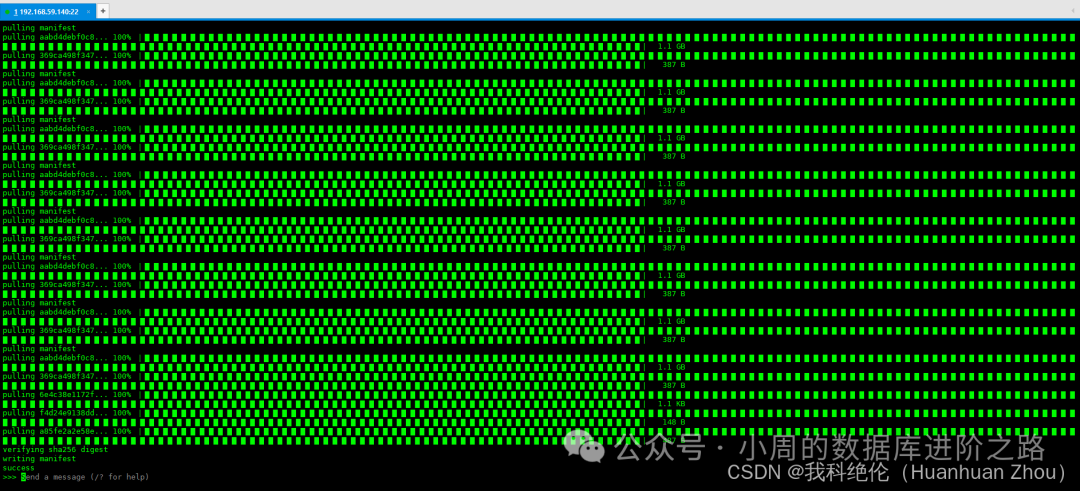 提问”你是谁“,得到回复
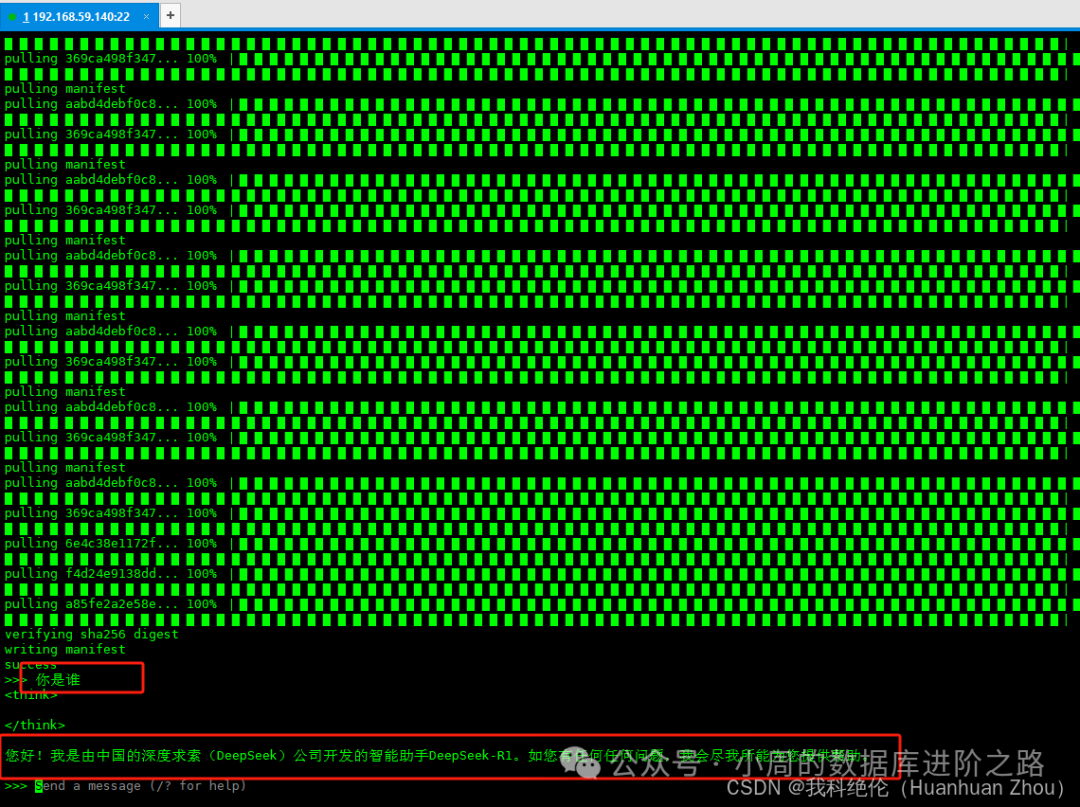
三、安装docker
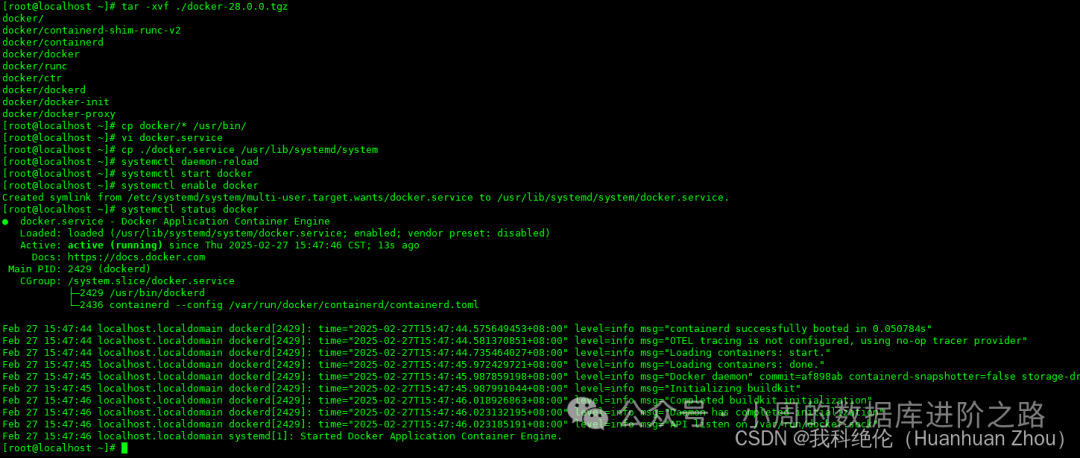
上传安装文件至任意目录下
[root@localhost ~]# tar -xvf ./docker-28.0.0.tgz[root@localhost ~]# cp docker/* usr/bin/[root@localhost ~]# vi docker.service
[Unit]Description=Docker Application Container EngineDocumentation=https://docs.docker.comAfter=network-online.target firewalld.serviceWants=network-online.target[Service]Type=notify# the default is not to use systemd for cgroups because the delegate issues still# exists and systemd currently does not support the cgroup feature set required# for containers run by dockerExecStart=/usr/bin/dockerdExecReload=/bin/kill -s HUP $MAINPID# Having non-zero Limit*s causes performance problems due to accounting overhead# in the kernel. We recommend using cgroups to do container-local accounting.LimitNOFILE=infinityLimitNPROC=infinityLimitCORE=infinity# Uncomment TasksMax if your systemd version supports it.# Only systemd 226 and above support this version.#TasksMax=infinityTimeoutStartSec=0# set delegate yes so that systemd does not reset the cgroups of docker containersDelegate=yes# kill only the docker process, not all processes in the cgroupKillMode=process# restart the docker process if it exits prematurelyRestart=on-failureStartLimitBurst=3StartLimitInterval=60s[Install]WantedBy=multi-user.target复制
[root@localhost bin]#cp ./docker.service usr/lib/systemd/system[root@localhost bin]#systemctl daemon-reload[root@localhost bin]#systemctl start docker[root@localhost bin]#systemctl enable docker[root@localhost bin]#systemctl status docker复制
 安装docker-compose 上传文件至/usr/local/bin下
[root@localhost bin]# sudo chmod +x /usr/local/bin/docker-compose[root@localhost bin]# docker-compose --version复制

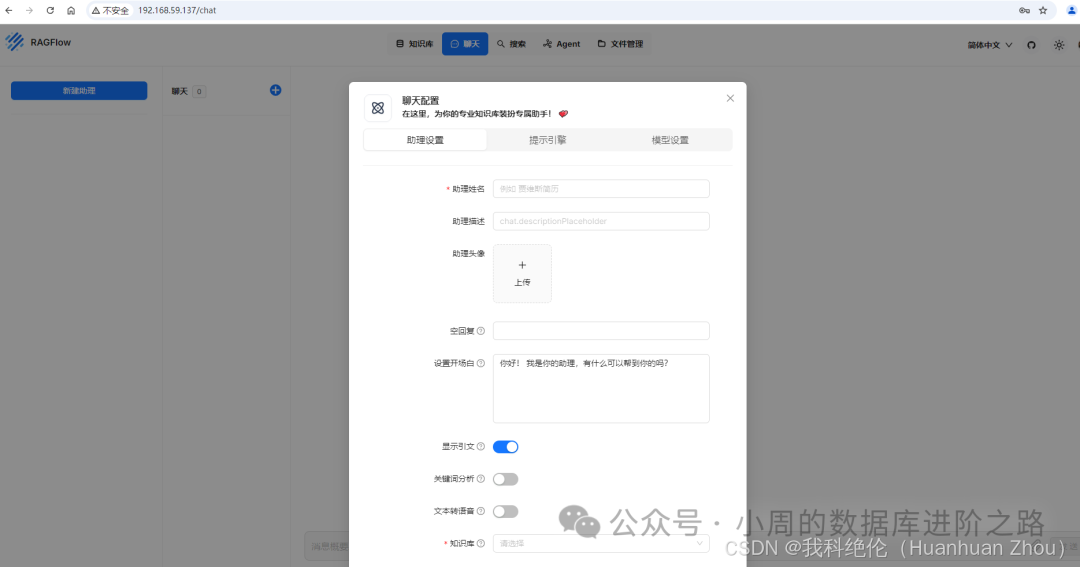
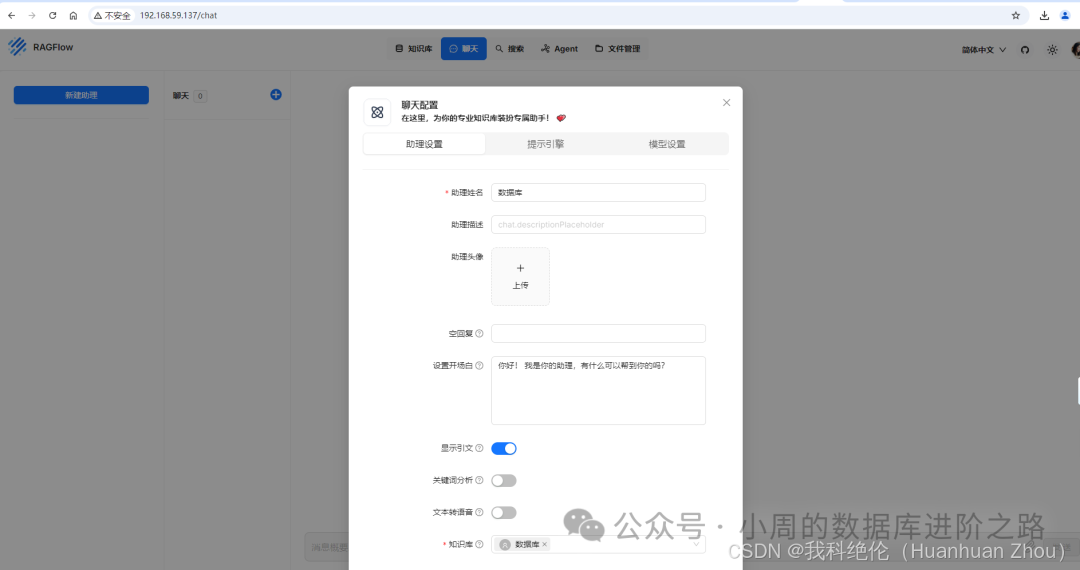
四、部署Ragflow WEB页面
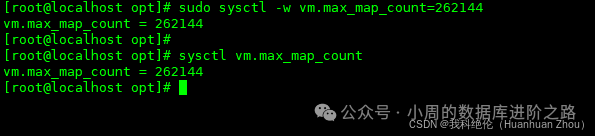
设置参数
[root@localhost opt]# sudo sysctl -w vm.max_map_count=262144[root@localhost opt]# sysctl vm.max_map_count复制
git地址:https://github.com/infiniflow/ragflow.git复制
这里我们提前下载好安装包,上传至opt下
[root@localhost opt]# unzip ragflow-main.zip[root@localhost opt]# cd ragflow-main/docker/[root@localhost docker]#chmod +x ./entrypoint.sh[root@localhost docker]# docker-compose -f docker-compose.yml up -d
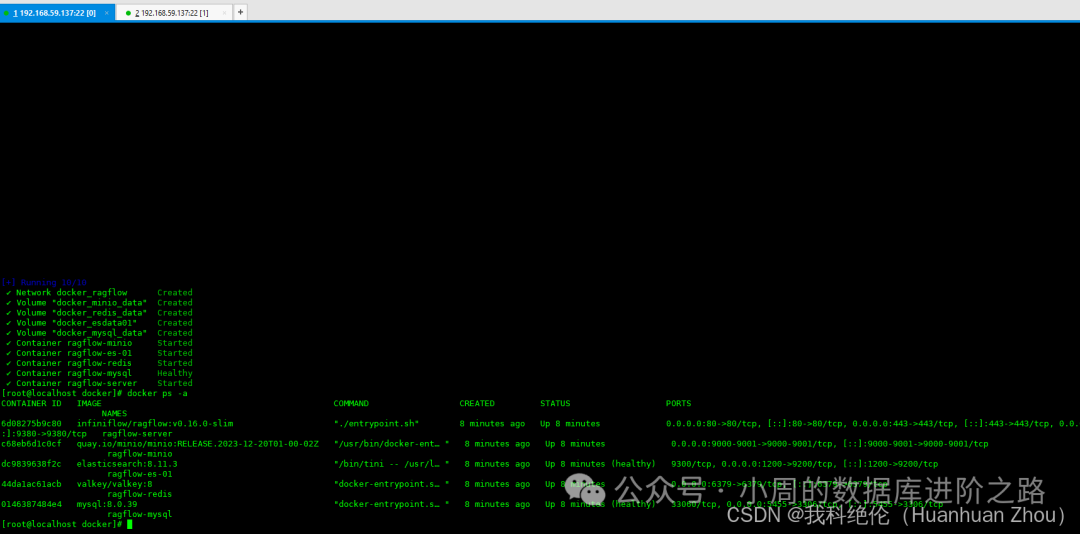 访问页面:
访问页面:
http://192.168.59.137/复制
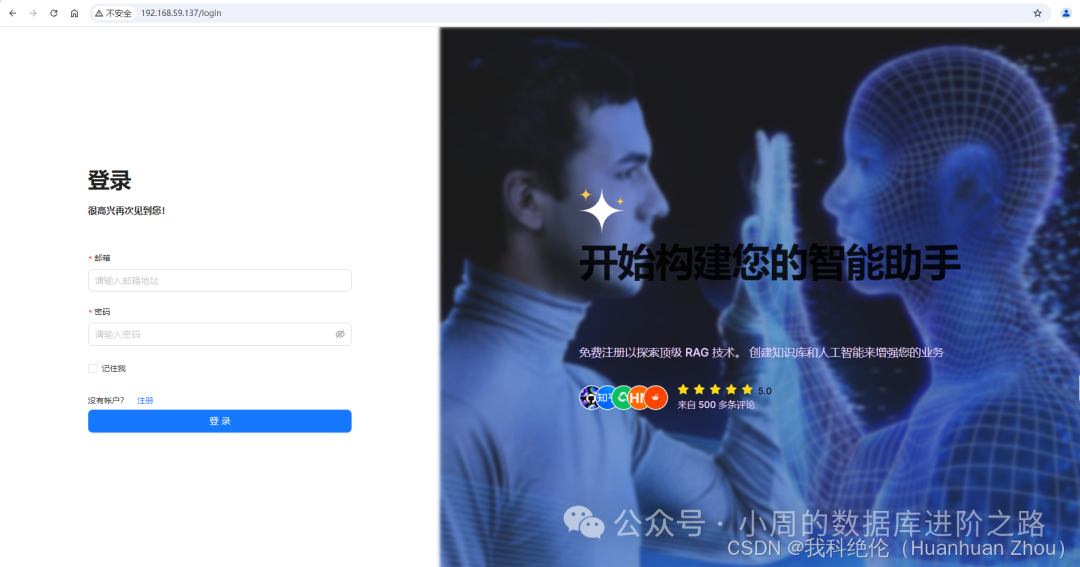 点击注册
点击注册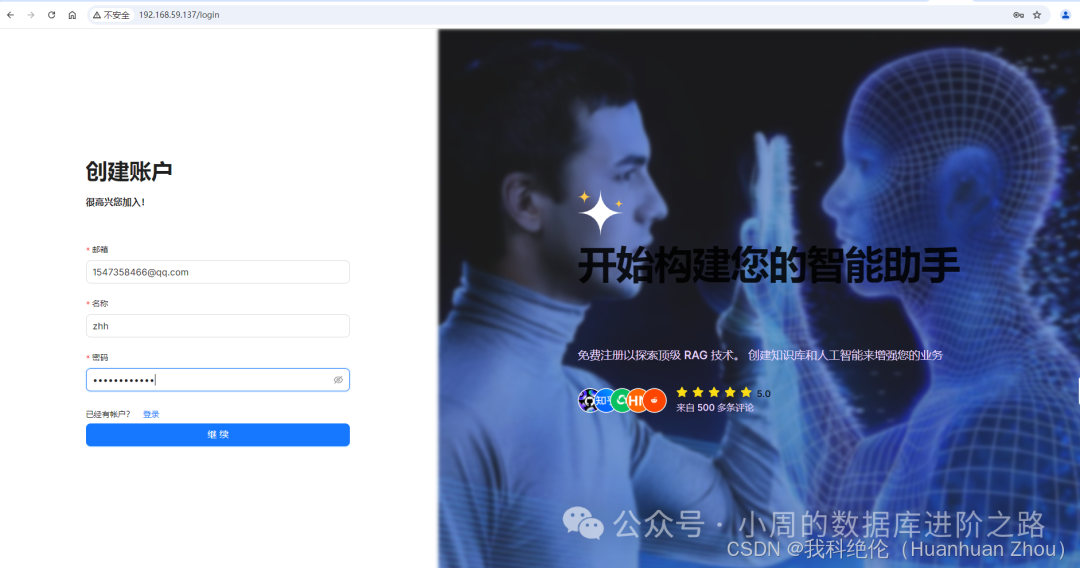 设置语言
设置语言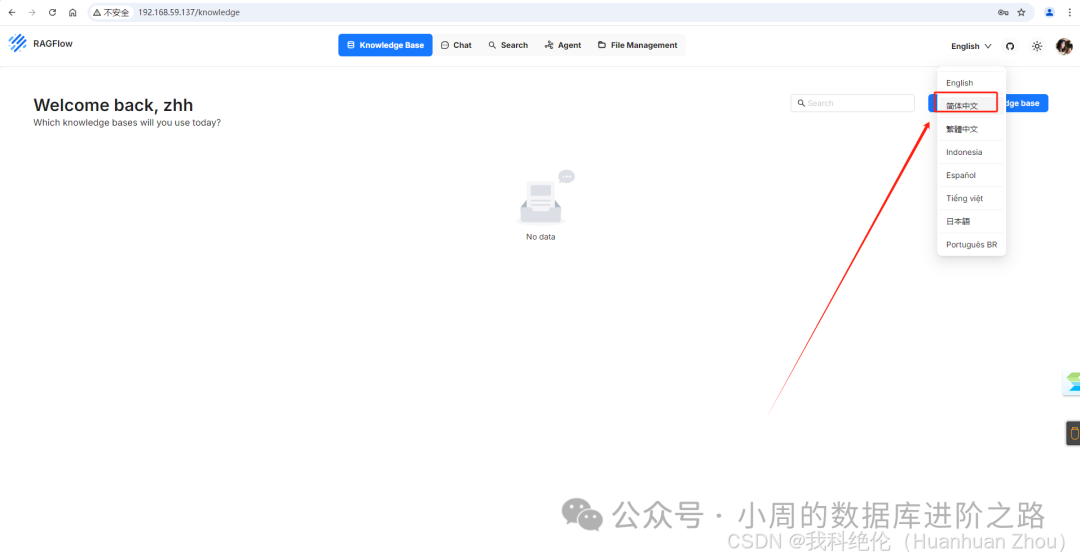
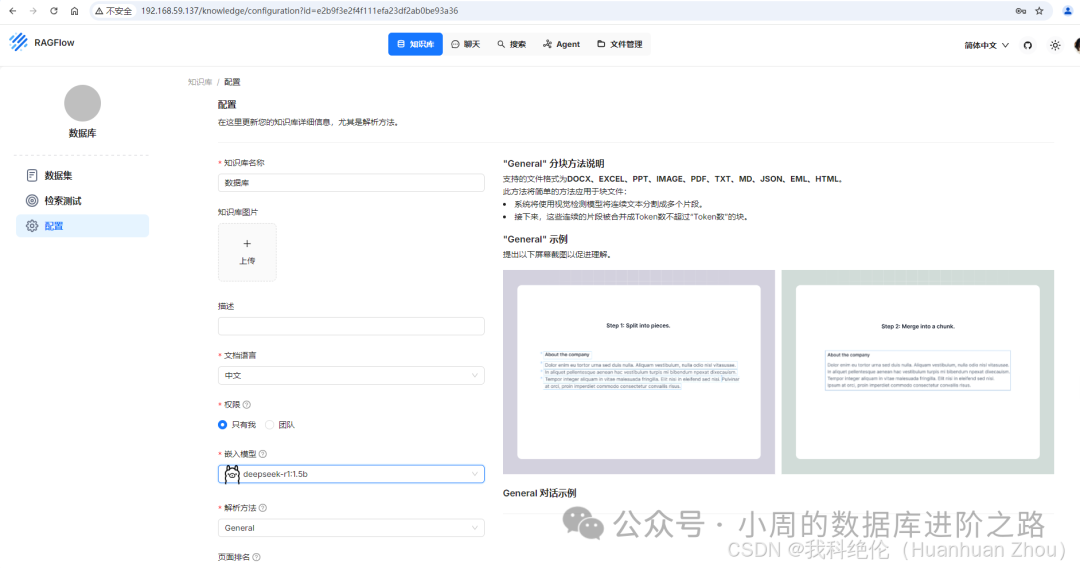
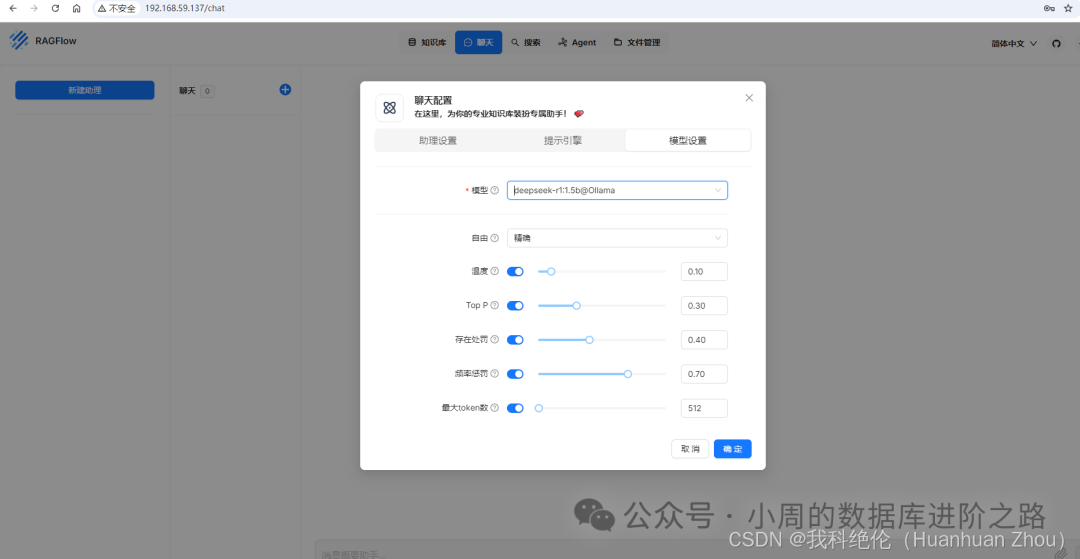
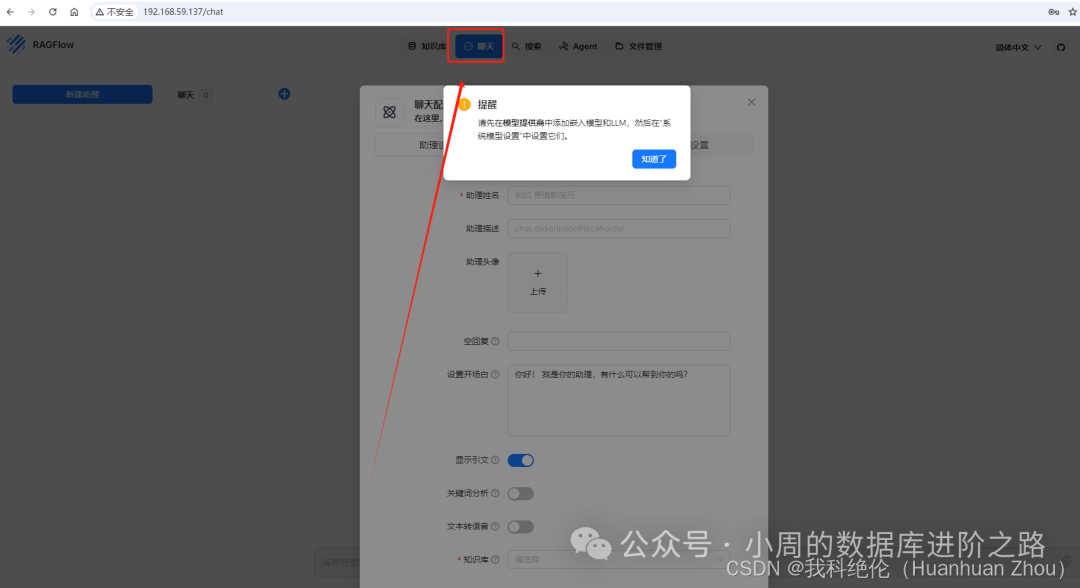 添加模型
添加模型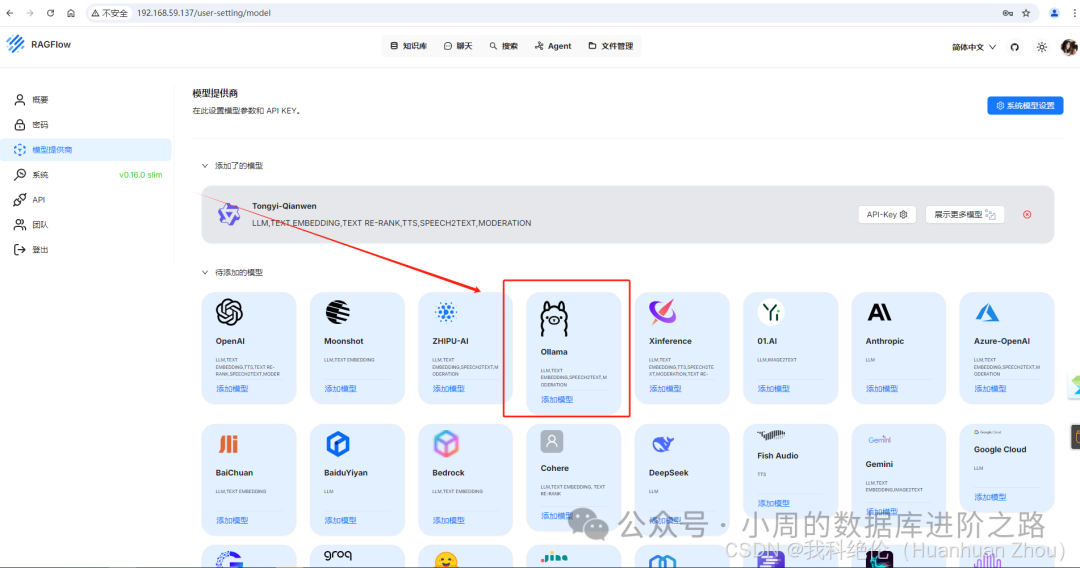
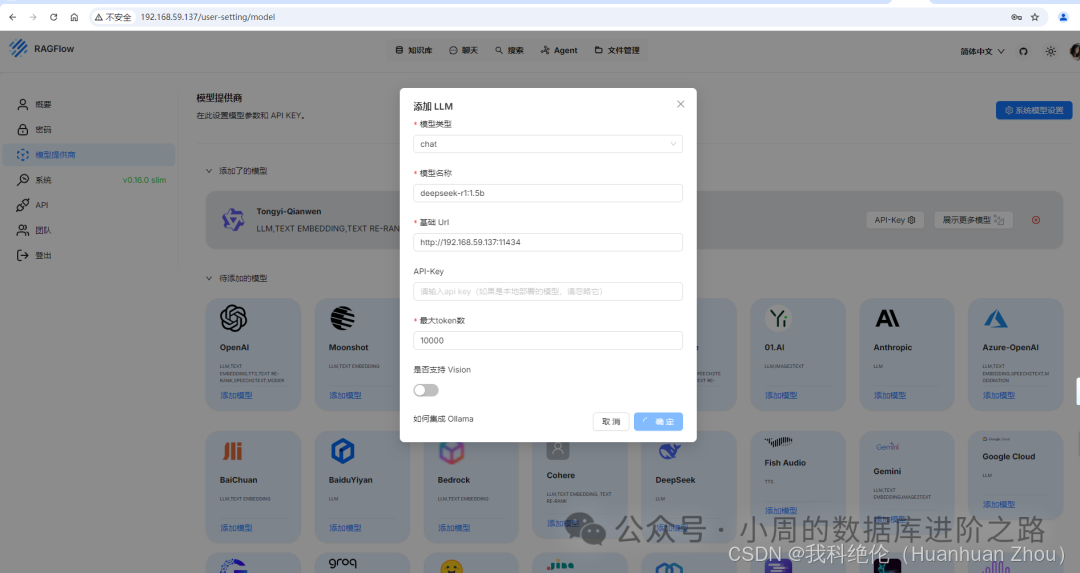 最大token数为32768即可
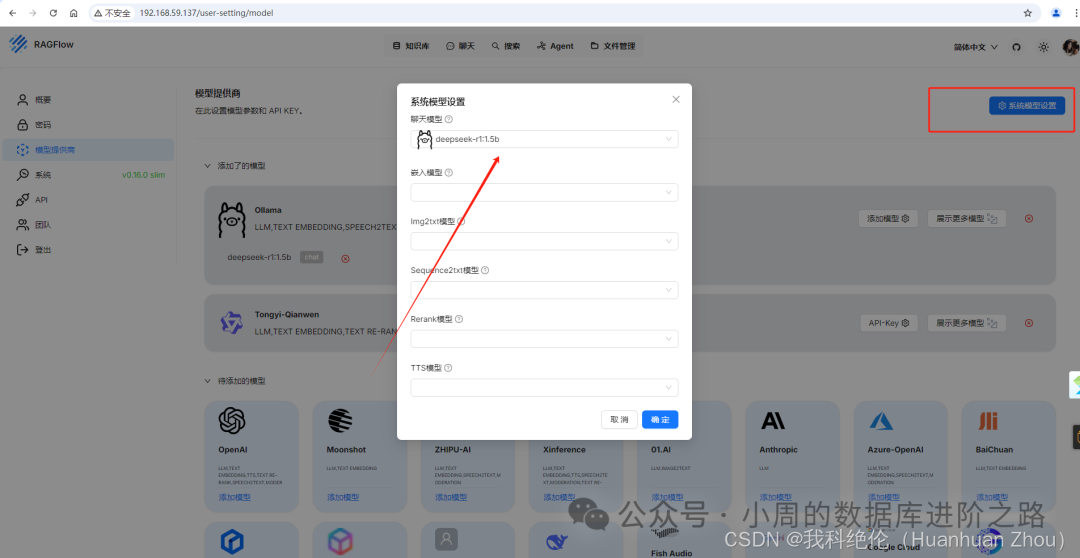
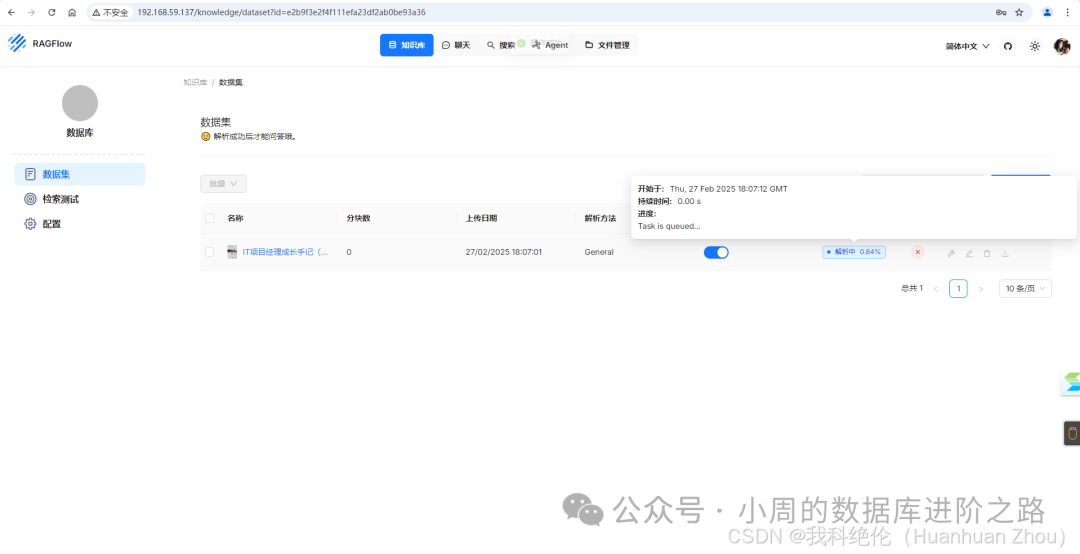
 今天就先到这里,大家自行探索吧。
文中的概念来源于互联网,如有侵权,请联系我删除。
欢迎关注公众号:小周的数据库进阶之路,一起交流数据库、中间件和云计算等技术。如果觉得读完本文有收获,可以转发给其他朋友,大家一起学习进步!感兴趣的朋友可以加我微信,拉您进群与业界的大佬们一起交流学习。
文章转载自小周的数据库进阶之路,如果涉嫌侵权,请发送邮件至:contact@modb.pro进行举报,并提供相关证据,一经查实,墨天轮将立刻删除相关内容。
评论
相关阅读
【专家观点】罗敏:从理论到真实SQL,感受DeepSeek如何做性能优化
墨天轮编辑部
1190次阅读
2025-03-06 16:45:38
【专家有话说第五期】在不同年龄段,DBA应该怎样规划自己的职业发展?
墨天轮编辑部
1159次阅读
2025-03-13 11:40:53
2025年2月国产数据库大事记
墨天轮编辑部
895次阅读
2025-03-05 12:27:34
2025年2月国产数据库中标情况一览:GoldenDB 3500+万!达梦近千万!
通讯员
806次阅读
2025-03-06 11:40:20
2月“墨力原创作者计划”获奖名单公布
墨天轮编辑部
413次阅读
2025-03-13 14:38:19
AI的优化能力,取决于你问问题的能力!
潇湘秦
391次阅读
2025-03-11 11:18:22
优炫数据库成功应用于国家电投集团青海海南州新能源电厂!
优炫软件
329次阅读
2025-03-21 10:34:08
达梦数据与法本信息签署战略合作协议
达梦数据
271次阅读
2025-03-06 09:26:57
国产化+性能王炸!这套国产方案让 3.5T 数据 5 小时“无感搬家”
YMatrix
255次阅读
2025-03-13 09:51:26
IBM收购数据库厂商DataStax:瞄准向量和AI搜索
深度数据云
249次阅读
2025-02-28 12:04:04
