


Albumentations
深度神经网络常常需要大量的训练数据来避免过拟合并取得好的效果。但往往要么数据很难获取,要么获取数据的成本比较高。这时候就该图像增强(Data Augmentation)出场了哈 。
。
基本上每个深度学习框架Pytorch,Tensorflow等都有自己的图像增强的库,但今天想介绍另一个库albumentations,用了很长时间了,感觉这个更加全面,因为这是专门的图像增强的库,比赛里可能这个也用的更多。
然后我想写个albumentations的系列,大致分为图像分类篇(image classification)、目标检测篇(object detection)、图像分割篇(segmentation)。鉴于我很懒,不习惯写一篇很长的文章 ,估计每一篇都会分成好几个小节。
不管怎么样写完就算胜利,也希望可以帮助到阅读这篇文章的你吧!
Resize LongestMaxSize RandomScale CenterCrop RandomSizedCrop RandomResizedCrop
这篇总结了几个常用的用于调整输入图像大小的方法,crop相比Resize的好处是,通过裁剪几乎每次得到图像都不太一样,并且关注到了图像的不同部分,就更好的丰富了数据集。
图像分类篇
Resize
下面是需要用到的库,PIL用于读取图像,numpy把图像转换成numpy数组后就可以传入albumentations库中的函数了。
import numpy as np
from PIL import Image
import albumentations as A
import matplotlib.pyplot as plt复制
def display_image(img, title = None, grid_off = True):
plt.figure(figsize=(8,8))
plt.imshow(img)
if title is not None:
plt.title(title)
if grid_off:
plt.axis('off')复制
精心选了一张黑猫用于演示,下面可以看到原始图像的高和宽:
path = r'.\animal-1840495_1920.jpg'
origin_img = np.array(Image.open(path))
h = origin_img.shape[0]
w = origin_img.shape[1]
display_image(origin_img, title = f'Origin Size : height = {h}, width = {w}', grid_off = False)复制

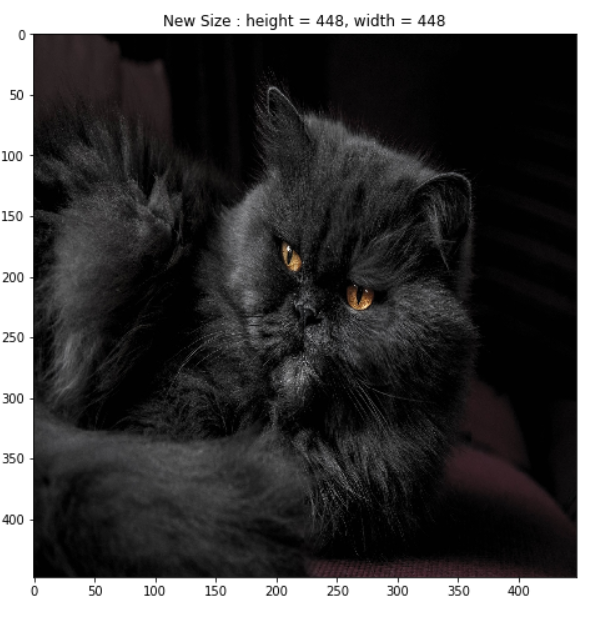
Resize用于调整图像的大小,应该是最普通最常用的吧,height和width代表调整后的图像的高和宽:
transform = A.Resize(height=448, width=448)
image = transform(image=origin_img)['image']
h = image.shape[0]
w = image.shape[1]
display_image(image, title = f'New Size : height = {h}, width = {w}', grid_off = False)复制
LongestMaxSize
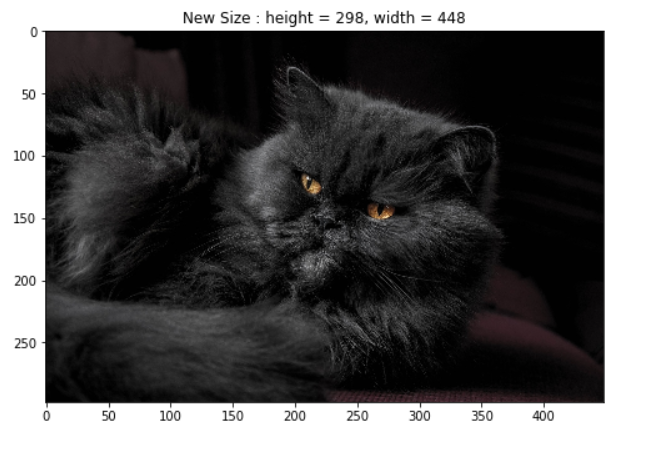
Resize图像后可能高宽比不再和原图一致了,看起来图像好像被挤了一样。LongestMaxSize会高宽比缩放一张图像,并且使得最长的边等于我们传入的max_size:
transform = A.LongestMaxSize(max_size=448)
image = transform(image=origin_img)['image']
h = image.shape[0]
w = image.shape[1]
display_image(image, title = f'New Size : height = {h}, width = {w}', grid_off = False)复制
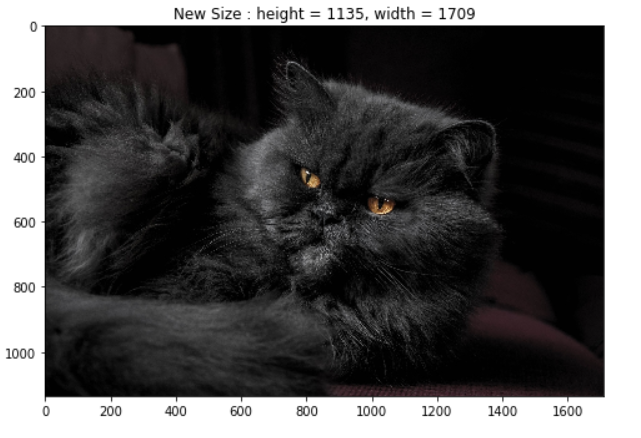
RandomScale
transform = A.RandomScale(scale_limit=0.5, p=1)
image = transform(image=origin_img)['image']
h = image.shape[0]
w = image.shape[1]
display_image(image, title = f'New Size : height = {h}, width = {w}', grid_off = False)复制
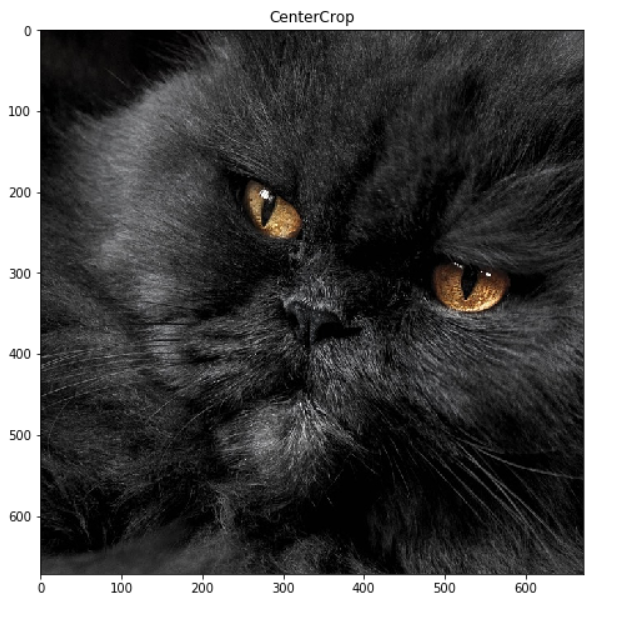
CenterCrop
CenterCrop从图像中心裁剪
transform = A.CenterCrop(height=672, width=672)
image = transform(image=origin_img)['image']
display_image(image, title = f'CenterCrop', grid_off = False)复制
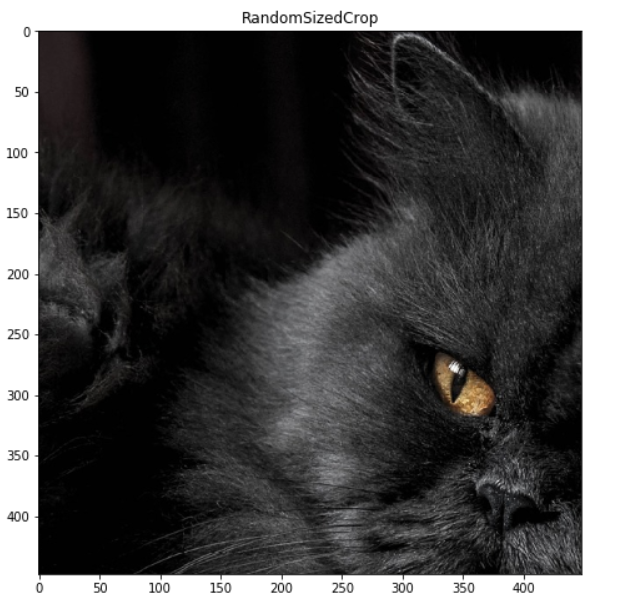
RandomSizedCrop
随即裁剪图像的一部分,然后再调整大小。min_max_height控制裁剪的最小和最大高度,默认情况下裁剪的是正方形,然后将裁剪的部分调整到指定的高宽height和width:
transform = A.RandomSizedCrop(min_max_height=[448, 896], height=448, width=448, p=1)
image = transform(image=origin_img)['image']
display_image(image, title = f'RandomSizedCrop', grid_off = False)复制
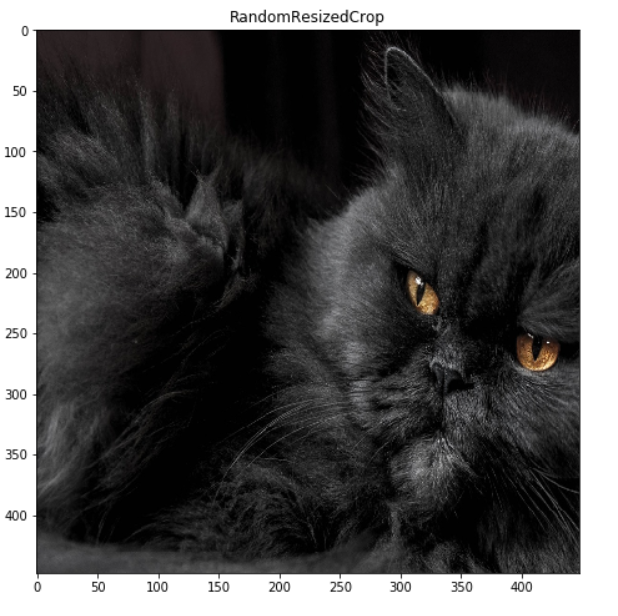
RandomResizedCrop
RandomResizedCrop和上面很类似,但传入的参数是scale,代表最多裁剪原图的百分之多少
transform = A.RandomResizedCrop(height=448, width=448, scale=(0.08, 1.0), p=1)
image = transform(image=origin_img)['image']
display_image(image, title = f'RandomResizedCrop', grid_off = False)复制
那就这样吧,BYEBYE!

