


有时候需要向数据库里批量插入数据,或者批量导出数据,除了使用传统的gsql copy命令,也可以通过Python的驱动psycopg2进行批量操作。 本文介绍了psycopg2里的executemany、copy_from、copy_to、copy_expert等批量操作MogDB数据库里的数据的方法
安装psycopg2驱动
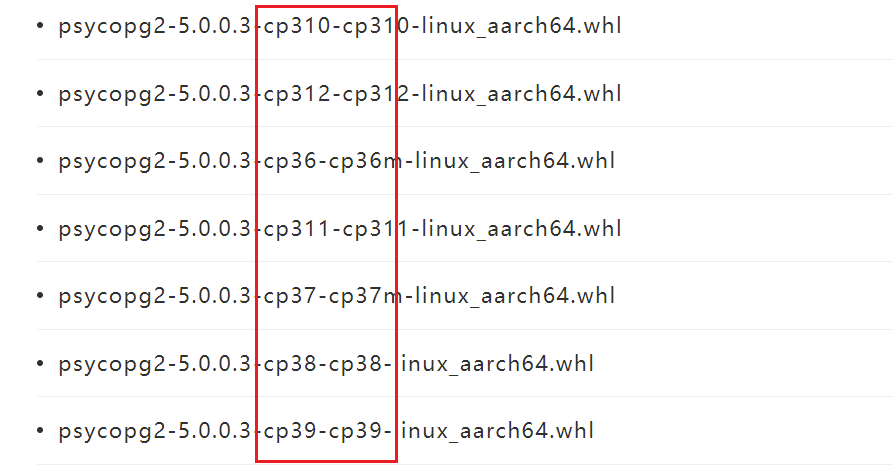
适配MogDB的psycopg2可以从这里(https://www.mogdb.io/downloads/psycopg2/all )下载。
下载之前,先确定所用的Python版本
python3 --version
Python 3.7.9
复制
目前只支持Python 3.6以上版本
下载之后,将文件上传到运行程序的主机上,并运行以下命令
python3 -m pip install psycopg*.whl
当然,如果该主机可以联通互联网,也可以直接在 https://www.mogdb.io/downloads/psycopg2/all 获取下载地址
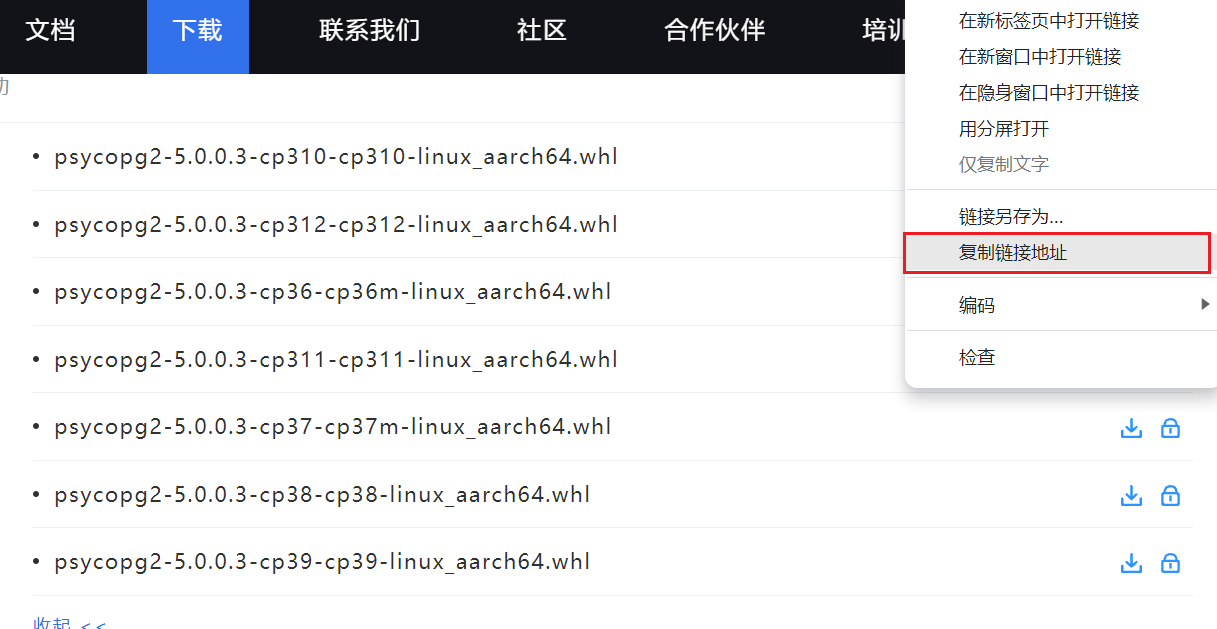
不用真正下载,而是直接运行(其中url对应实际Python版本的url):
python3 -m pip install https://cdn-mogdb.enmotech.com/drivers/python/psycopg2-whl/5.0.0.3/psycopg2-5.0.0.3-cp37-cp37m-linux_aarch64.whl
数据库端创建测试用户和测试表
gsql

create user pytest sysadmin password 'Enmotech@123';
create table test_psycopg2(id int,source varchar(32), create_time date,name varchar(32),val int);

复制
建立连接并创建cursor对象
Python中
import psycopg2

conn=psycopg2.connect(database="postgres",user="pytest",password="Test@123",host="127.0.0.1",port=26000)
cur=conn.cursor()
conn.close()
复制
参数就不用介绍含义了,一目了然。
使用execute进行逐条插入
execute可用于逐条插入,它是cursor中的一个方法,接收的参数为语句+一个可索引的列表,列表中每一列对应语句中的 %s.
cursor.execute(sqltext,var_List)复制
假设现在我们需要往数据库中插入10000条随机数据,可以循环调用execute:
import psycopg2
import datetime
import random
import time

conn=psycopg2.connect(database="postgres",user="pytest",password="Test@123",host="127.0.0.1",port=26000)
cur=conn.cursor()
currtime=datetime.datetime.now()
data1=[(id,"execute",(currtime+datetime.timedelta(minutes=id)).strftime('%Y-%m-%d %H:%M:%S'),"name"+str(id),random.randint(0,100000)) for id in range(1,10001)];

start=time.perf_counter()
for row in data1:
    cur.execute ("insert into test_psycopg2 values(%s,%s,%s,%s,%s)",row); #此处有5个占位符,对应的row中有5列

end=time.perf_counter();
print(f"use execute to insert 10000 rows, cost {int((end-start)*1000)} ms");
conn.commit()
复制

使用executemany进行批量插入
executemany可用于批量插入,它是cursor中的一个方法,接收的参数为语句+一个嵌套了可索引的列表的列表,列表中每一行对应语句中的 %s.
cursor.executemany(sqltext,var_List)
假设现在我们需要往数据库中插入10000条随机数据,可以调用一次executemany:
import psycopg2
import datetime
import random
import time

conn=psycopg2.connect(database="postgres",user="pytest",password="Test@123",host="127.0.0.1",port=26000)
cur=conn.cursor()
currtime=datetime.datetime.now()

data2=[(id,"executemany",(currtime+datetime.timedelta(minutes=id)).strftime('%Y-%m-%d %H:%M:%S'),"name"+str(id),random.randint(0,100000)) for id in range(1,10001)];

start=time.perf_counter()
cur.executemany("insert into test_psycopg2 values(%s,%s,%s,%s,%s)",data2);
end=time.perf_counter();
print(f"use executemany to insert 10000 rows, cost {int((end-start)*1000)} ms");
conn.commit()

复制

从执行时间看executemany和execute相差无几,并没有使用类似于JDBC驱动中的批量绑定功能。
使用copy_from(文件)从文件中批量插入
无论是execute还是executemany, 性能都不够理想,如果对性能有需求,批量插入的时候,应该使用copy相关的方法,如copy_from
copy_from接收多个参数,主要是前面的4个参数。
copy_from(input_file, table_name, sep, columns)
其中第一个参数设计上是文件句柄,但是也可以用其他带有read()和readline()方法的对象来代替。
第三个参数则是分隔符,因为使用copy时,需要自己先按行把数据拼好的,列之间用分隔符来分隔,通常可以使用"tab"或者",". 当然,这需要考虑你的数据中会不会包含这两个字符,避免二义性
第四个参数则是列名的列表,如果不提供,则是所有列,但是要注意列顺序。
假设现在我们需要往数据库中插入10000条随机数据,可以先生成一个文件,再调用copy_from(文件):
import psycopg2
import datetime
import random
import time
from io import StringIO
conn=psycopg2.connect(database="postgres",user="pytest",password="Enmotech@123",host="127.0.0.1",port=26000)
cur=conn.cursor()
currtime=datetime.datetime.now()
tmpfile=open("test_psycopg2_from.csv","w");
filesize=0
for id in range(1,10001):
    filesize=filesize+tmpfile.write(f"{id},copy_from_File,{(currtime+datetime.timedelta(minutes=id)).strftime('%Y-%m-%d %H:%M:%S')},name{id},{random.randint(0,100000)}\n")

tmpfile.close()

tmpfile2=open("test_psycopg2_from.csv","r");

start=time.perf_counter()
cur.copy_from(tmpfile2,"test_psycopg2",sep=",");
end=time.perf_counter();
print(f"use copy_from(File) to insert 10000 rows, cost {int((end-start)*1000)} ms");
conn.commit()
tmpfile.close()

复制
19ms,相比execute/executemany,有百倍的提升
使用copy_from(StringIO)进行批量插入
对于在内存中处理的数据,专门放到文件系统再取出来显然没有必要,因此,copy_from第一参数可以使用StringIO这个模块,来模拟内存中的一个类文件对象(关于StringIO,闲鱼篇幅原因,不展开解释)。
假设现在我们需要往数据库中插入10000条随机数据,可以把记录按行写到StringIO对象,再调用copy_from(StringIO):
import psycopg2
import datetime
import random
import time
from io import StringIO
conn=psycopg2.connect(database="postgres",user="pytest",password="Enmotech@123",host="127.0.0.1",port=26000)
cur=conn.cursor()
currtime=datetime.datetime.now()
tmpfile=StringIO("");
filesize=0
for id in range(1,10001):
    filesize=filesize+tmpfile.write(f"{id},copy_from_StringIO,{(currtime+datetime.timedelta(minutes=id)).strftime('%Y-%m-%d %H:%M:%S')},name{id},{random.randint(0,100000)}\n")

tmpfile.seek(0)
start=time.perf_counter()
cur.copy_from(tmpfile,"test_psycopg2",sep=",");
end=time.perf_counter();
print(f"use copy_from(StringIO) to insert 10000 rows, cost {int((end-start)*1000)} ms");
conn.commit()
复制

同样19ms
这里面需要注意的是,StringIO写完了(write)之后,必须调用seek(0)回到文件头,否则,相当于从文件末端开始,是无法完成copy的操作的。
使用copy_to(文件)导出到文件
有进就有出,pyscopg2里面也支持把表copy到文件中。
copy_to接收多个参数,主要是前面的4个参数。
copy_to(out_file, table_name, sep, columns)
其中第一个参数设计上是文件句柄,但是也可以用其他带有write()方法的对象来代替。
第三个参数则是分隔符
第四个参数则是列名的列表,如果不提供,则是所有列。
假设现在我们把表导出成本地文件,可以直接调用copy_to(文件):
import psycopg2
import time
conn=psycopg2.connect(database="postgres",user="pytest",password="Enmotech@123",host="127.0.0.1",port=26000)
cur=conn.cursor()
currtime=datetime.datetime.now()
tmpfile=open("test_psycopg2_to.csv","w");
start=time.perf_counter()
cur.copy_to(tmpfile,"test_psycopg2",sep=",");
end=time.perf_counter();
print(f"use copy_to(File) to dump tables, cost {int((end-start)*1000)} ms");
tmpfile.close()

复制
58ms,不过表里面目前已经有4万条记录
使用copy_to(StringIO)导出到内存对象
同理,也可以把表导出到StringIO的内存对象中,调用copy_to(StringIO),如下所示
import psycopg2
import time
from io import StringIO
conn=psycopg2.connect(database="postgres",user="pytest",password="Enmotech@123",host="127.0.0.1",port=26000)
cur=conn.cursor()
currtime=datetime.datetime.now()
tmpfile=StringIO("");
start=time.perf_counter()
cur.copy_to(tmpfile,"test_psycopg2",sep=",");
end=time.perf_counter();
print(f"use copy_to(StringIO) to dump tables, cost {int((end-start)*1000)} ms");
print(f"filelength:{len(tmpfile.getvalue())}")
conn.commit()
tmpfile.close()

复制
使用copy_expert()进行复杂copy操作
gsql的copy命令其实提供了很多复杂的功能,但显然copy_from/copy_to无法全部做到,比如,从表中根据条件过滤出需要的数据并进行copy.
因此,除了copy_from/copy_to, pyscopg2提供了更专业的copy_expert函数,更接近原始的copy命令,它接收两个参数,第一个是SQL语句,第二个是类文件句柄, 你可以认为是把它嫁接给了gsql里面的STDIN/STDOUT。
copy_export(sql,file_handle)
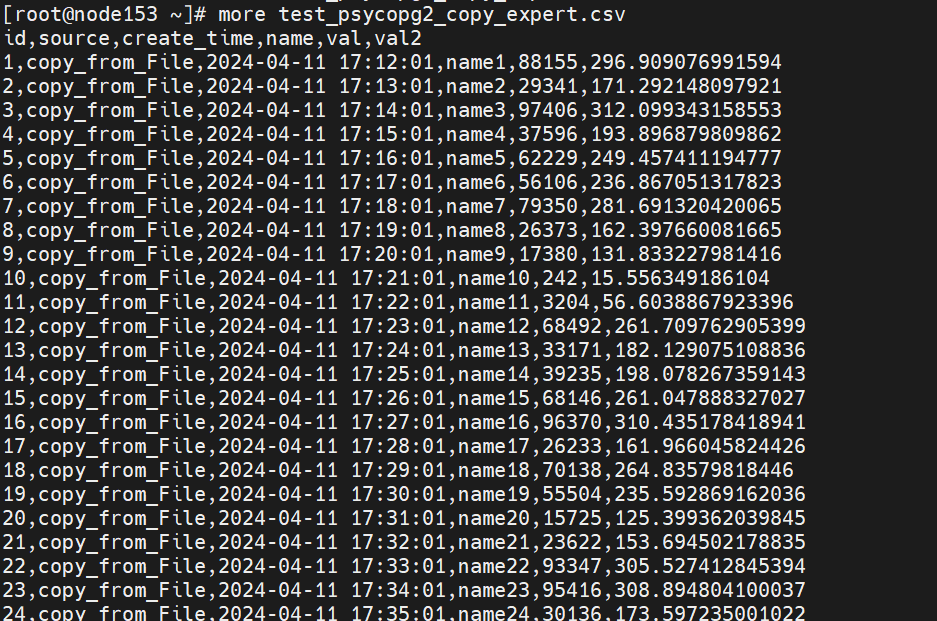
假设现在我们需要把之前的source为"copy_from_File"的部分取出来,然后,对表的数据做一定运算,还希望带表header, 可以调用copy_expert,进行精细调控:
import psycopg2 import time conn=psycopg2.connect(database="postgres",user="pytest",password="Enmotech@123",host="127.0.0.1",port=26000) cur=conn.cursor() currtime=datetime.datetime.now() tmpfile=open("test_psycopg2_copy_expert.csv","w"); start=time.perf_counter() cur.copy_expert("copy (select *,sqrt(val) val2 from test_psycopg2 test_psycopg2 where source = 'copy_from_File') to STDIN with(format 'csv', header on ) ",tmpfile); end=time.perf_counter(); print(f"use copy_expert() to dump tables, cost {int((end-start)*1000)} ms"); conn.commit() tmpfile.close()复制

看看导出效果,没问题
参考文档
https://docs.mogdb.io/zh/mogdb/v5.0/1-psycopg-based-development
https://www.psycopg.org/docs/cursor.html


